
How to Ride a Mountain Bike Park: 9 Tips for First Timers
I remember the first time I rode at a mountain bike park (Mammoth Mountain!). I was terrified. I had no idea how to load my bike onto the lift and I was seriously doubting whether I was ‘good enough’ to make it down from the top alive.
Spoiler alert: I’m still alive.
But these concerns are valid. Even though I consider myself a bike park veteran today, I still get a little jumpy every time I visit a new bike park. Each destination has their own lift system to figure out, assortment of trails, features, and terrain to navigate, and scary death traps to avoid (hello 30-foot gap jumps).
But trust me, the initial uncertainty and fear is worth it. Bike parks are a blast!!!
If you’re new to park riding, not to worry. These tips will help you feel more comfortable on your first day at the lifts.
Do a little recon — every bike park is different
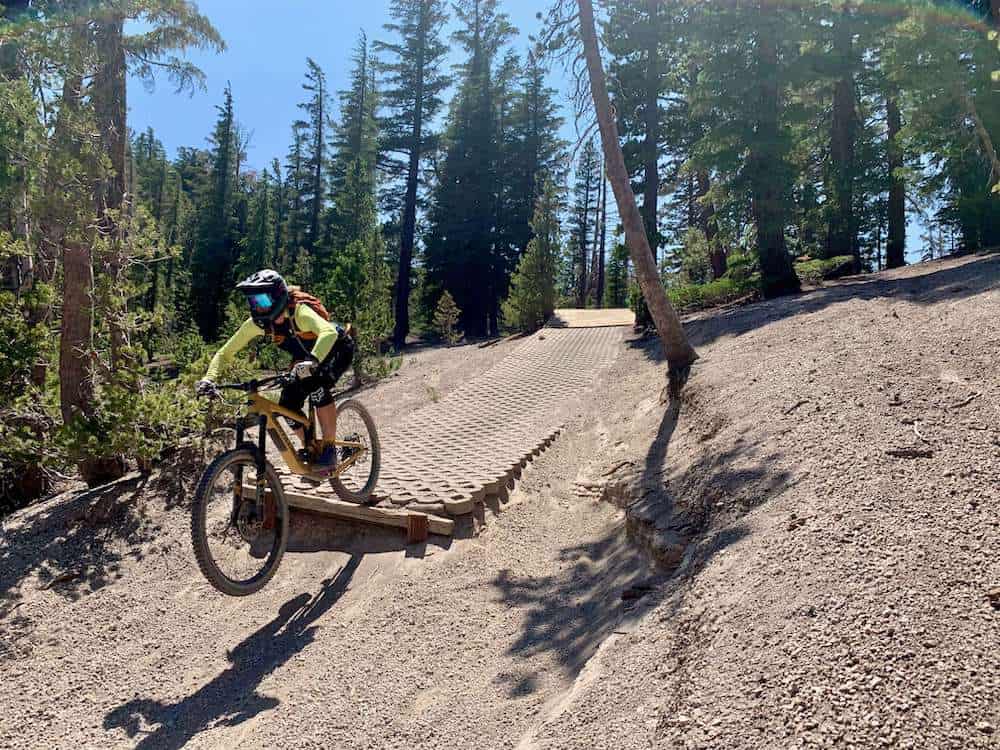
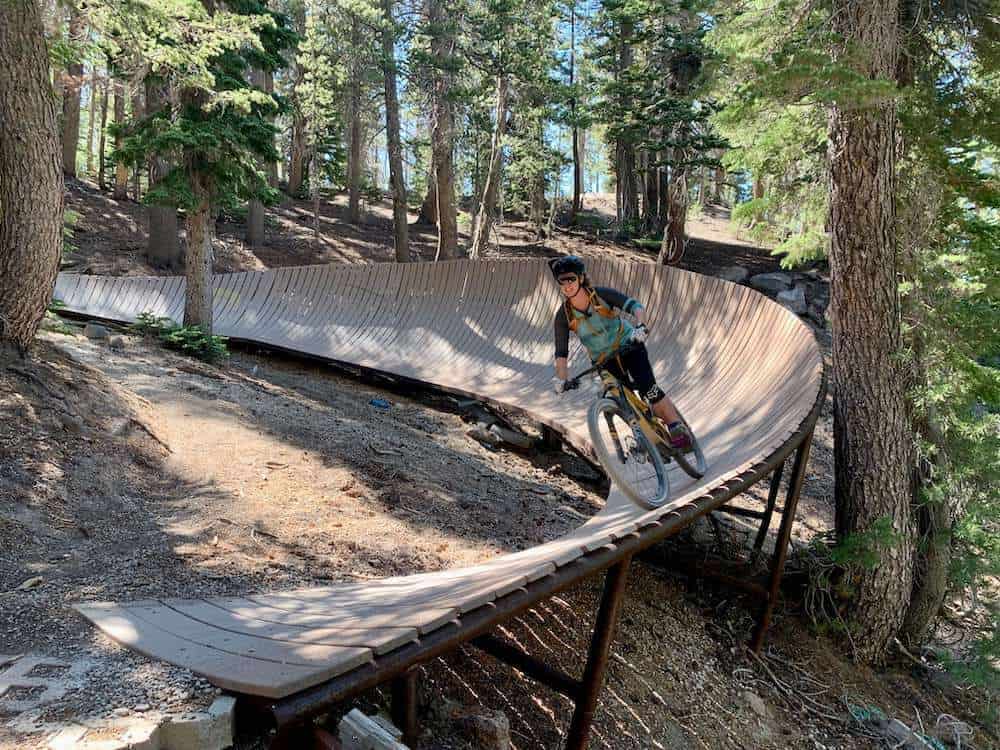
Just like no two trail networks are the same, mountain bike parks vary a lot. Some are freeride playgrounds packed with massive jumps and man-made features. Others are more old-school, with rooty tech, rock slabs, and the occasional “how-is-this-a-blue” descent. And some cater mostly to families and beginners with mellow flow trails and skills parks.
To avoid feeling overwhelmed when you first show up, do a little homework before you go. Browse the park’s website or Instagram to get a feel for the vibe. Even better, search for POV videos on YouTube — they’re one of the best ways to preview trail difficulty, speed, and style. A little research goes a long way toward showing up confident and ready to get rolling.

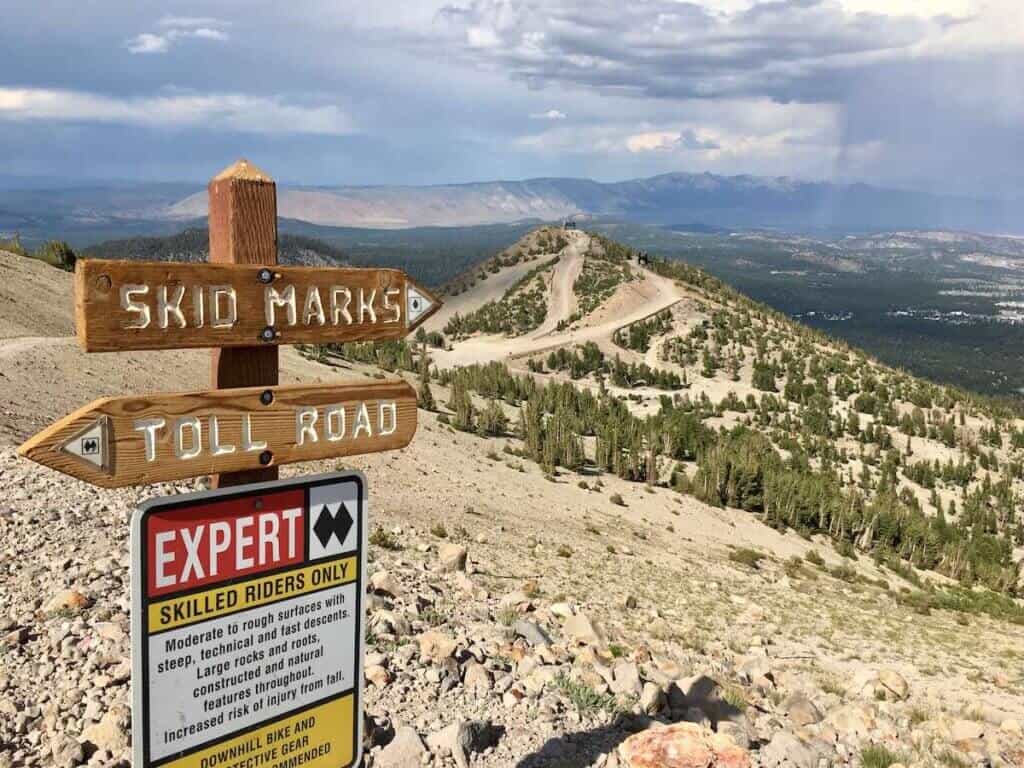
Understand the trail signs
Bike park trail signs might look like ski resort markings, but don’t assume a green trail at Whistler is the same as a green trail at your local trail system.
Most bike parks use this general system:
🟢 Green = beginner
🔵 Blue = intermediate
⚫ Black = advanced
🔺 Double black = expert / don’t say we didn’t warn you
But here’s the thing: a blue flow trail can feel totally different than a blue tech trail.
Some parks also use symbols to indicate jumps, drops, or mandatory features, so keep an eye out. If you’re not sure, ask a liftie or grab a printed map of the park — it should have a legend showing you what the trail symbols mean.
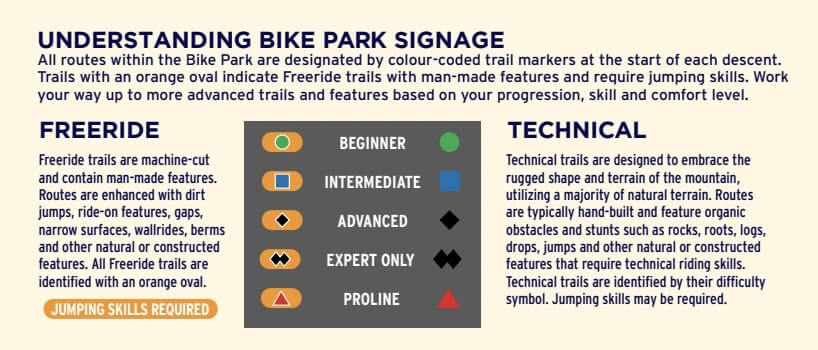
Pro tip: A blue at one park might ride like a black somewhere else (ahem, Whistler…). Start small and work your way up. There’s no shame in sticking to greens if you’re warming up or still learning.
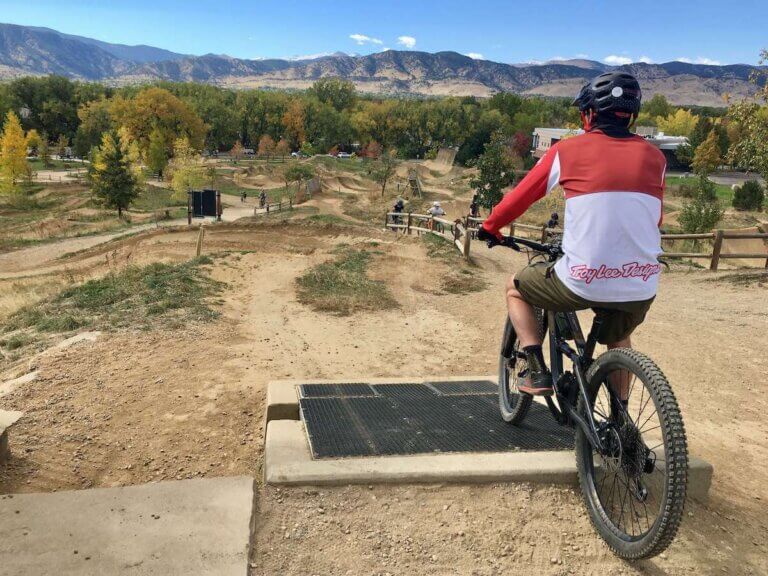
Ride the right bike (and gear up properly)
You can ride a bike park on your regular trail bike, but depending on the terrain, it might not be the most fun — or forgiving — choice. Bike parks are designed for downhill riding, which means long travel (think 150mm rear travel or more), beefy tires, and big rotors are your friends.
If you don’t have a full-suspension enduro or downhill bike, consider renting one. Most parks have rental fleets. Your wrists, back, and brakes will thank you.
As for gear, at the very least you’ll want a good helmet (ideally a full-face), knee pads, and gloves. I also like to wear goggles because there’s less chance of them slipping and they prevent dust and dirt from flying into my eyes. For a full list of what to wear at the bike park, check out my post on mountain bike protective gear.
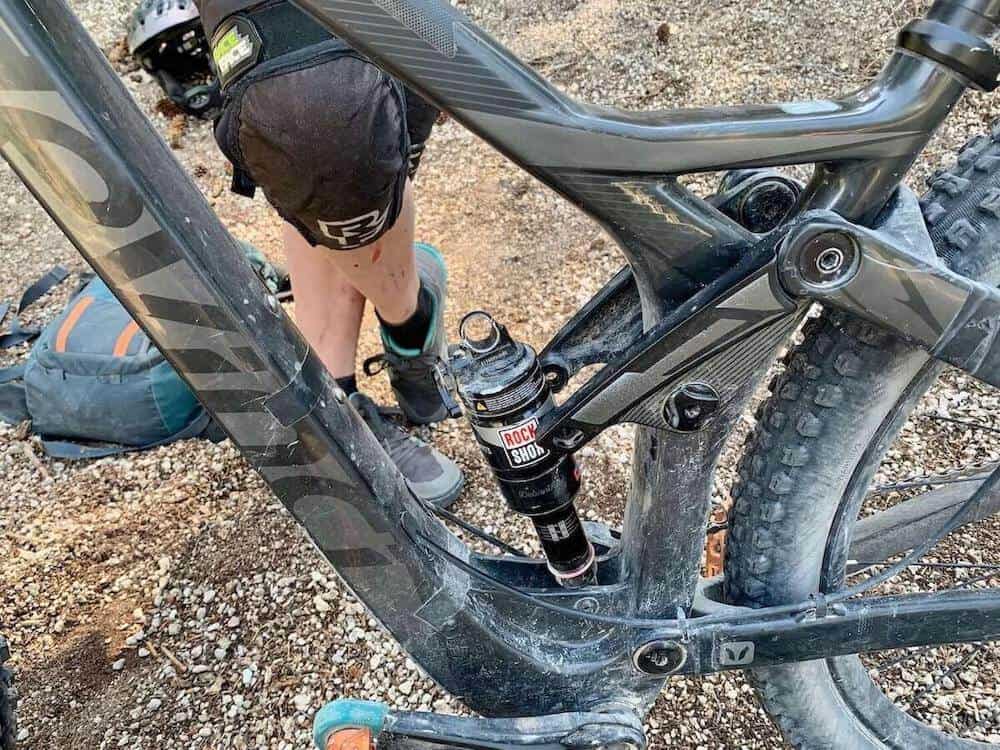
Do a bike check before you hit the lifts
If you’re bringing your own bike to the bike park, a thorough pre-ride check is non-negotiable. Bike parks are tough on bikes — it’s not the place to skimp on maintenance. You want to avoid mechanical issues mid-run or worse, crashes caused by faulty gear.
Here’s a quick checklist to run through before you roll:
If you notice anything wrong with your bike do not ride. It’s better to be safe than sorry and spend a few hours getting it fixed and tuned up at a bike shop than spending a few hours in the ER.
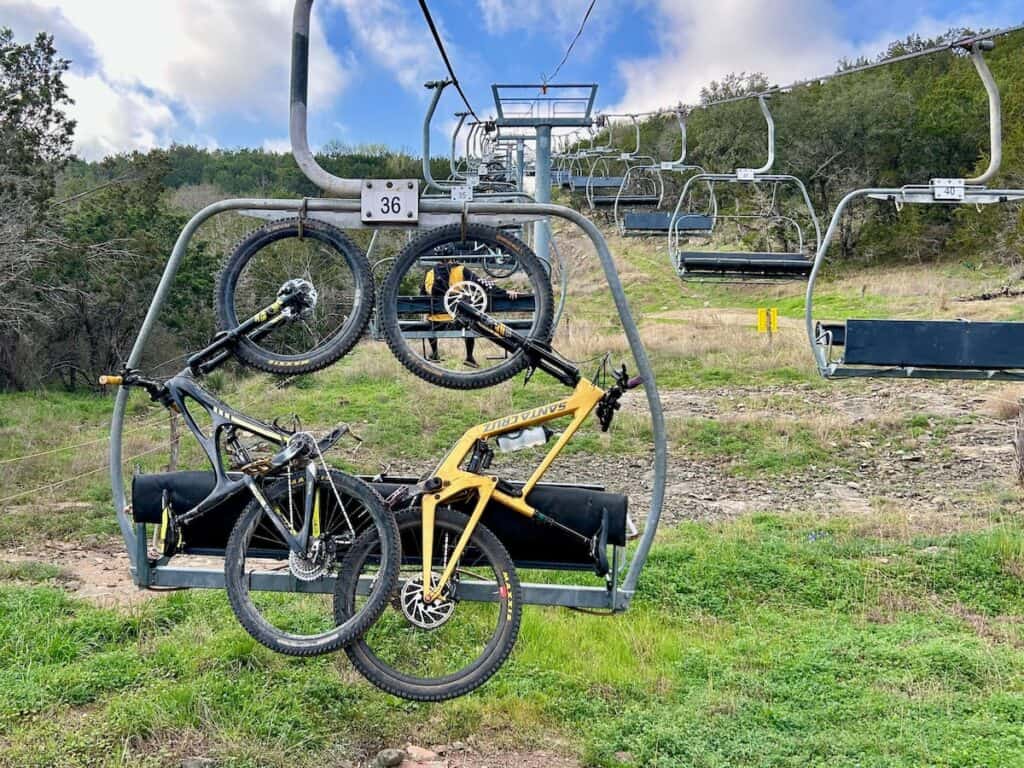
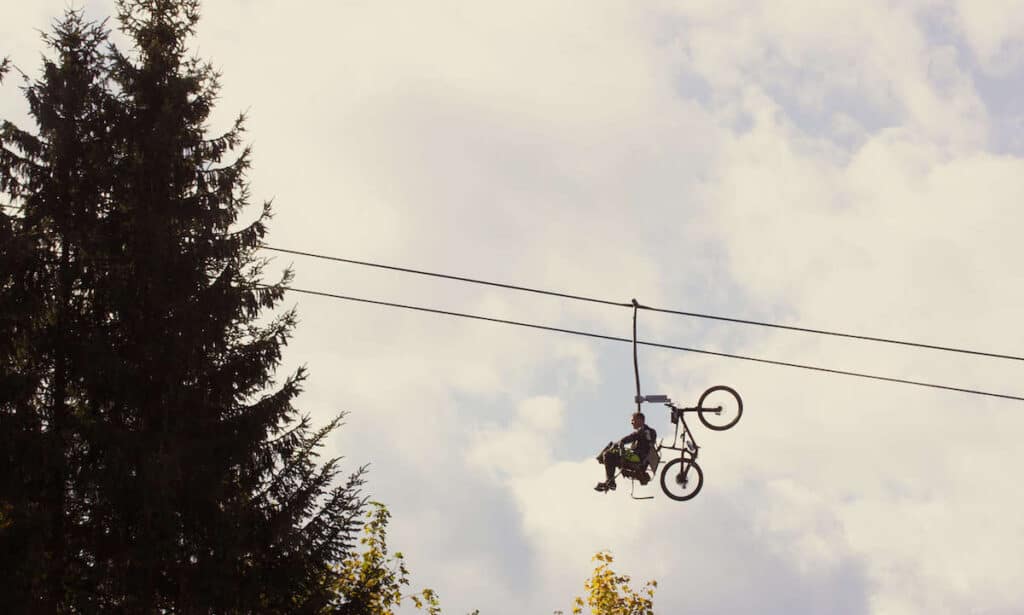
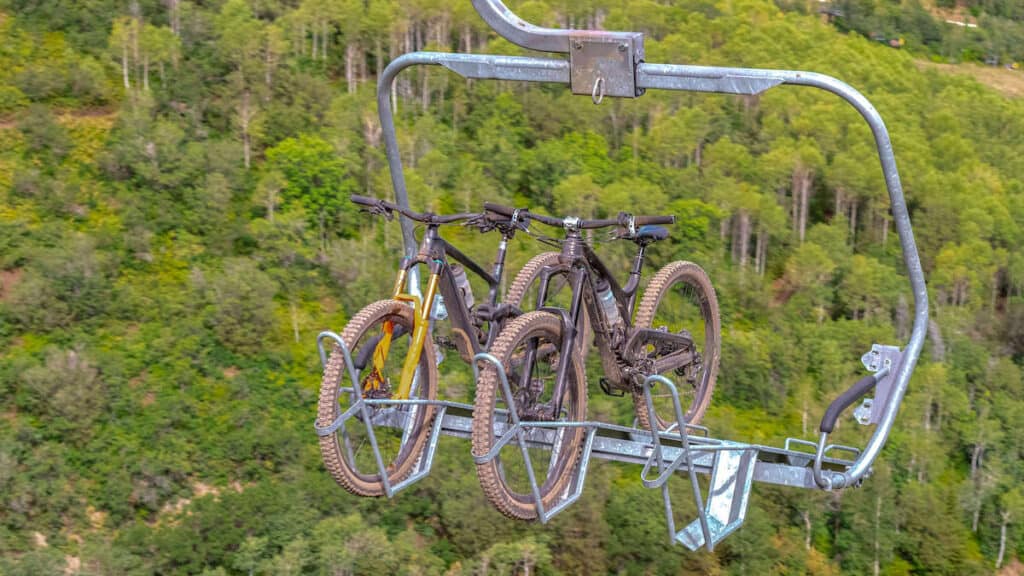
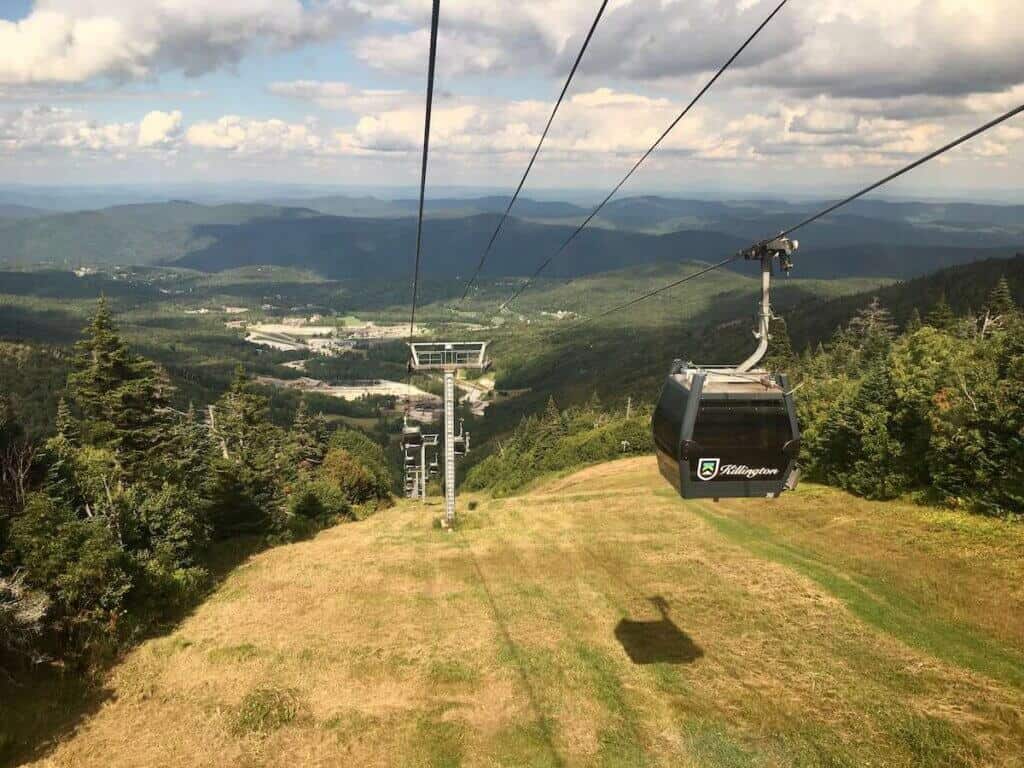
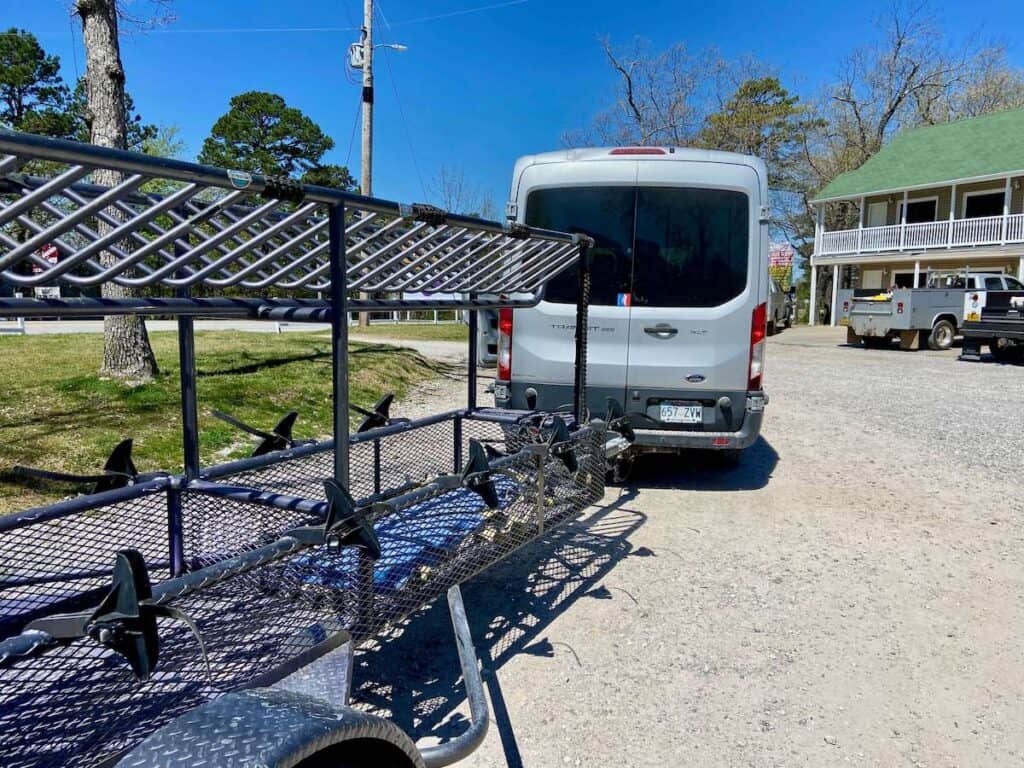
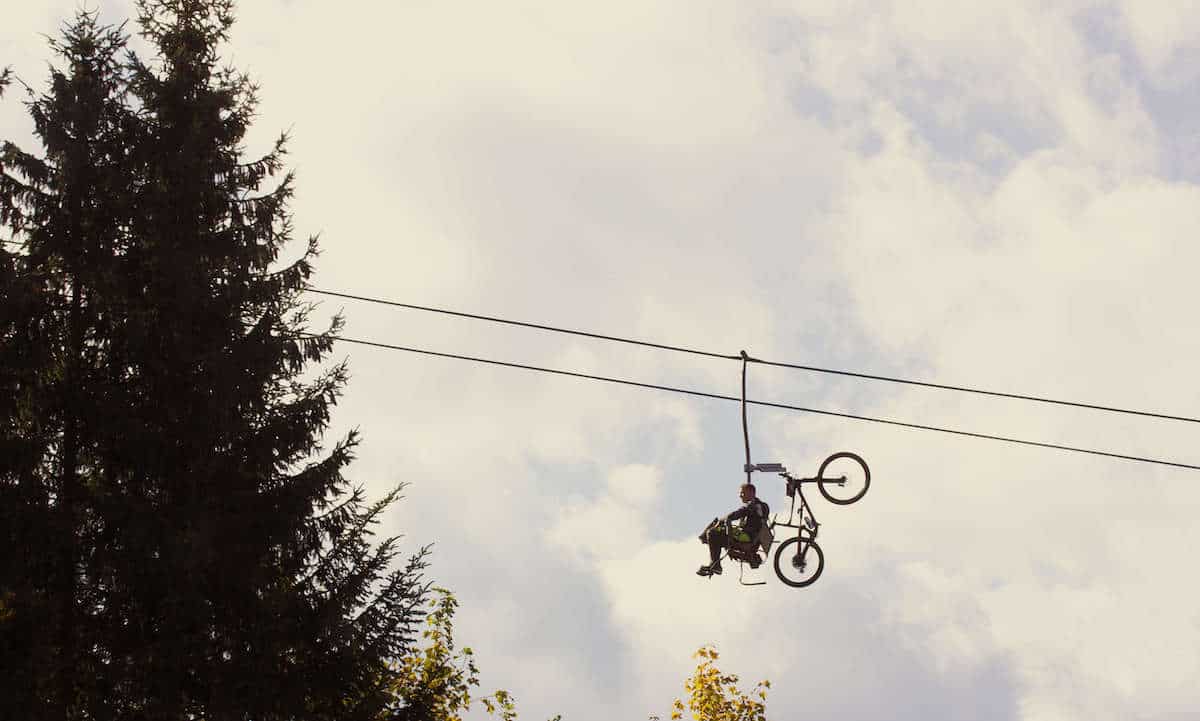
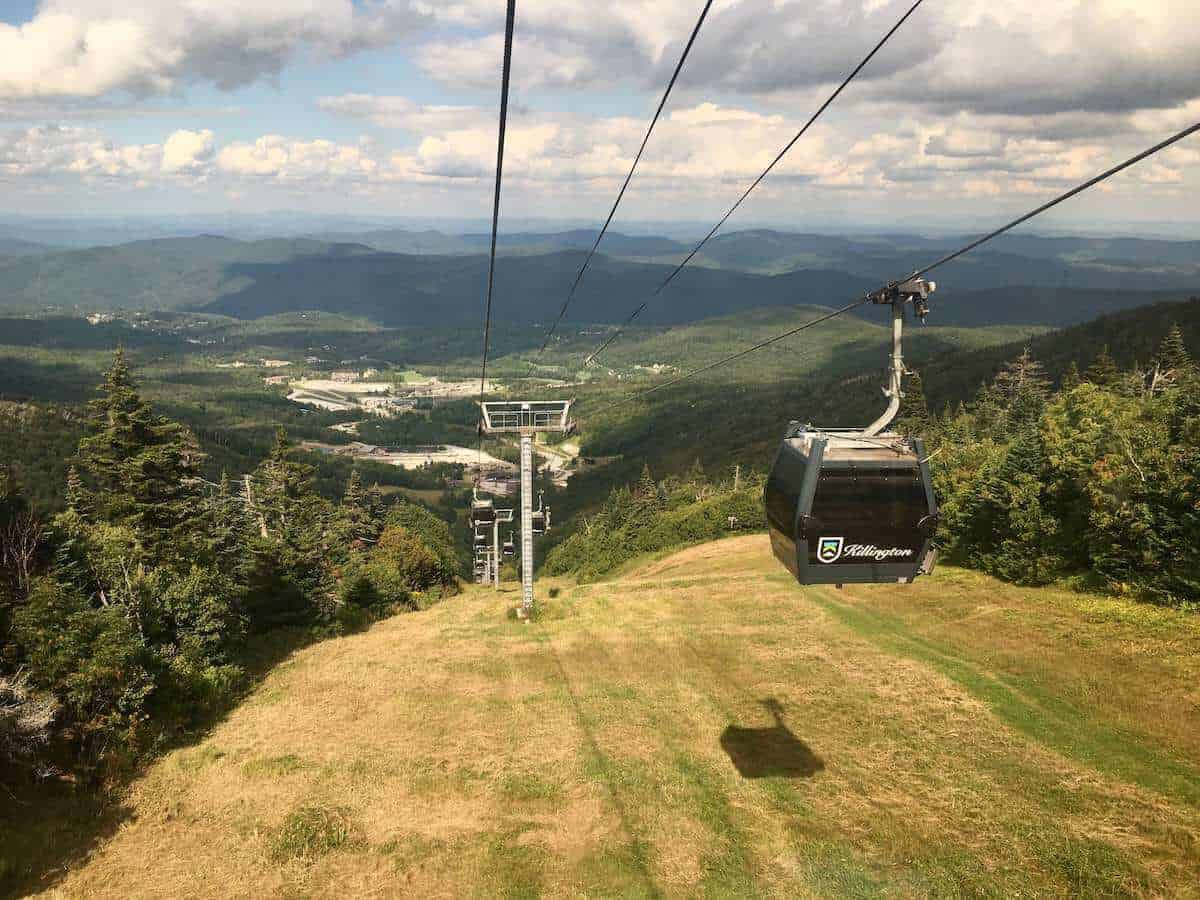
Learn how to load your bike
I know, not super specific advice, but the truth is, every bike park has its own lift setup. Some use chairlifts with platform-style racks, others have gondolas where your bike rides inside, and a few resorts get creative with tractor-pulled trailers or shuttle trucks. No two are quite the same, and loading up for the first time can feel weirdly high-stakes.
Here are a few tips to make it easier:
Here are a few different types of lifts you might encounter:


Brush up on the rules – and respect them
Bike parks aren’t a free-for-all. There are rules and they exist for a reason: to keep everyone safe and make sure the trails stay rideable.
Some of the big ones to know:
🚫 Don’t stop in blind spots. Pull off to the side, especially before jumps or corners.
🚧 Don’t cut corners. It trashes the trail.
📍 Follow signage. If it says “Experts Only,” believe it.
⬆️ Obey the flow. Most bike park trails are one-way. Don’t ride uphill.
🔒 Respect closures. Trail crew works hard. Don’t be that rider.
🛑 Don’t skid everywhere. Control your speed with good braking, not tire-skidding.
🪖 Wear a helmet. Ideally a full-face. At minimum, one that fits well and is rated for impact.
Pre-Ride, Re-Ride, Freeride
There’s a saying at bike parks: “Pre-ride, Re-ride, Freeride.” It’s simple, smart, and a good way to avoid turning your first lap into a yard sale.
Even the pros use this strategy — it’s how progression happens and helps keep riders safe on the trails.

Take breaks — and know when to call it quits
It’s easy to get caught up in the adrenaline and keep riding lap after lap, but fatigue is a sneaky danger at a bike park. I know when I’m tired, my focus slips and my riding can get sloppy. That’s when mistakes happen.
Listen to your body. Take regular breaks to hydrate, eat, and rest. If you’re feeling sore, shaky, or just done for the day, call it quits. You’ll have plenty more rides ahead, and it’s better to play safe than be sorry.

Have fun!
Bike parks are made for fun. Don’t worry about how fast you are, how much air you’re getting, or whether you’re “good enough.” Ride at your own pace, session what looks fun, and celebrate the small wins. That’s what it’s all about 🙂
Bike Park FAQs
Do you have tips for questions about how to ride a mountain bike park? What was your first experience like? What have you learned? Leave a comment below!


I love hearing from you and appreciate your comments! However, if you leave a rude, unconstructive, or spammy comment, it will be deleted. It’s cool to be kind. Have an awesome day!