
How Do You Choose A Mountain Bike Helmet?
Quick tips on How to choose a mountain bike helmet
I think we can all agree that a good helmet is one of the most important mountain bike gear purchases that you’ll make. Your brain is kind of valuable, wouldn’t you say? But how do you go about choosing a mountain bike helmet? With so many brands and models to choose from, it can be overwhelming.
Lucky for you, I’ve spent a lot of time testing out and researching mountain bike helmets over the years. In this post, I go through the steps of how to choose a mountain bike helmet so you can get the right one for your two-wheeled adventures.
1. Determine Your ride style
The first step in choosing your mountain bike helmet is to determine your ‘ride style’. Bike park shredders will want a different type of helmet than a cross-country rider looking to lay down the miles.
The three main types of mountain bike helmets are:
- A half lid (your ‘normal’ helmet)
- A full face helmet
- A convertible or ‘breakaway’ helmet
There are pros and cons to each:
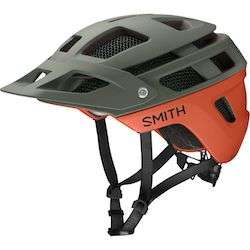
Half lid
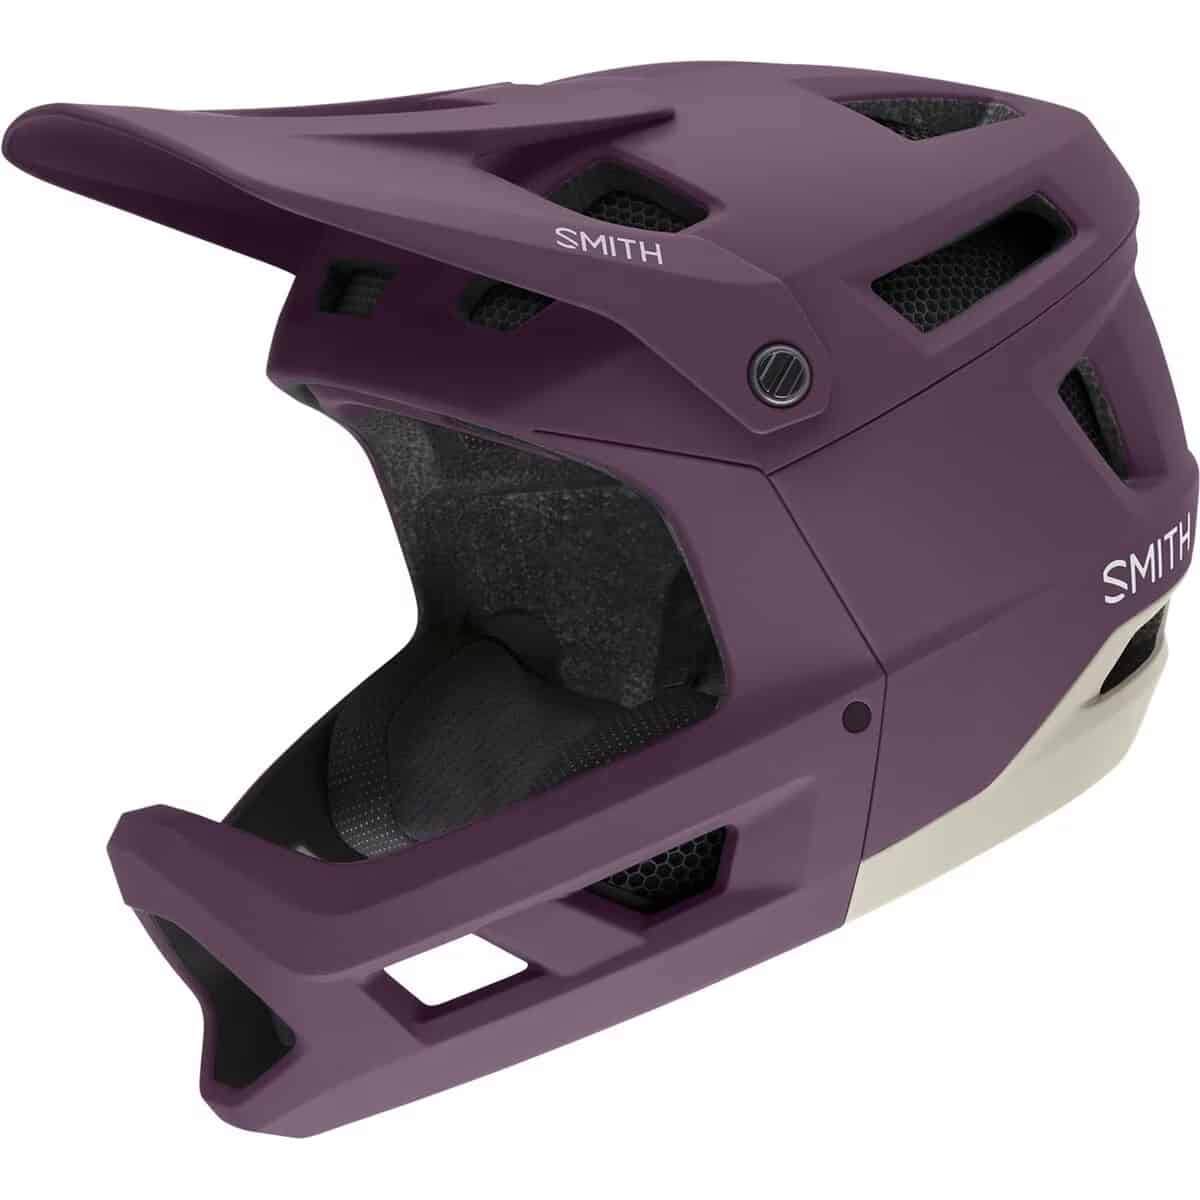
Full Face
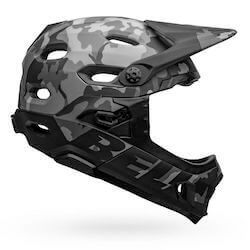
Breakaway


2. Understand safety Technology & ratings
Next, you’ll want to get a general understanding of the different types of safety ratings that mountain bike helmets can have.
Any mountain bike helmet you get should have MIPS technology or something equivalent.
Here’s a brief rundown of all the different safety certifications mountain bike helmets can be designed with:
3. Determine what features are important to you
Mountain bike helmets these days are designed with a lot of features and some are still pretty simple. Personally, I love my Giro Manifest, which has a magnetic chin strap, sunglasses ‘garage’, adjustable visor, and lots of vents for airflow.
Here are a few features to consider when shopping around for your next helmet:
Adjustable visor
Most helmets come with an adjustable visor, but some don’t. I find that being able to flip my visor up and down is very helpful, especially when riding in different lighting situations.
Also note the mechanism of how the visor moves. Some helmets have set visor positions so it doesn’t slip down when you don’t want it to while others (mainly full faces) lock the visor in place with a dial.
Eyewear garage
This is a feature I don’t think I’ll ever go without again. I love be able to store my glasses securely in my helmet when the light gets dim or I’m struggling up a hill and foggy my lenses up because I’m huffing and puffing so much. The Giro Manifest (my favorite helmet) has rubber grippers on either side of the helmet to keep my shades in place. Other helmets that feature an eyewear garage have similar designs.


Adjustable Fit dial
A fit dial at the back of a helmet is a must for me. I like being able to snug it close and feel like it’s not going to slip around when I’m bombing downhill. Most mountain bike helmets have a fit dial, but some of the more budget-friendly ones do not.
Ventilation
In general, the more protective a helmet is, the less ventilated it’s going to be. Full faces aren’t going to be as airy as a lightweight cross-country mountain bike helmet. I like to opt for something in the middle – great protection, but not a hot bucket on my head. If ventilation is a priority for you, look for a helmet that has plenty of large vents.
coverage
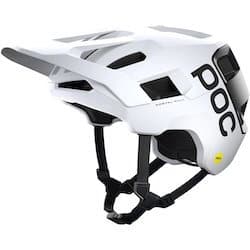
Mountain bike helmets come in all shapes and sizes with a variety of coverage options. For example, the Fox Dropframe provides coverage all the way down past the ears while the POC Kortal excels at coverage around the back of the head. Most fall somewhere in between.
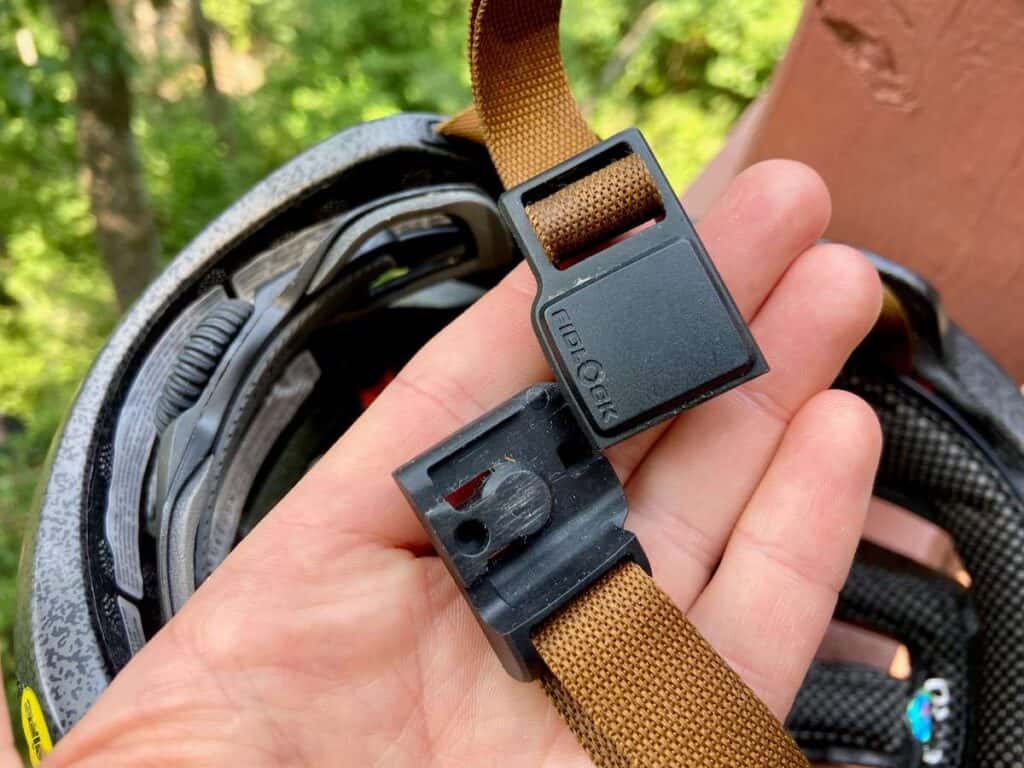
Chin Buckle system
I’m really loving the magnetic chin strap buckle on my Giro Manifest. It’s designed to be clipped and unclipped with one hand and I don’t think I’ll ever go back to a ‘normal’ buckle.
On the flip side, for full face helmets I prefer the moto-style D-ring chin strap because it’s safer and won’t come undone during a high-speed crash.

4. Measure Your Head
Choosing the right helmet size is the single most important factor when it comes to buying a helmet. Helmets that are too big will slip and slide around on your head and may even cause a crash if it slips down over your eyes.
On the other hand, helmets that are too small will sit too high on your head and not provide the protection where it’s needed. So, yeah, choose a helmet that is sized according to the circumference of your head.
To measure your helmet size, place a fabric tape measurer just above your ears and about 1″ above your eyebrows. Keep the tape level and measure around the largest part of your head.

This will give you a general measurement of helmet size. You can then make further micro-adjustments to the fit with a dial at the back of almost all mountain bike helmets.
Once you have your measurements, check it against the size chart provided by all helmet brands. For example, this size chart is for Smith mountain bike helmets.
5. Determine Your Budget
Mountain bike helmets cover a range of prices from less than $50 to well over $300. Most fall somewhere in the middle. While I don’t recommend buying the cheapest helmet on the market, you also don’t need to shell out hundreds of dollars for the most expensive option either.
But that being said, a helmet can literally save your life, so consider this gear purchase one of the most important ones that you can make.
6. Buy it & hit the trails!
Hopefully, this post has answered all your questions about what to look for in a mountain bike helmet. If you’re ready to shop around, here are my top mountain bike helmet picks. Choose the one that looks best for you and go hit the trails!

When To Replace Your Mountain Bike Helmet
If your helmet was made before 1999 when safety standards started to be required, it’s definitely time for a new one! Hopefully, you’re not riding around with one that is that old…
If you have a bad crash and your helmet gets damaged, that’s also a clear reason to get a new one.
As for replacing your helmet when there’s no clear reason to, there’s no set rule as to when you should upgrade your lid. Most helmets have a lifespan of 3-8 years, but it really depends on how often you use it, what abuse you put it through, whether it’s been sitting in hot or cold storage, and even how dated the technology is.
For example, is it MIPS certified? If anything looks questionable, it’s a good idea to err on the side of safety and invest in a new brain-saving helmet. I like to replace mine every 1-3 years.
What questions do you have about how to choose a mountain bike helmet? Do you have a favorite brand or model? Let me know in the comments!


I love hearing from you and appreciate your comments! However, if you leave a rude, unconstructive, or spammy comment, it will be deleted. It’s cool to be kind. Have an awesome day!