Trail Guide: Mountain Biking Moab’s Iconic Captain Ahab
Captain Ahab is one of Moab’s most iconic mountain bike trails. Learn more about riding Moab’s Captain Ahab in this trail guide.
Captain Ahab is a bucket-list ride for many mountain bikers visiting Moab. It’s personally one of my favorite trails for its brilliant routing, a multitude of alt-lines, incredible views, and puzzle-piece features that may take a few attempts to nail.
But Captain Ahab is definitely not for everyone. If you’re considering riding this trail, be sure to read through this post to make sure it’s a good fit and you know what to expect.
But if you are up for the challenge of hoofing it to the top (and it is a climb) and then pin-balling your way back down along slickrock rollers and rowdy rock gardens you’ll have a blast!
Here’s everything you need to know about mountain biking Moab’s iconic Captain Ahab trail.
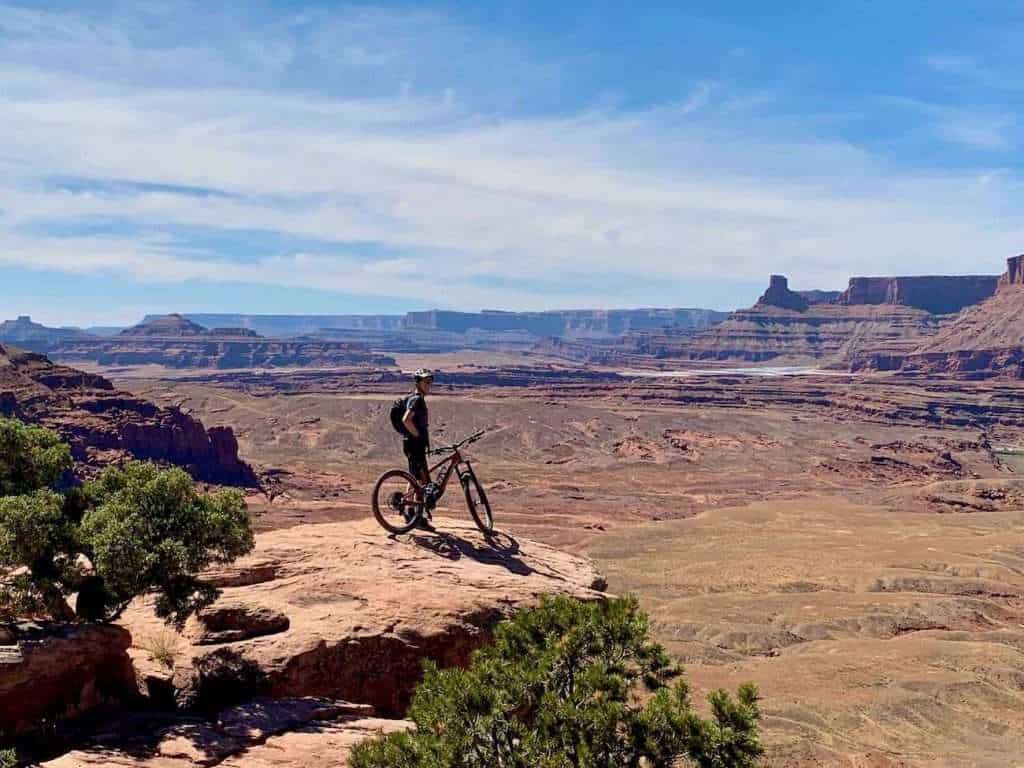
Need Help Planning Your Trip?
I’d love to chat about your Utah mountain biking adventure! Click the link below to set up a trip planning session.
Getting to the trailhead & where to park
Captain Ahab is located in the Amasa Back trail network south of Moab. To get there, take Kane Creek Boulevard near Chile Pepper Bike Shop and follow the road along the Colorado River for about 5.5 miles. You’ll see the Amasa Back Parking area on the right.
There is a bathroom and a large parking area with access to the Amasa Back Access Trail, which leads to the HyMasa Climbing Trail.
There is no cell service in the parking area, but you should get service higher up.
If you’re lucky, you’ll be treated to a base-jumping show on the cliffs behind you as you get ready to ride!
Read next: Looking to make the most of your time in Moab? Check out my Complete Guide to Mountain Biking in Moab.
What to expect on Captain Ahab
Captain Ahab is full of surprises. Some are fun, like little drops and alt-lines. Others will have you cursing like the plentitude of short, punchy ups when you’re in your hardest gear.
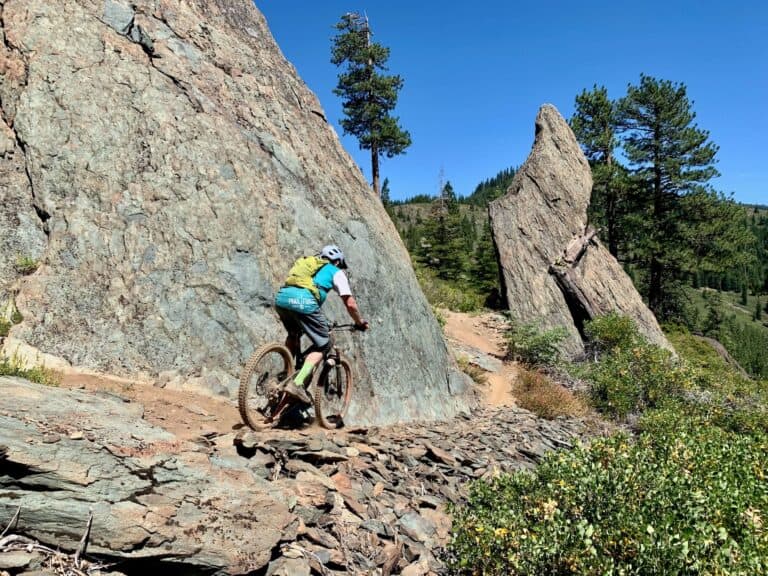
There’s a little bit of everything on this trail from flowy slickrock sections to rock rolls, big drops, and steep rock gardens.
Below are a few things to expect on your ride.
Prefer video? Check out BKXC Make his way down Captain Ahab
Trail Traffic
Captain Ahab is one of the most popular trails in Moab, so if you’re riding in the peak fall season around October, expect to share the trail with a lot of other riders. Personally, I think it’s kinda fun to ride with a crowd because the energy is high and you can cheer each other on!
You will probably also see Jeeps and OHVs on the doubletrack portion of the HyMasa climb. Drivers are usually pretty good about giving riders space and the right of way, but don’t assume they will stop for you.
Rocks. Lots of them
Captain Ahab is full of rocks. There are smooth stretches of red slickrock, a variety of rock drops, chundery rock gardens, built-up rock ‘waterfalls’, rock rolls, you get the point.
There’s very little dirt riding on Captain Ahab, it’s mostly the hard stuff.
Technical Riding
I would say that Captain Ahab is a black-rated trail with a few doubleblack features. It definitely requires good bike handling skills, confidence, and endurance.
I can’t say that there’s one crux feature, but rather a string of technical rock gardens and a half-mile stretch at the end that I personally think is the hardest due to the exposure, tight squeezes, and punchy climbs that require quick reactions and the right gearing.
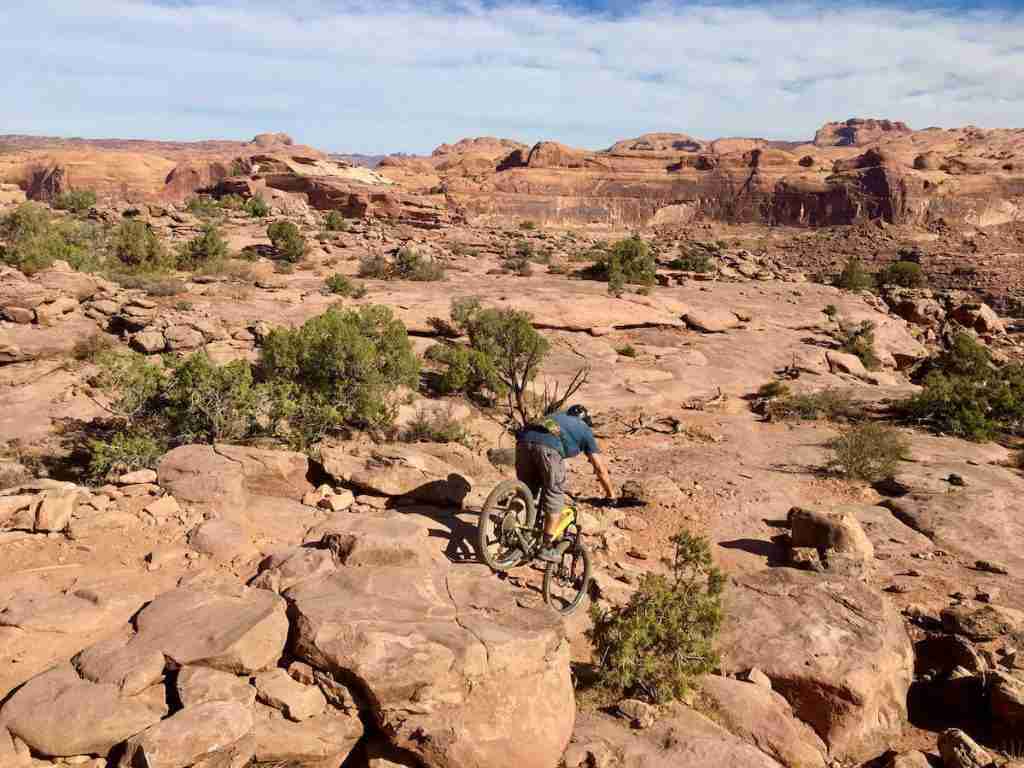
Multiple Alt-lines
Just like The Whole Enchilada, Captain Ahab has a ton of different alt-lines and line choices that make the riding engaging and different every time you ride it.
There are blue dots painted on the trail that will guide you through the most approachable lines, but if you keep your eyes open you’ll see plenty of other routes, some of them manageable, others best left to the pros.
If you have multiple days in Moab, Captain Ahab is a great trail to ride twice (or more!) so you can scope out the ‘bonus’ features on the first run down.
How to ride Captain Ahab
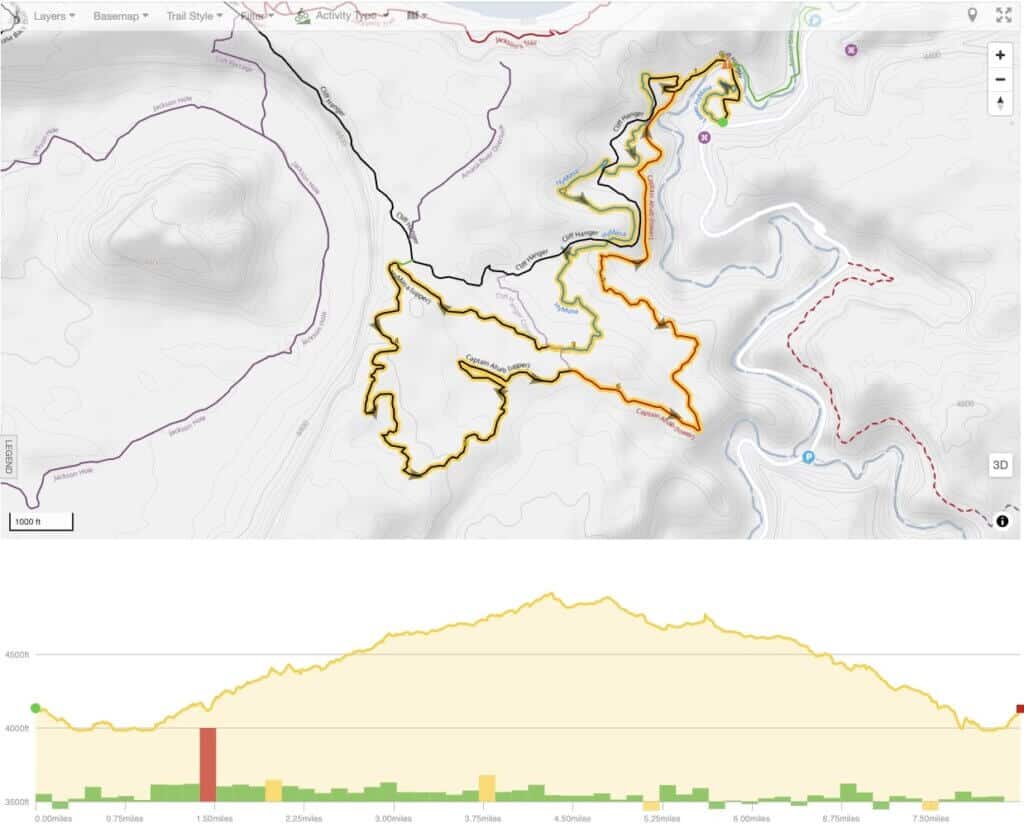
The full Captain Ahab Loop is only about 8 miles total, but unless you’re super fit and used to the punchy climbs of Moab, it’ll feel a lot longer.
Most of the climbing is done on HyMasa which is a mix of doubletrack and singletrack. The climb is ‘blue’ on TrailForks, but personally, I think the first mile or so has some of the hardest features on the whole trail!
Below is the best way to loop Moab’s Captain Ahab (in my opinion). I also give a shorter loop option if you don’t want to do the full route.
Route recommendation
1. Hymasa/Captain Ahab Loop
This is the full 8-mile Captain Ahab Loop. Don’t let the 8-miles fool you. There is a lot of climbing and you’ll be worked by the end!
Route directions: Amasa Back Parking > Amasa Back Access > Cliffhanger > HyMasa > Captain Ahab
Trail breakdown
Hymasa Trail
Starting at the Amasa Back parking area, take the Amasa Back Access Trail to the Cliffhanger Jeep Road. This section can be super sandy, FYI. There’s a short stint on the rocky doubletrack and then you’ll see the entrance to HyMasa on the right.
HyMasa is a mix of doubletrack and singletrack with lots of punchy climbs and rolling traverses all the way up to the start of Captain Ahab.
TIP: Take it slow on the climb and let your legs spin when you can! It’s not worth burning yourself out on the up. Captain Ahab still has plenty of punchy climbs and tricky features that you’ll need your endurance and energy for.
Upper Captain Ahab
You’ll pass the halfway sign for Captain Ahab (see shorter route below) and once you get there, it’s a bit more climbing to the top, but you’ll be glad to know that the worst is over.
HyMasa turns into Upper Captain Ahab and the last uphill push is mostly on grippy slickrock. Put it in granny gear and let it spin.
Now it’s time to descend, right? Wrong. After dropping in, you’ll quickly find that Upper Captain Ahab actually still has quite a bit of climbing, and to be honest, it’s pretty frustrating.
A lot of the pitches are super punchy and steep and come up fast. If you have trials skills, you’ll do well. There are some really cool rock features, though, that give you a taste of what’s to come on Lower Ahab.
Lower Captain Ahab
Lower Captain Ahab is where things start to get flowy and rowdy(er). There are tons of alt-lines, but if you just follow the painted lines on the slickrock, most of it is manageable for experienced riders.
There are drops, punchy ups, tight squeezes, and never a dull moment. Scout lines before you hit them and take your time because it’s worth every minute!
The last quarter mile of Captain Ahab is the most technical with steep exposure on the right and lots of rocky features that roll well but can be intimidating on the first go.
Lower Ahab spits you out at the junction of the HyMasa climb and from there, it’s an easy roll back to the parking area on Amasa Back Access.
Route recommendation
2. Half Ahab Loop
If you don’t have the time, energy, or endurance to do the full Captain Ahab Loop, it’s possible to just do the lower half (which is arguably the ‘fun’ half).
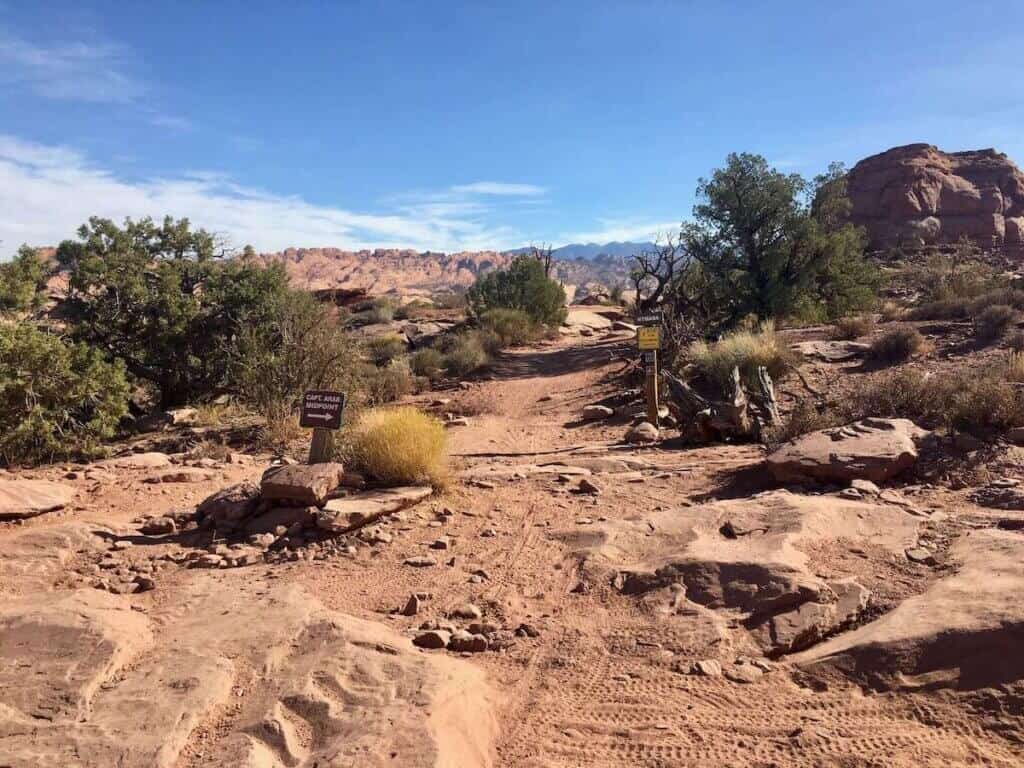
You’ll see a sign for Captain Ahab Midpoint near the end of the HyMasa climb, so if you want to skip the final slickrock ascent and the pedally upper Captain Ahab trail, then hang a left and you’ll be at the start of Lower Captain Ahab.
This loop is about 5.7 miles, but don’t think it’s easier. You still need to be an experienced rider!
Route directions: Amasa Back Parking > Amasa Back Access > Cliffhanger > HyMasa to mid-point > Lower Captain Ahab
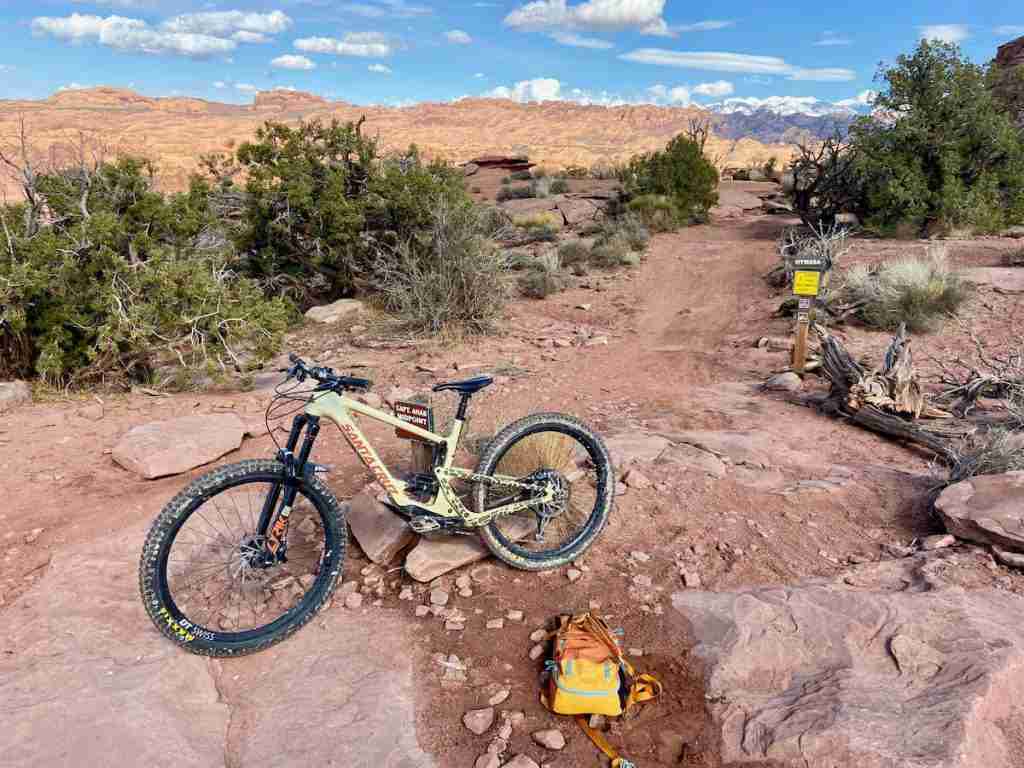
How Hard is Captain Ahab?
In other words, who should (or shouldn’t) ride this trail?
Captain Ahab is a very technical trail with some high consequences if you crash. I’m sure the local hospital has seen many riders straight from Ahab.
It is not suited for beginners or even intermediates. You’ll need substantial bike handling skills, confidence to roll steep features, and a good amount of endurance and stamina to pedal to the top.
If you’ve ridden Porcupine Rim, Captain Ahab is pretty on par with the techy features on lower Porcupine Rim as you near the river.
Alternative Ride Option
If you want to ride the Amasa Back trails, but aren’t up for Captain Ahab, many riders simply do HyMasa as an out-and-back. I’ve never ridden down HyMasa, but it seems like it would be a fun descent and I’ve definitely encountered people coming down as I was pedaling up.
This could be a great option if you have different levels of riders in your family or group and some want to do Ahab and others don’t.
Simply pedal up HyMasa together (and even to the peak of Upper Captain Ahab), and then take your respective trails back down – HyMasa or Ahab. Everyone will end at the parking area.
Best time to Ride Captain Ahab
October is definitely prime riding time in Moab when the temps are in the 70s and the skies are bright and clear. But you’ll also be sharing the trails with a lot of other riders, especially on weekends.
Other good times to ride Captain Ahab are late spring (March & April) or late September. You can ride Ahab in the summer but expect super hot temps and a blazing sun overhead, so bring lots of water.
Always check the weather and forecast before heading out on any ride.
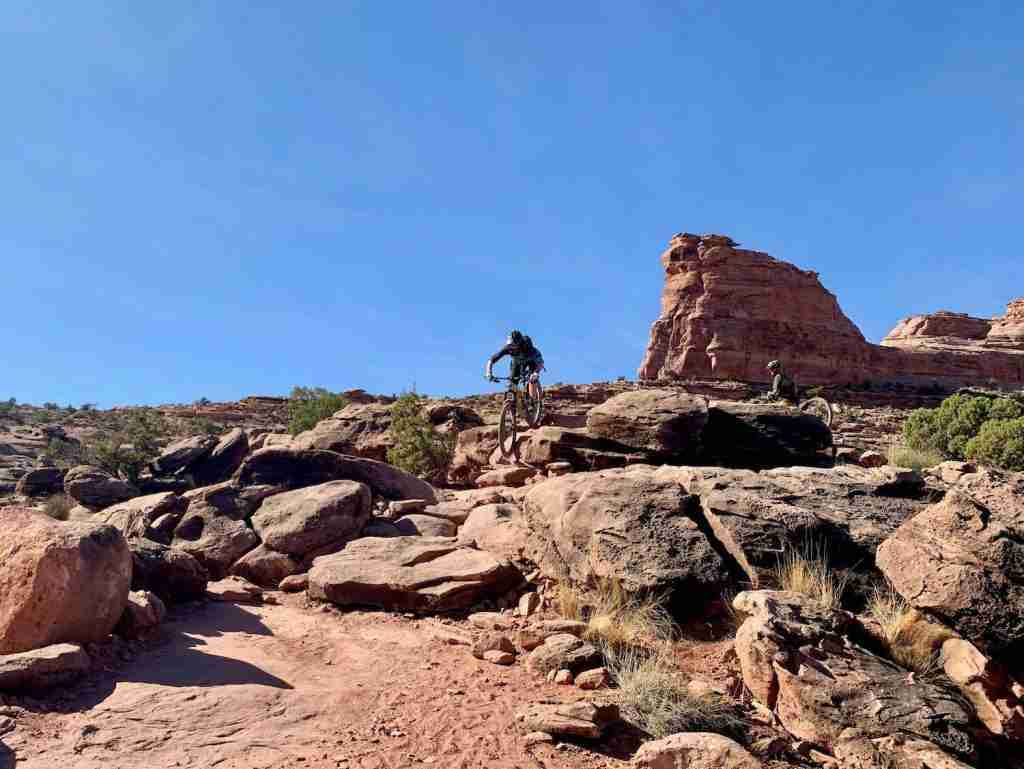
What to bring on your ride
In addition to the mountain bike pack essentials, here are a few of my gear recommendations for riding Captain Ahab:
- A full-face helmet (I’m always glad to have one on Captain Ahab)
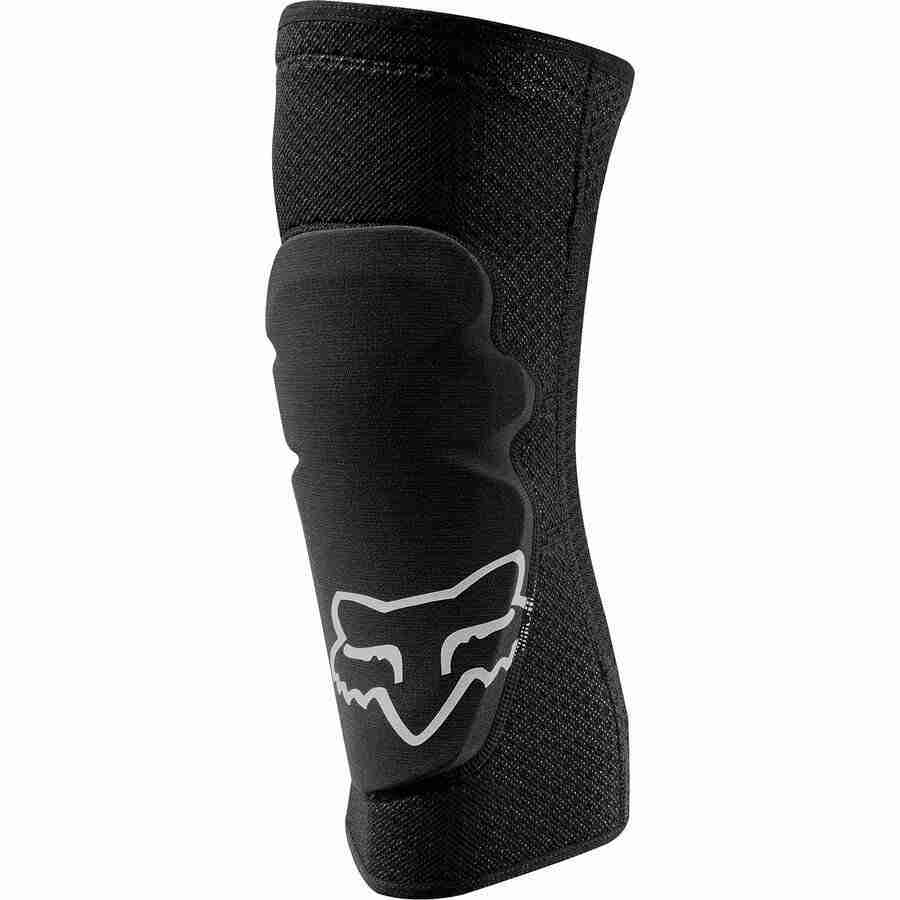
- Knee pads
- Salt tabs (I think these make such a difference)
- 2-3 liters of water
- First aid kit (you won’t need it until you do)
Looking for more fun things to do?
Check out these popular tours in Moab
Final thoughts
I hope this post helps inspire your first ride down Captain Ahab in Moab. It’s one of my favorite technical trails and one I get excited about riding again and again.
However, it’s important to note that this trail is not for everyone. It’s challenging, technical, and has quite a bit of climbing. If that sounds like a good day out on the trails to you, you’ll have a blast!
Be safe and keep the rubber side down.
RELATED POSTS
Looking for more Utah mountain biking adventures? Check out these related blog posts:
Have you ridden Captain Ahab? What did you think? Does it live up to the hype? What questions do you still have? Leave a comment below!





Not sure how much work has been done since you rode this but as of November 2021, The final 1/2 mile or so has been engineered with all of the roller coaster drops and rises to be rideable. They may not appear to be if you’re entering blind, but if you trust the trailbuilders (I got the chance to run int them and give thanks!), dropping in and carrying your momentum up the next rise is about as thrilling an experience a mountain biker could ask forever! Thanks for the great write up!
Thanks Chris! Last time I rode it I remembered the final 1/4 of a mile to be rideable, but definitely technical. Maybe they’ve done some work on it since. I guess I’ll just have to go back and ride it again 🙂
Thanks for explaining how to get to the trail. Was looking at the mtbproject.com and I couldn’t figure out how to get to the trail. I am and intermediate/advanced rider from LA – biked mostly California Santa Monica Mountains. I pretty sure that I will need to walk some sections but that would be ok – just want to enjoy the views of the trail – thanks for the article.
Glad you found it helpful! There are definitely some walk-worthy sections, so don’t feel pressure to ride it all. Have a great time and enjoy the views!