The Queen’s Ransom Bikepacking: How to Plan An Epic Trip
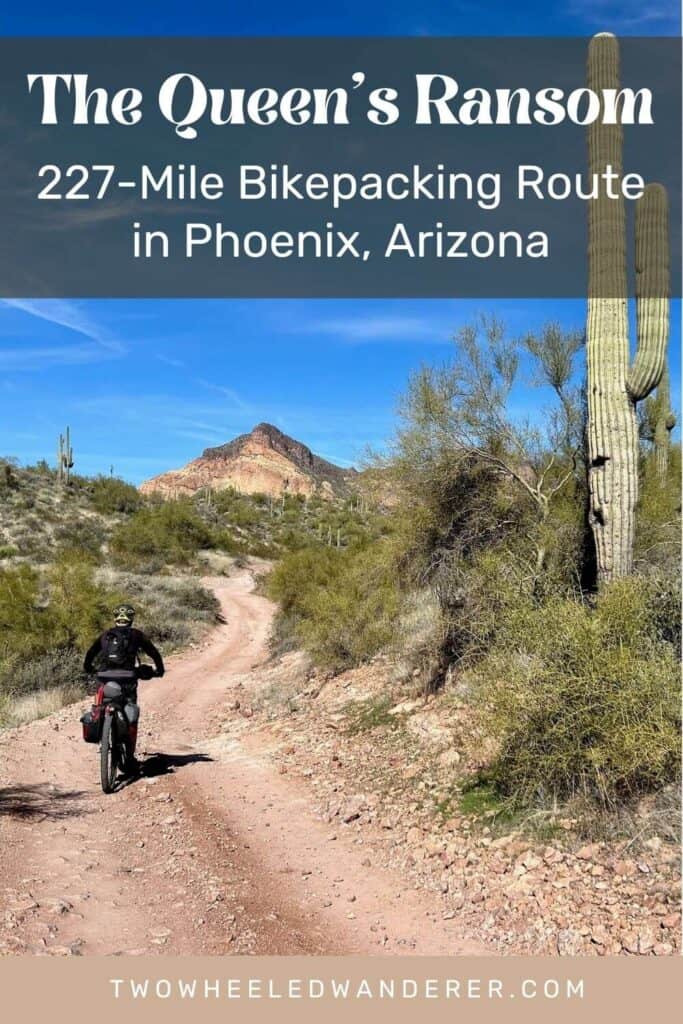
Plan an unforgettable trip on The Queen’s Ransom bikepacking route in Phoenix, Arizona with this detailed guide and personal trip report.
The more time I spend exploring the trails and outdoor adventures around Phoenix, Arizona (in the winter, of course), the more impressed I become with this desert destination.
It’s home to world-class mountain biking, stunning sunsets, beautiful desert vegetation, lots of wildlife (including wild burros and horses!), craggy mountains, and the fantastic Maricopa Regional Parks.
So I wasn’t really surprised when the 227+-mile Queen’s Ransom Bikepacking route far exceeded my expectations – in all ways.
I did this trip with a friend and it was one of the best (and hardest) bikepacking trips I’ve done to date. We spent long days in the saddle, rode some of the top singletrack in the city, endured some of the worst, climbed and descended thousands of feet, and camped in the folds of the Superstition Mountains.
John Schilling – the route architect – has packed at ton into this trip and there is never a dull moment. BUT, committing to The Queen’s Ransom should not be taken lightly. It’s a big undertaking and planning is essential. In this post, I share everything you need to know about preparing for you Queen’s Ransom bikepacking trip – an adventure you certainly won’t forget!
Need Help Planning Your Trip?
New to bikepacking? I’d love to help you plan your first (or next) overnight trip! Click the link below to set up a Q & A session.
The Queen’s Ransom at a Glance
My stats & trip details
These are the stats from my trip, which may differ from yours depending on where you camp and if you deviate from the route to get supplies.
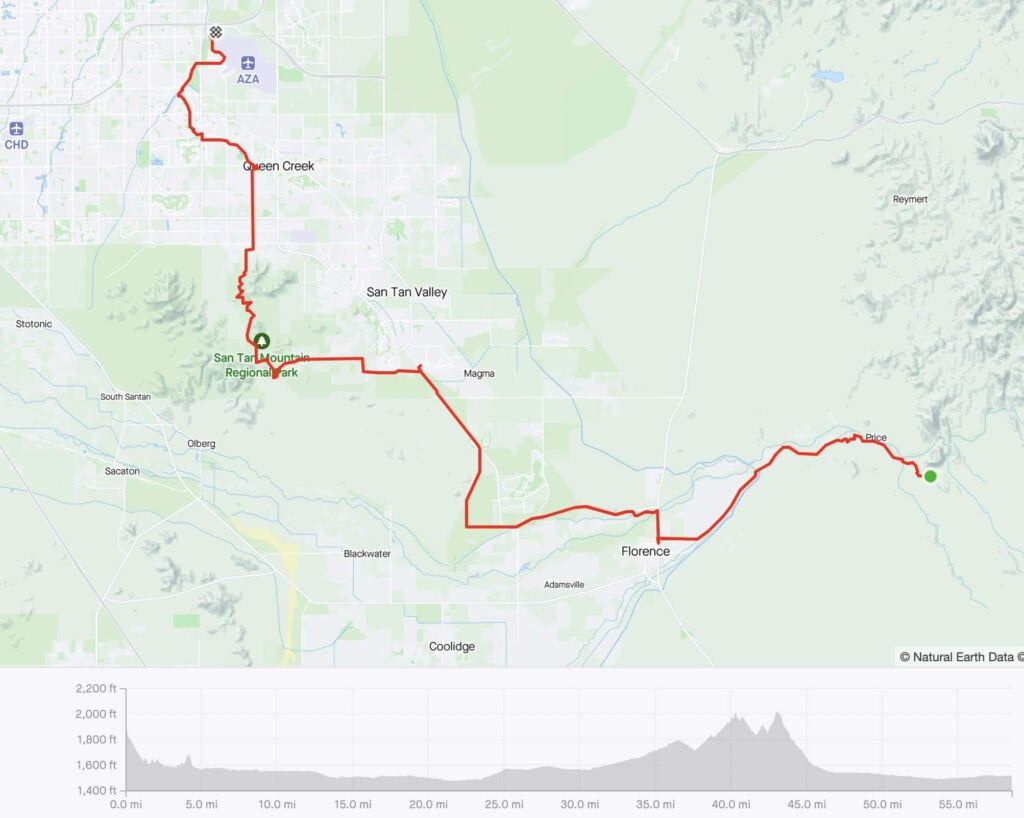
The numbers are a bit different from the stats on Bikepacking.com – perhaps from GPS error, backtracking a bit, and going off route for supplies.
I have more tips for planning your trip in the Planning section below.
The Queen’s Ransom Map
Highlights of the Queen’s Ransom
The Queen’s Ransom was one of the most memorable bikepacking trips I’ve done to date (and I’ve done a few bikepacking/touring trips…)
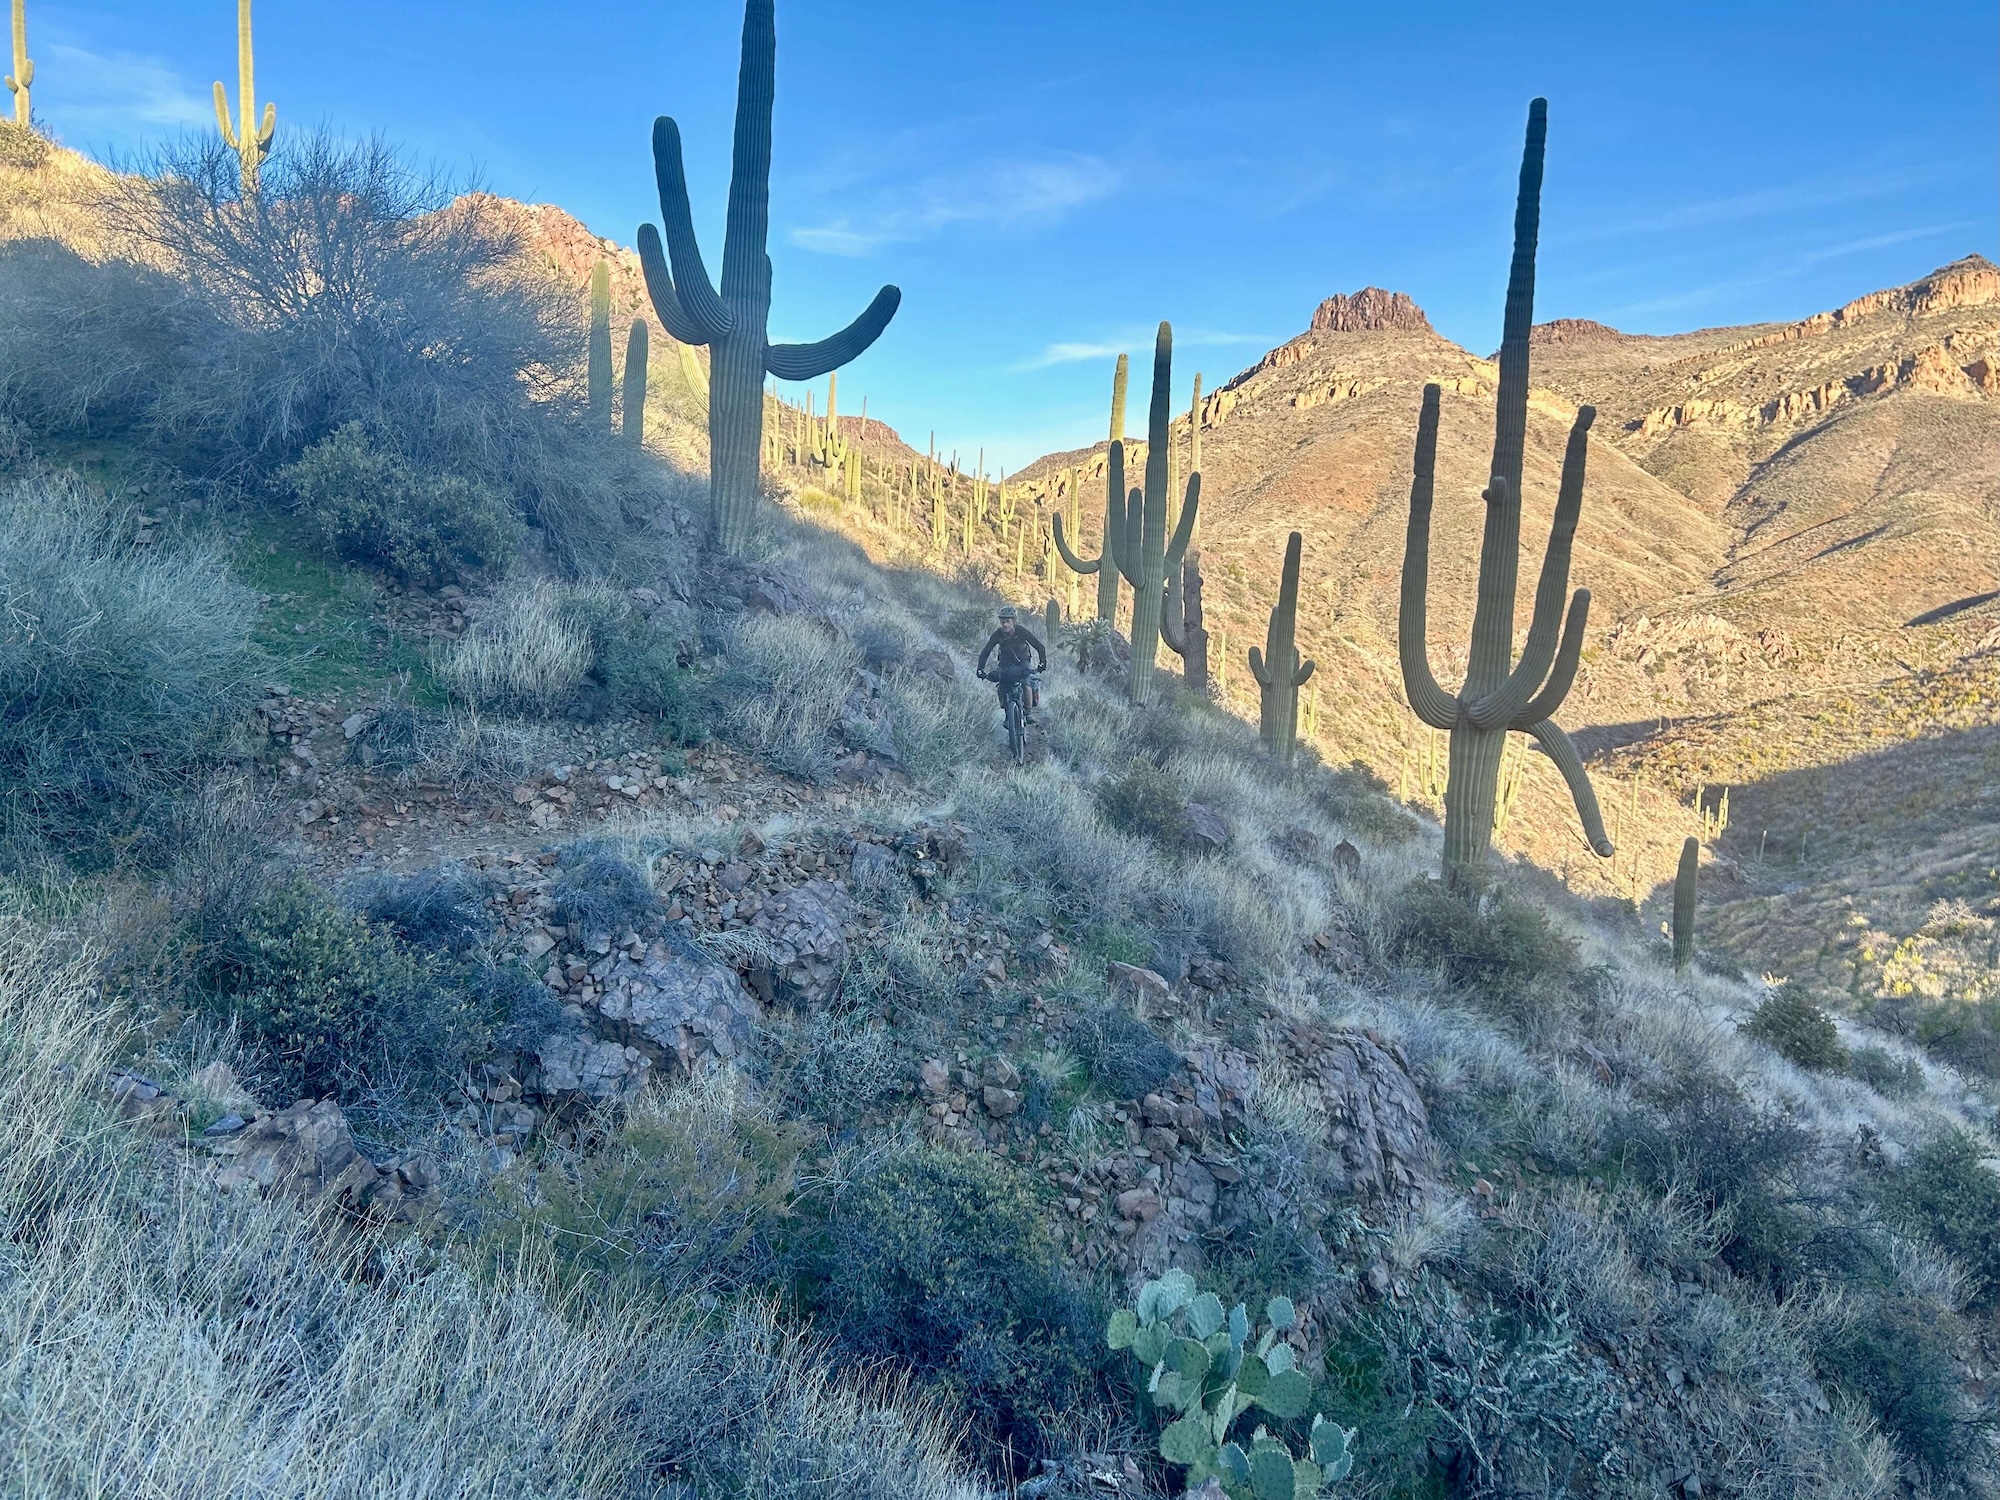
One of the things that stood out to me the most was how varied the route is. There is literally every kind of surface and trail/road type you can imagine from a small stretch of paved road to some of the worst singletrack you’ll probably ever roll your tires over.
But that’s why I loved it – there was never a dull moment! Here are a few more highlights from the trip:

Challenges of the Queen’s Ransom
Of course, every trip is going to have its struggles and challenges and The Queen’s Ransom definitely throws some your way.
Part of the fun of bikepacking adventures is expecting the unexpected, but here are a few challenges you should expect along the way:
Important things to know
The Queen’s Ransom isn’t for everyone. It’s tough – physically and mentally – but it’s also absolutely beautiful and packs a lot in over a relatively short amount of mileage.
Before committing to this route, here are a few important things to know:

Planning your Queen’s Ransom Bikepacking Trip
Sound like your kind of adventure so far? As I’ve mentioned several times already, I loved my Queen’s Ransom bikepacking trip. Sure, it was hard and challenging at times, but it was also beautiful and remote and showed off a different side of the Sonoran desert that I hadn’t seen before.
If you’re thinking about taking on this trip, below I’ve outlined a few tips to help you plan your trip.
How many days do you need?
We did our trip in 5 days, averaging about 50 miles a day and climbing between 3,000-5,200 ft each day.
Bikepacking.com recommends 4-6 days. Four days would be very challenging and honestly so would 6 days because of where reliable water is located. I thought 5 days was perfect.
Here’s a rough itinerary of what we did. For more details, read my Day-by-Day section below.
- Day 1: Camp at Usery Mountain Regional Park (or go about 10 miles further and free camp on State Trust Land)
- Day 2: Wild camping off of Gold Rush Road
- Day 3: Wild camping at the ATA Rain Collector at the top of Alamo Canyon
- Day 4: Wild camping a few miles past Area 52
- Day 5: Finish

I’ve been trying to think of how to do it in 6 days. This could be an option, however you’d miss camping at the summit of Alamo Canyon and ordering pizza from Old Time Pizza!
- Day 1: Camp at Usery Mountain Regional Park (or go about 10 miles further and free camp on State Trust Land)
- Day 2: Wild camping off of Gold Rush Road
- Day 3: Copper Mountain Motel in Superior
- Day 4: Camp along the Gila River (there are several river access points if you need water)
- Day 5: Wild camping a few miles past Area 52
- Day 6: Finish
What bike to bring
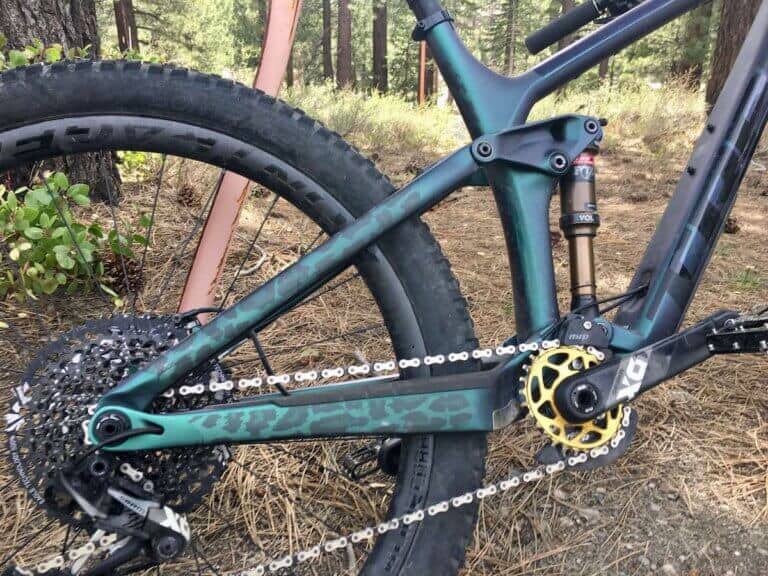
The Queen’s Ransom is 100% a mountain bike ride. Almost half of the route is on singletrack (of varying ‘fun-ness’…) so I highly recommend bringing either a hardtail or a short-travel full suspension mountain bike.
I rode the route on my Juliana Joplin with 120mm of front fork travel and 130mm of rear suspension. I thought it was the perfect bike choice – the short travel was good for climbing and still allowed me to have fun on the descents.
My friend rode his Kona hardtail. He’s a very good rider, so it didn’t slow him down on the chunky sections, but he did say that he’d probably have more fun on a full suspension bike.
As for tires – go wide! There are some very sandy stretches and wider tires will overall make the riding more comfortable. I rode 2.4 tires and I believe he had the same. I wouldn’t go any narrower than 2.4s.

Where to start & Leave your Car
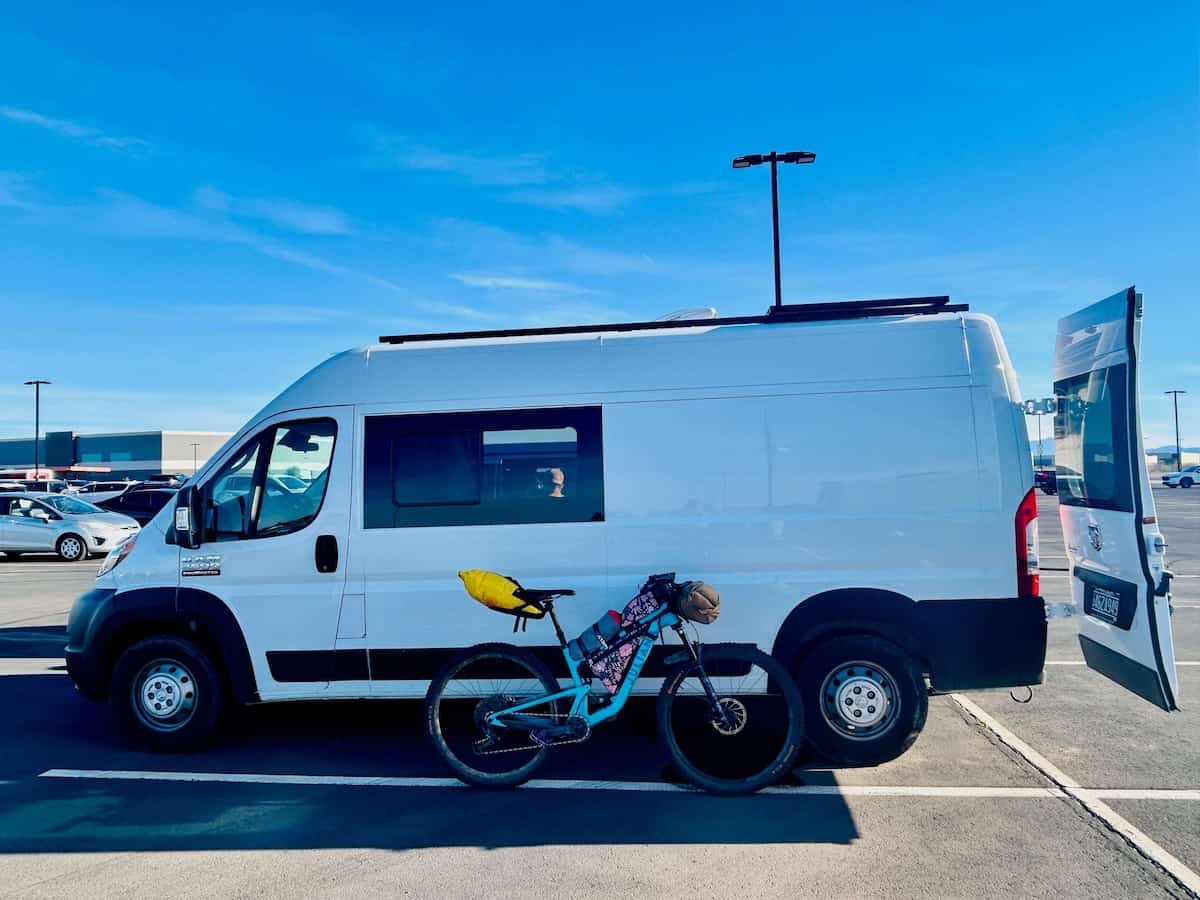
On bikepacking.com, the route starts and ends at the Phoenix-Mesa Gateway Airport where there is paid long-term parking ($9/day for economy and $11/day for covered).
We parked in the economy lot and started our trip from there. There were plenty of spots open.
However, when we returned to our vehicles at the end of the Queen’s Ransom, security rolled up and asked if we had a flight leaving that day. When we said no, the security lady was not happy. She said that this lot was only for people flying out of the airport – not for any other long-term parking.
My two cents is that the Mesa Gateway Airport offers safe, secure parking and is a great place to start the trip. If I were to do the trip again, I’d still park in the economy lot and tell a white lie if security asks if I have a flight that day 😉
Navigating the Route
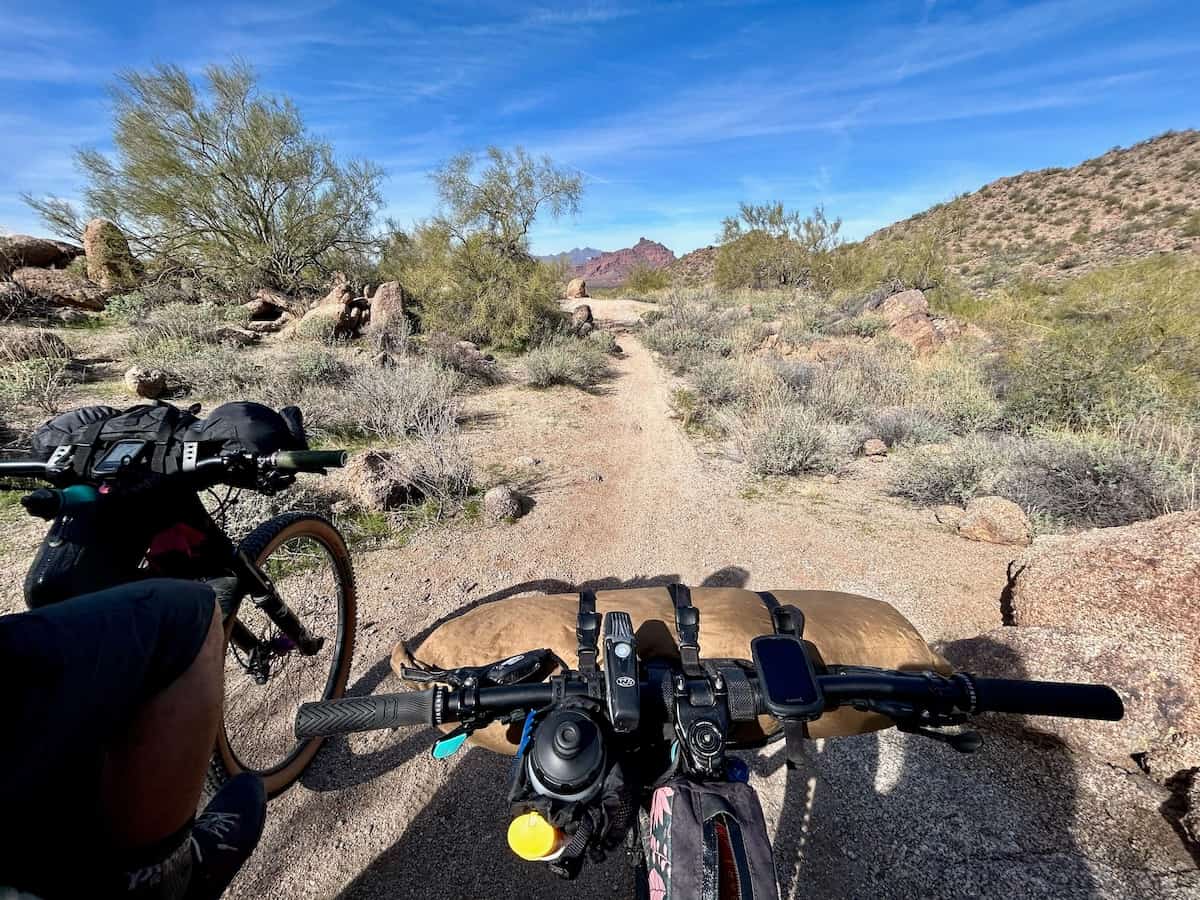
Navigating the Queen’s Ransom bikepacking route can be tricky at times. A GPS computer – like the Garmin Edge – is absolutely necessary.
I don’t recommend navigating with your phone unless you have a large battery bank and are 100% sure that you won’t run out of juice. It would not be good to get stuck out there without any sort of map or GPS.
We had to backtrack/doublecheck our route every day of the trip. There are tons of twists and turns, singletrack trails, cow trails, Jeep roads, and other places to get lost.
Make sure you have a reliable way to navigate.
Need a GPS Computer?
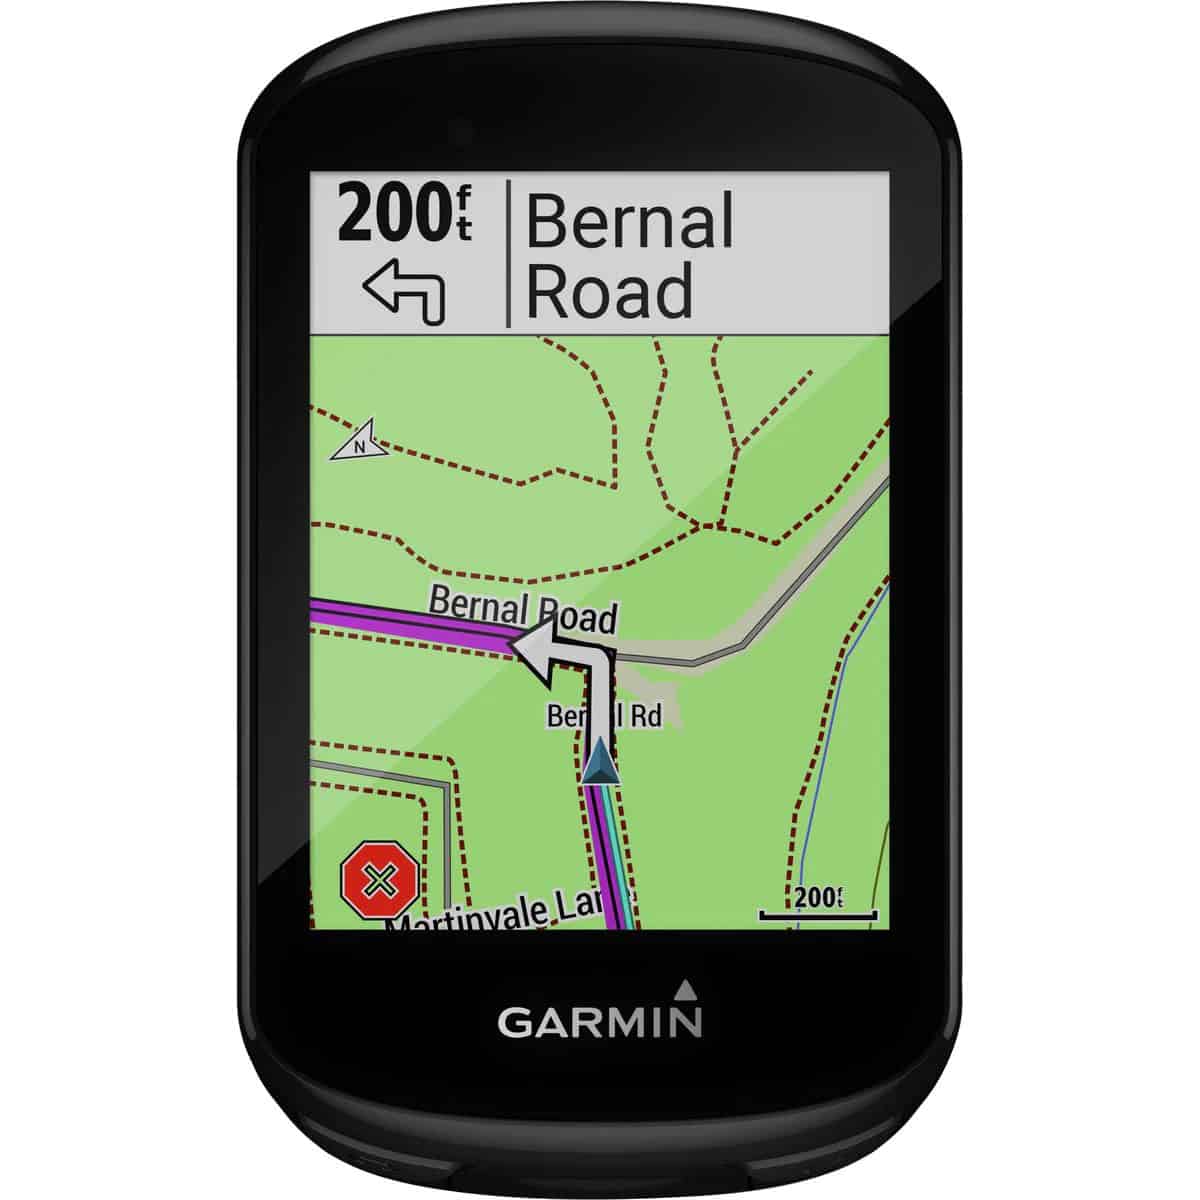
Never get lost again! I’ve been using my Garmin Edge bike computer for a number of years now and it has never led me astray (although it has told me that climbs were over when they clearly were not…).
I’ve used the Garmin Edge on multi-day bikepacking trips, long gravel rides, and even to navigate my epic adventure on the Ruta Maya through Central America.
It has all the features you need for a cycling trip like GPS tracking, an easy-to-use touchscreen, tons of stats, and the ability to connect to other apps like Ride With GPS, Strava, and TrailForks.
If you want to learn more, read my full review of the Garmin Edge.
Water
Finding reliable water along The Queen’s Ransom is definitely doable, but you do need to plan in advance. We had access to water every day, BUT sometimes that meant carrying water to our campsite or taking a quick detour to fill up.
Below is a map that shows all the reliable water spots along the route. You may also come across puddles, pools of water in river beds, cattle tanks, etc…

- Mile 16: There are bathrooms and a water fountain at Desert Trails Park
- Mile 34.5: Usery Regional Park Campground with potable water. If you’re not camping, there are restrooms along the trail with potable water.
- Mile 55: Goldfield Ghost Town is slightly off the route, but it’s a fun tourist stop with good food options. You could also duck into Lost Dutchman State Park and sneak some water, too.
- Mile 64: Basha’s Grocery Store. Get water from the soda fountain near the front door.
- Mile 89: Queen’s Valley Convenience Store or the Country Club and Grill
- Mile 108.5: Circle K in Superior
- Mile 125.5: ATA Rain Collector – filter before drinking
- Mile 134: Access to the Gila River: Apparently it’s downstream from a mine, so use sparingly.
- Mile 151: ADOT Yard. The water tap is outside the fence along the road
- Mile 185: The town of Florence has several gas stations and restaurants
- Mile 219: Back to civilization! Several gas stations and grocery stores.

Food
Like water, you’ll need to plan out your food and meals as well. The nice thing, though, is that there are plenty of grocery and convenience stores along the route, so you really don’t need to carry more than a day’s worth of food.
From the start, we each brought a dehydrated meal (Backpacker’s Pantry is my go-to) and a box of mac and cheese. We ate the mac and cheese on night 1 at Usery and the dehydrated meal on night 3 in Alamo Canyon.
The rest of our meals and snacks were picked up along the route.
Pizza!!!! Don’t miss out on ordering a pie or two from Old Time Pizza in Kearny. You can have it delivered to the ADOT Yard. Get some extra because there’s no food between there and Florence.
Camping
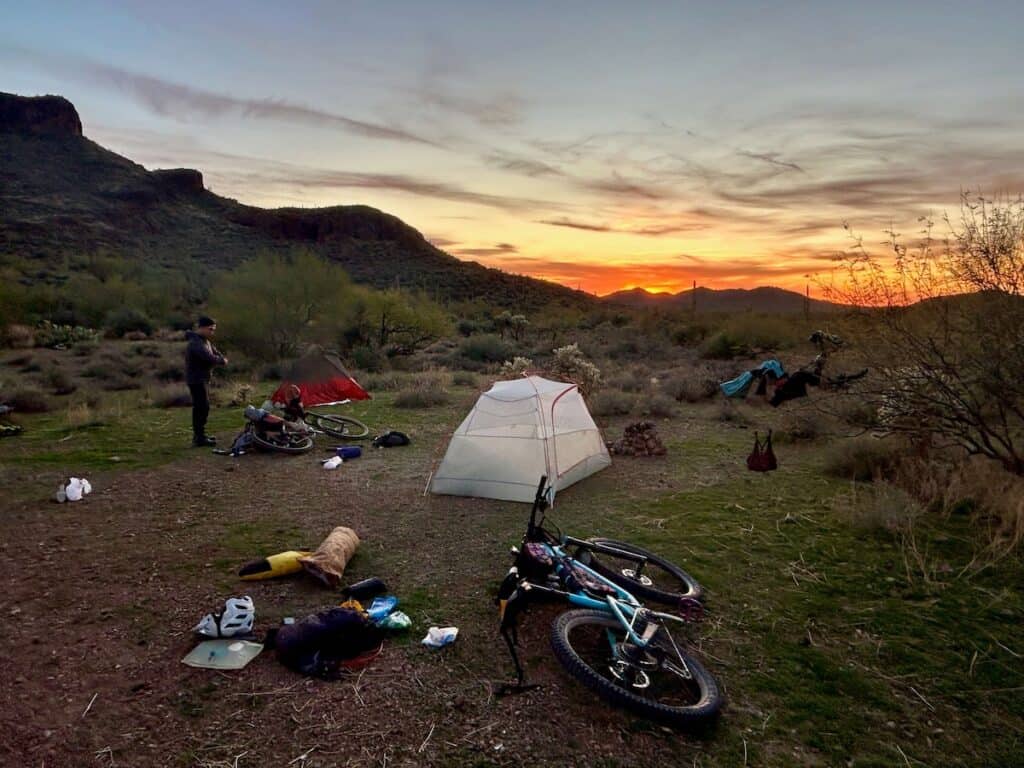
I love wild camping and there are a handful of awesome dispersed camping sites along The Queen’s Ransom. You do need to purchase a $15 State Trust Land Recreation Permit, though (if you’re going with 2+ people, get the small-group permit).
You’ll see campsites along the Jeep roads – most of them have fire pits and flat ground to pitch your tent.
To see where we camped each night, read through my Day-by-Day write-up below.
Can you stay in hotels on The Queen’s Ransom? Not really… it would be challenging to put together a trip where you could stay in a hotel each night. You might be able to do it by cobbling together Airbnb’s or homestays, but hotels would be hard.
What to pack
For a complete list of what to pack for a bikepacking trip, head over to my Bikepacking Gear Checklist post.
Specific to The Queen’s Ransom, here are a few things you’ll need:

When to go
The Queen’s Ransom is a winter trip. The best months to ride it are between late November and early April.
We rode it in late January and had perfect weather – day temps in the 70s and night temps in the 40s.
That being said, Phoenix does get rain and cold temps during the winter (I’m writing this right now in February wearing my puffy jacket as cold rain pelts my van outside). Always check the weather before heading out on your trip.
My Queen’s Ransom Adventure – Day By Day
Day 1: The Airport to Usery
Day 1 in detail
We started our Queen’s Ransom bikepacking trip in the glamorous economy parking lot of Phoenix-Mesa Gateway Aiport. It’s actually a great place to start for a few reasons:
- There are a lot of parking spots available (at least when we were there)
- There’s a ton of space to get ready
- The parking is safe and secure
- The first 15 miles of the route starting from the airport is a nice, flat warmup.
Note on parking: I mentioned in the Where to Park section above that security came by when we were packing up after finishing our trip and said that this Economy parking lot was only for people flying out of the airport – not general long-term parking. I think that’s a bit silly because there were so many spots available and we paid to park there. I’d still park there again if I did this trip a second time.
After getting our gear all sorted and loaded onto our bikes, we rolled out of the Economy Lot and onto The Queen’s Ransom route!
The first 15 miles are mostly flat and follow dirt tracks along a canal system out of the city. It’s a nice warm-up and shows you a different side of Phoenix that you probably haven’t seen before.

After a quick bathroom and snack break at the community Desert Trails Park (so fun watching all the kiddos!), we continued our way over to Hawes.
Now for mountain bikers who are familiar with Phoenix, you know that Hawes is the best place for mountain biking around the city. The trails are mostly purpose-built and so much fun. The Queen’s Ransom only touches a small selection of the great singletrack at Hawes, but it’s enough to get you whooping and hollering and plaster a big grin on your face!
After exiting Hawes, there are still about 4 miles of singletrack over to the Usery Regional Park Campground.
We opted to stay at Usery because [one] I like showers and [two] I prefer to camp by water whenever possible. That did mean ending our day at around 3:30, though, so many games of cards ensued that evening.
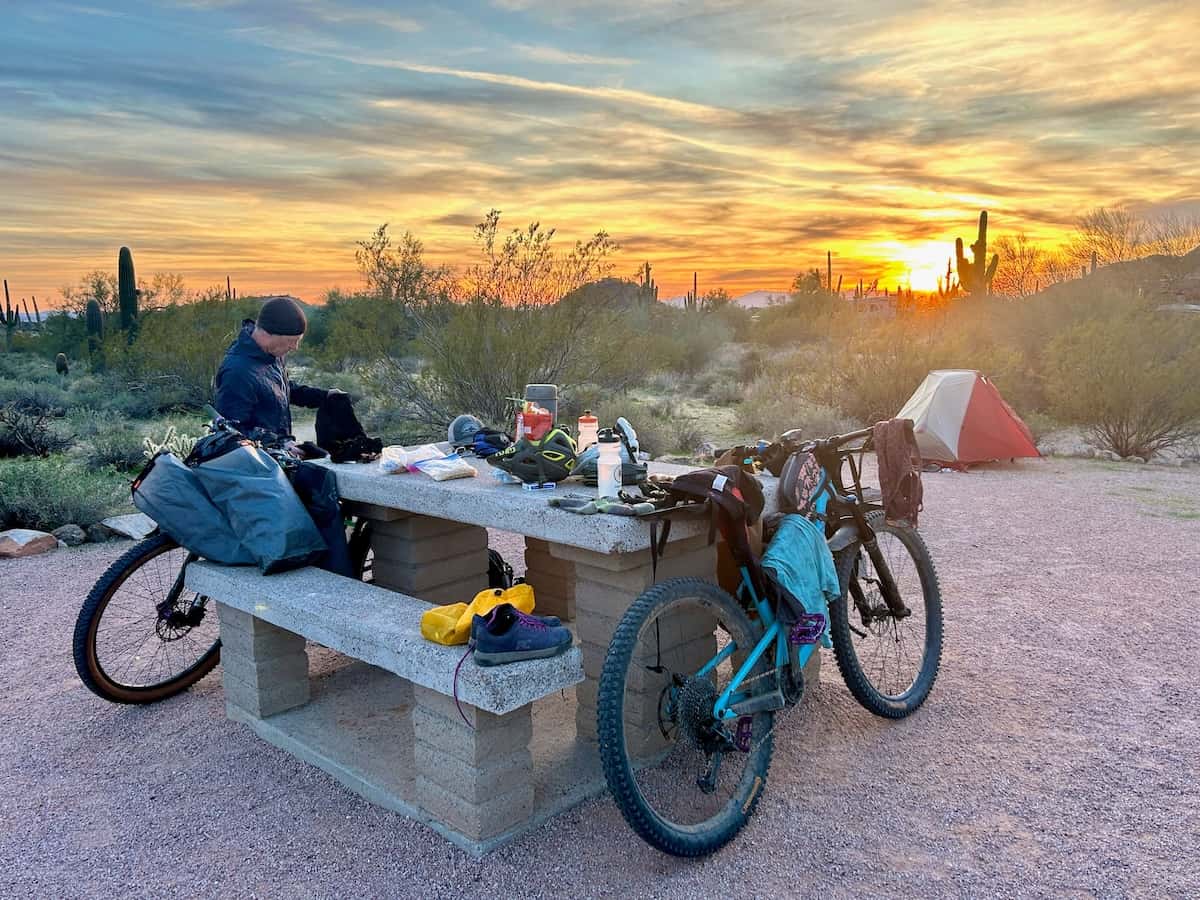
If you don’t want to camp at Usery, you can continue on for about 10 miles to some wild camping above Apache Junction.
Day 2: Usery to Gold Rush Rd.
Day 2 in detail
After not a great sleep due to crazy winds, we woke up on day 2 a bit bleary-eyed but ready to get the day started.
After coffee, we enjoyed an amazing few miles on the fast, flowy, downhill-trending stretch of Chainfruit Trail leading away from the campground. Don’t skip this part! It’s so fun and beautiful in the morning light.
We opted to pedal a few miles off-route to go to Basha’s grocery store in Apache Junction. Honestly, I would try not to do this again – it was about 4-miles of extra pedaling on an already big day. But it’s an option if you need it for food.
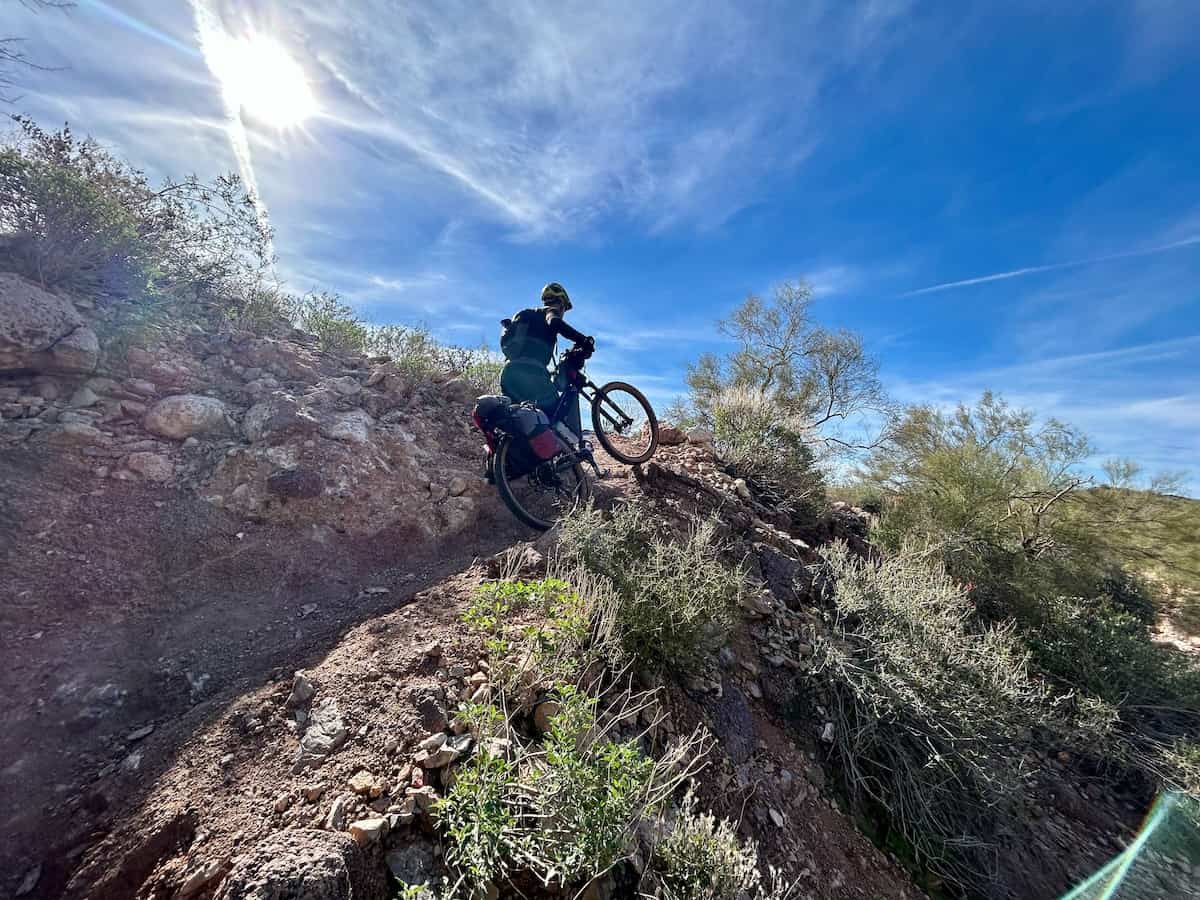
The trails after Usery Park are a mix of nice, mellow singletrack, chunky terrain, and some hike-a-biking. This is where you’ll start to see how varied and diverse the riding on the Queen’s Ransom will be.

After about 18 miles, you have the option to detour to visit Goldfield Ghost Town. This place is super touristy, but it’s a riot and one of the highlights of our trip! You can fill up water, get some resupplies, and eat lunch at the Mammoth Steak House & Saloon.

Then comes a bit of a beat down… initially, the trail through Lost Dutchman State Park is lovely and beautiful, but Jacob’s Crosscut turns into a nasty stretch of rocky, loose nearly unrideable trail. This was my least favorite part of The Queen’s Ransom. Just keep going – you’ll get through it!

In Gold Canyon, you can grab some food and fill up water at Basha’s before tackling some afternoon singletrack at Gold Canyon. As a mountain biker, this is another one of my favorite trail networks around Phoenix, but unfortunately, I didn’t enjoy the trails as much as I usually do because of my loaded bike and tired legs.
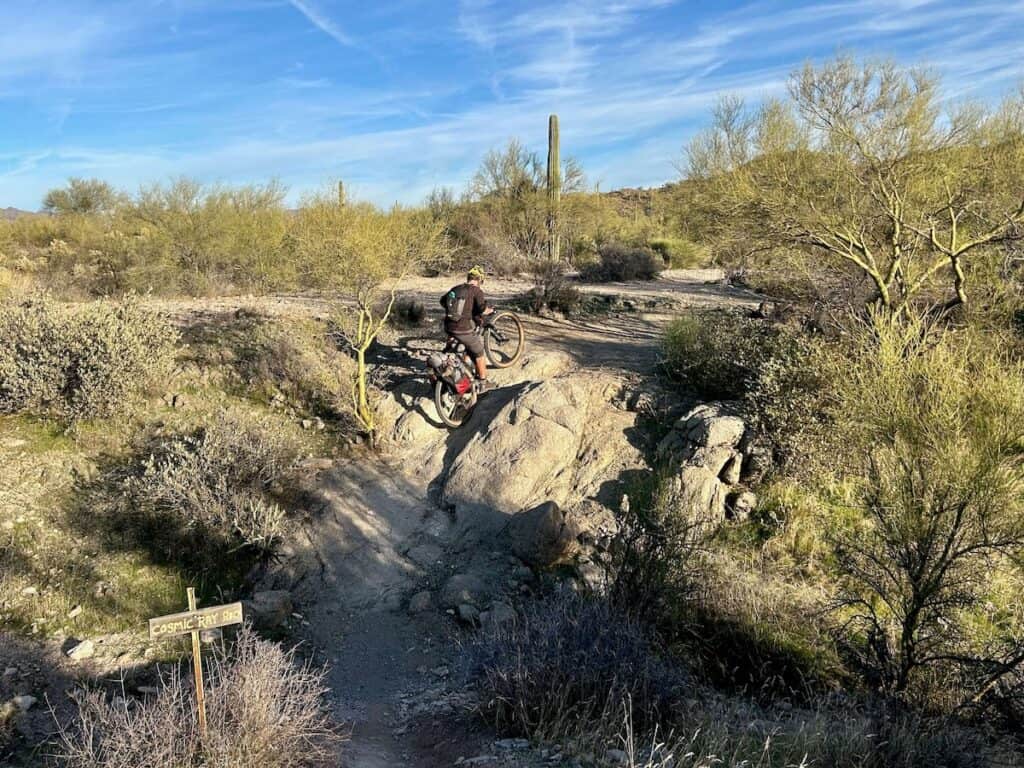
After a very long day, we popped out onto E. Gold Rush Road, where there are a number of nice dispersed campsites to choose from. We opted for one at the junction of E. Gold Rush Rd. and North San Mateo Castro Rd.
Day 3: Gold Rush Rd. to Alamo Canyon
Day 3 in detail
Today was a BIG day! I knew the climb through Alamo Canyon was going to be a beast, and it sure was…
But first, we enjoyed some nice back roads through beautiful backcountry terrain from our campsite the night before. We resupplied at Queen’s Valley (strange place…) and at the Circle K in Superior before starting our climb up into the stunning Alamo Canyon.
This stretch is the best and hardest part of all The Queen’s Ransom. The climb is long and while the grade is mellow for the most part, there are a few steep pitches and you’ll most likely be hike-a-biking at least part of it. But take your time and enjoy it – it’s beautiful!

Once we reached the top of the climb, we were rewarded with fresh rainwater from the ATA Rainwater Collector (requires filtering) and some spots to set up our tents as we ate our dehydrated meal and watched the last of the sunset skies dissipate into darkness.
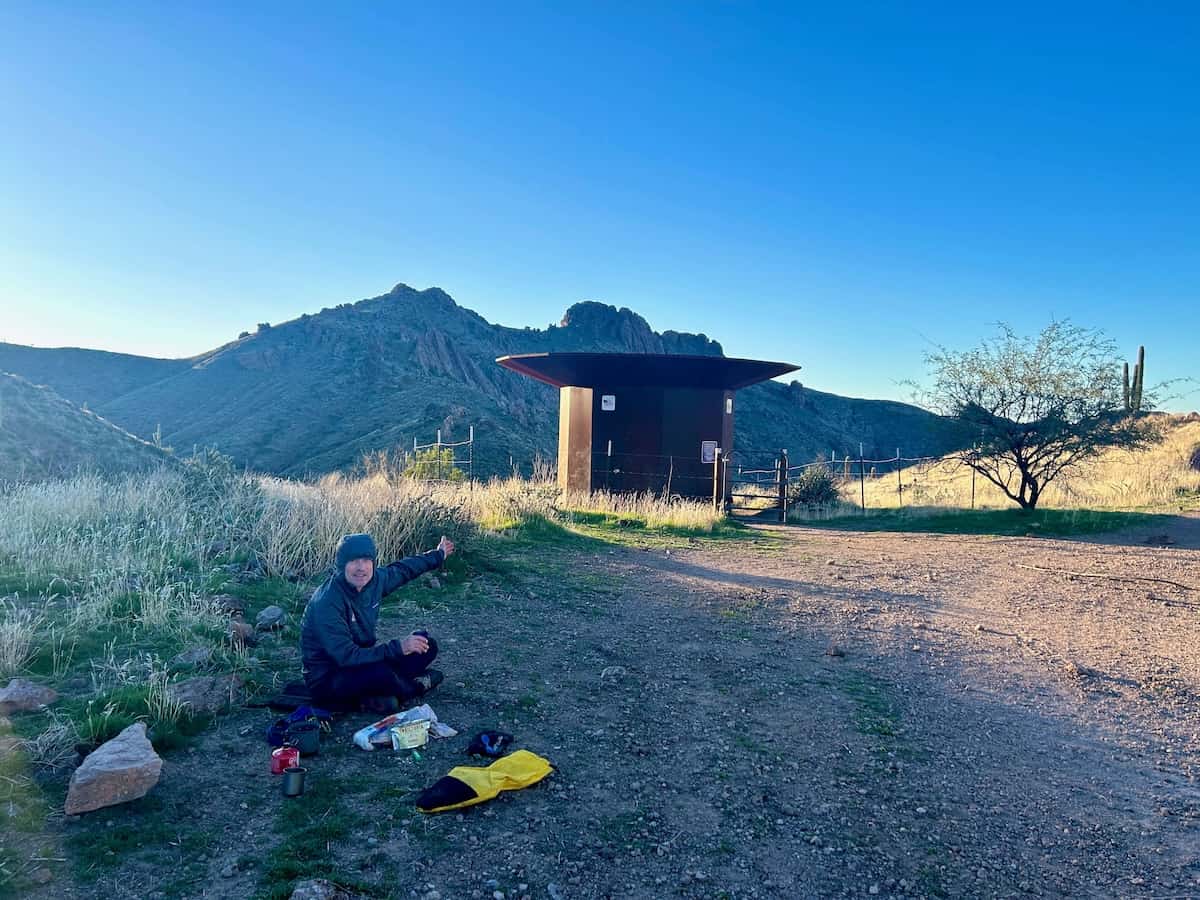
Day 4: Alamo Canyon To Camp Area 52(ish)
Day 4 in detail
Day 4 was the hardest for me mentally, but also one of the most beautiful. Thinking that it would be all downhill from our camp spot at the rainwater collector, we were surprised to find that there was still some significant climbing to get out of Alamo Canyon. But this part is even more beautiful than the day before!

Finally, we got our fun descent down the other side. Take it slow, though, because there are some tight turns and loose sidehill sections. It would be easy to go flying off the edge, especially if you’re eyes are on the stunning views.
Down at the Gila River, you can fill up on water, but Bikepacking.com warns against drinking too much as this section of the Gila River is downstream from an active mine.
The Gila River singletrack is amazing, but it is long, tiring, and hot (at least it was for us in January). After about 7 miles, I was ready to be done, but we still had another 7 miles to go. Just know this section is slow-going and is going to take a few hours.

BUT, when you do pop out on the other side, there is cold water outside the fence of the ADOT yard AND you can order pizza from Old Time Pizza! (Order double because you’ll need it for dinner – there’s no food between Kearny and Florence).

After filling up on water and pizza, we continued our ride out of Kearny. The singletrack along this stretch is quite pleasant and not as hard as the Gila River.
What is hard, though, is the 5-mile climb on Florence-Kelvin Highway. It’s a quiet dirt road and the grade is not steep, but it feels like it goes on forever. Once you get to the top of that climb, though, you’re in for a treat!
Perhaps my favorite stretch on the whole route is the downward-trending Jeep roads on the southside of the Gila River. We rode them as the light was fading to golden hour and it was so magnificent.
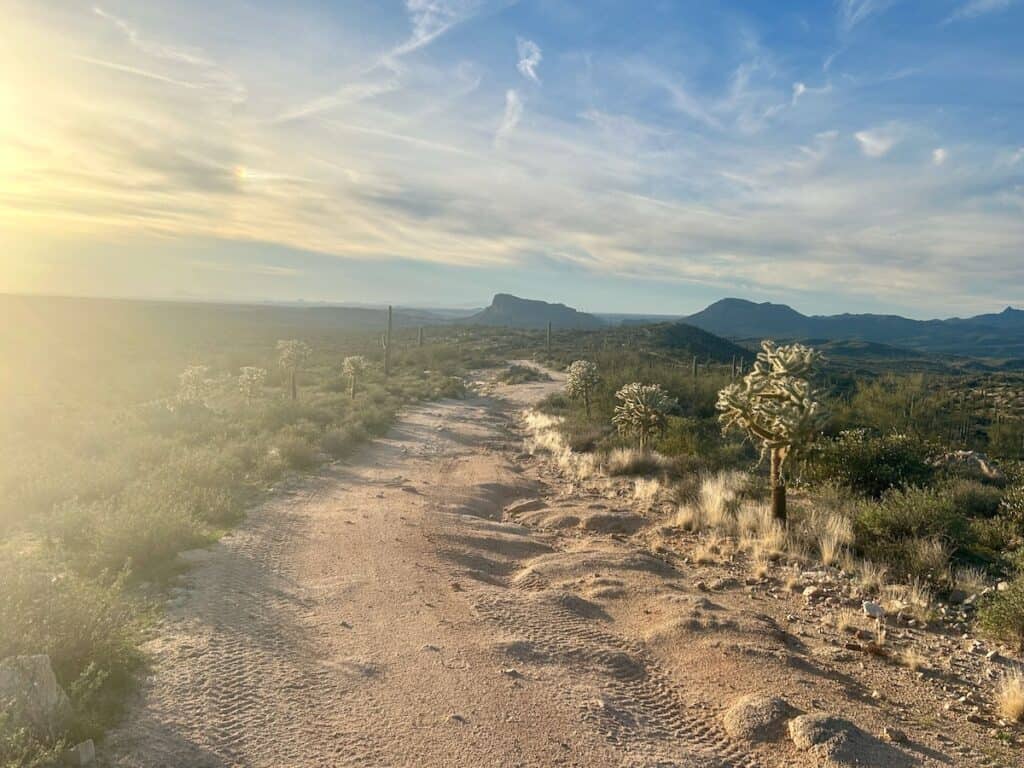
Our plan was to camp at the Area 52 camp spot marked on Bikepacking.com, but this place is just a big sandy wash, so we continued up the hill to the top of the ridge and spent the night there.
Day 5: Area 52(ish) to Finish!
Day 5 in detail
Our final day! It was bittersweet waking up on our last day because I felt like I was just getting into the groove of bikepacking. But on the flip side, I desperately needed a shower and a good night’s sleep in a real bed.
The last day was the longest in terms of mileage but by far the easiest in terms of riding.
We pedaled from our camp spot to the town of Florence where we tucked into plates of pancakes, eggs, and bacon at Florence Cafe (get the pancakes!).
From Florence, the route weaves its way along some desolate and depressing dirt roads before entering San Tan Regional Park (via a very sandy slog through a wash).
I hadn’t ridden San Tan before, and I was very pleasantly surprised with how good – and fun – the trails were! They’re fast-rolling and flowy and a great reprieve from the previous miles of dirt road riding.

From San Tan, I was expecting to take busy Phoenix roads back to the airport, but Schilling was craftily able to link together bike paths and greenways for the majority of the city riding. It was unexpected and an awesome way to finish the trip!
Phew, that’s a lot of info and details to digest. But I hope this post gives you a better idea of what to expect and how to prepare for The Queen’s Ransom bikepacking trip in Phoenix.
It’s an amazing adventure, but it does require some good planning and a sense of adventure. If you have any questions, drop them in the comments!
Read next
Looking for more two-wheeled adventures in Arizona? Check out these posts and start planning your trip to the desert:
Save this post to Pinterest
What questions do you have about The Queen’s Ransom bikepacking route? Is this a trip you’d like to do? Have you already completed it? Leave your questions and comments below!




I love hearing from you and appreciate your comments! However, if you leave a rude, unconstructive, or spammy comment, it will be deleted. It’s cool to be kind. Have an awesome day!