
How To Start bikepacking: Everything You Need To Know to Get Started
Curious about how to start bikepacking? It’s a valid question! When I first started doing overnight biking adventures, I had no idea where to start. I wasn’t a backpacker, so I didn’t have those skills, and I had previously only done day rides on my mountain or road bike.
So where do you start?
In this post, I answer all your bikepacking 101 questions so you can get out for your first overnight or multi-day trip. From what gear you’ll need to how to find beginner-friendly routes, this post will help you prepare for many epic adventures to come.
So whether you’re a seasoned mountain biker, avid gravel rider, or just getting started, read on for everything you need to know about how to start bikepacking.
Let’s roll!
What is bikepacking?
So what is bikepacking anyway?
Bikepacking can be a lot of things, but typically it involves multi-day biking adventures where you pack all of your gear on your bike or in bags including a tent, cooking supplies, food, etc….
It’s basically backpacking, but on a bike.
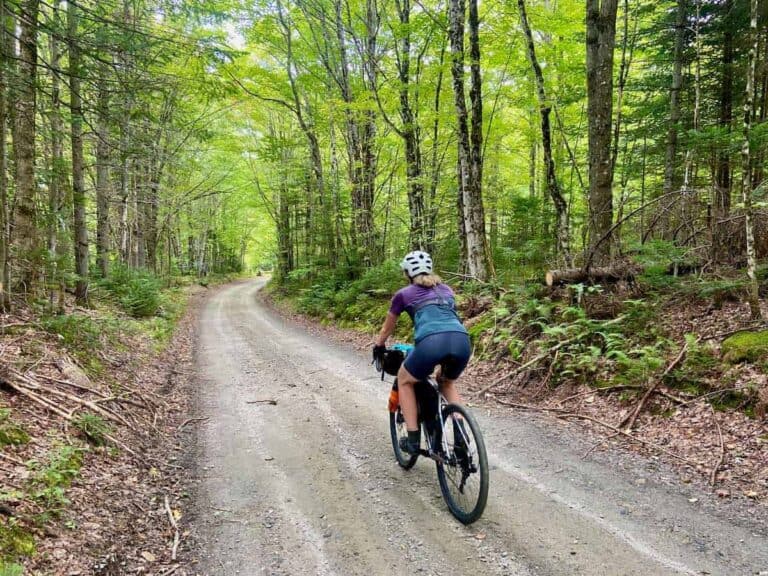
Bikepacking can involve riding on a variety of terrain from singletrack trails to gravel roads and even paved roads as well, although most bikepackers prefer to stay on dirt.
There are many different ways to approach bikepacking. Some people choose to ride lightweight and carry only the bare essentials (i.e. they ditch the comforts!), while others (like me) pack heavier and bring more gear along for the journey.
As you read through this post, it’s important to remember that there is no one right way to approach bikepacking. Just like backpacking, there are a number of ways to get out and have fun on the trails.
Bikepacking vs bike touring
Bike touring and bikepacking have similarities, but ultimately they’re quite different.
Bikepacking
- Sleep in a tent
- Cook over a camp stove
- Explore backcountry & rural terrain
- Ride singletrack and dirt roads
- Travel with a lot of gear
Bike touring
- Sleep in a bed
- Eat at restaurants
- Stay close to civilization
- Ride paved roads and bike paths
- Travel with minimal gear
Bikepacking Gear
When it comes to choosing gear, there are endless options available. Start by looking at what you already have and see if there’s anything you can use.
Below are a few essentials that you’ll need for most bikepacking trips. For a complete list of gear, head over to my Complete Bikepacking Gear Checklist.
For a more detailed list of bikepacking gear, head over to my Complete Bikepacking Gear List.

Bikepacking bike
For most people, a short-travel mountain bike or gravel bike is the best option for bikepacking. These bikes are designed to handle rough terrain and provide a comfortable ride.
If you’re planning on riding singletrack trails, you might want to consider a full-suspension mountain bike. This will give you more control, comfort, and traction on technical terrain.
If you’re mostly interested in gravel riding, a hardtail mountain bike or gravel bike will be a good option.
All that being said, the best bike for bikepacking is the one you already own. If it has collected dust and cobwebs in your garage, be sure to take it to a bike shop for a full tune-up before heading out on your trip.
If you don’t have your own bike, see if you can borrow one from a friend or rent one for a few days. Before you shell out hundreds or even thousands of dollars on a bikepacking bike, it’s a good idea to make sure you actually enjoy doing it.
Once you have a few trips under your belt and have ultimately decided that you do, in fact, enjoy bikepacking, then you can start to think about making that big purchase.
Think about what type of bikepacking you will be doing most (singletrack vs gravel roads) and what kind of bike will best suit your pursuits.
Read next: Shopping around for a bikepacking bike? Read why I chose the Santa Cruz Chameleon for my first bikepacking bike.
Bikepacking bags
Bikepacking bags allow you to carry all – or most – of your gear on your bike frame. Investing in a full bikepacking bag set-up can be very expensive, so I recommend using what you already have in your gear closet first.
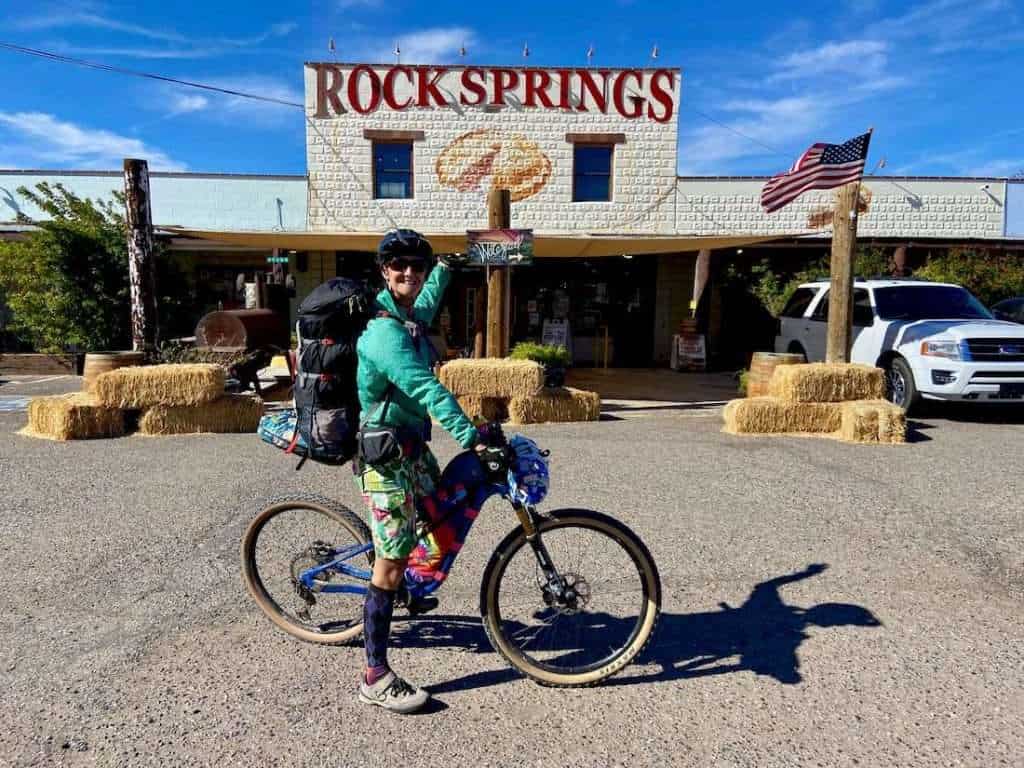
Dry bags can be attached to your bike frame or rack using voile straps or you can even carry most of your gear in a backpack if you’re only doing a short trip(this is actually my preference for 1-2 nighters, especially if the route is mostly singletrack).
Once you’ve done a few short overnight bikepacking trips and have gotten a sense of how you want to carry your gear you can start to invest in a full bikepacking bag setup.

Route Planning & Navigation
Now that you have your bike and gear sorted, it’s time to pick a route. Here are a few tips for how to find bikepacking routes and how to choose a beginner-friendly option.
How To Find Bikepacking Routes
There are many resources available for finding bikepacking routes. A few of my favorites are:
Tips For Picking Your First Bikepacking Route
For your first bikepacking trip, you’ll want to choose a route that isn’t too challenging – either to plan or to ride.
Here are a few tips on how to choose your first overnight bikepacking route:
Trip length
If you’re new to bikepacking, I recommend starting with a shorter trip of 2-4 days or a quick overnighter.
This will give you a chance to test out your gear and get a feel for what it’s like to travel by bike.
Bikepacking.com allows you to filter routes based on trip length, which is really helpful.
Water availability & services
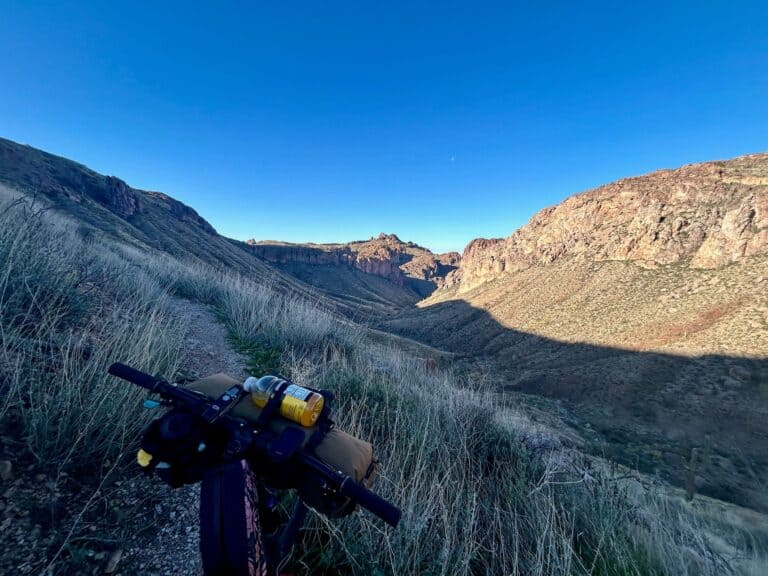
One of the benefits of bikepacking is that you can travel to remote areas that are inaccessible by car.
However, this also means that you may not have access to services like food and water.
When choosing a beginner-friendly route, make sure there are plenty of places to resupply along the way and fill up on water.
Terrain
When choosing a route, consider the type of terrain you’re comfortable riding on.
If you’re mostly a road rider, look for routes with paved roads and well-maintained dirt roads.
If you’re more of a mountain biker, look for routes with singletrack trails and more rugged terrain.
Logistics
A loop trip will be easier to plan logistically than a point-to-point route where you’ll need to set up a shuttle.
For your first few trips, make it easy on yourself by choosing a route that has simple logistics.
Cell service
While it’s nice to unplug and get away from ‘normal’ life, for your first bikepacking trip, I recommend picking a route that has good cell service.
This way, if something goes wrong, you can call for help.
Determining how much water to carry
One of the biggest questions people have about bikepacking 101 is how much water they need to carry.
This really depends on a few factors including:
- Temperature and humidity levels
- Water availability along the route
- Personal needs (for example, I tend to need to drink a lot more water than my bikepacking friend Michelle)
As a general rule of thumb, I’ll typically carry 3-4L of water per day IF I know there will be water at camp or along the way.
If there is no water availability, I’ll carry at least 4L of water per day, sometimes more if temps are hot. This includes drinking water and cooking water.
Keep in mind that a liter of water equals 2.2 lbs, so if you need to carry 3-days worth of water (12+ L), that’s an extra 26.5 pounds or more!
Navigating Your route
Once you’ve picked a route, the next step is to figure out how to navigate it.
This can be done in a few different ways:
- Paper maps
- GPS computers
- Phone apps
Paper map
If you’re using a paper map, mark the places where you’ll be camping and resupplying along the way.
This will help you plan out your daily mileage and make sure you have enough food and water to make it to the next stop.
GPS Computer
If you’re using a GPS unit, load the route onto your device before you start riding.
GPS devices, like the Garmin Edge 830 which is what I use, will give you turn-by-turn directions and help you keep track of where you are.
This is my preferred way to navigate a bikepacking route because it doesn’t require you to constantly keep pulling out a map and it drastically reduces the chances of getting lost. (Although getting lost can be part of the adventure 🙂
Read next: Read my full in-depth review of the Garmin Edge 830 bike computer.
Phone apps
There are also several phone apps that can be used for navigation as well, such as TrailForks if you’re riding primarily on singletrack and Ride With GPS.
These apps allow you to download routes and track your progress in real-time.
However, it’s not a good idea to rely mainly on phone apps since battery life can be a real concern.
Pre-Ride Bikepacking Checklist
Now that you’ve chosen your route and sorted out your navigation, it’s time to start preparing for your trip. Here’s a quick pre-ride checklist to help you get ready and organized:
1. Make sure your bike is in great working order
This is by far the most important thing on this list. You don’t want to be stranded in the middle of nowhere with a non-functional bike, especially if it’s something that could have been prevented beforehand!
If these things sound scary or you’re not sure how to do them, it is absolutely worth taking your bike into the shop for a full tune-up. It’s better to be safe than sorry.
2. Test & organize your camping gear
Before packing all your gear, be sure to test it to make sure all the pieces are there and everything is working correctly.
The last thing you want is to go to set up your tent on the first night only to find a pole is missing!
3. Brush up on basic bikepacking 101 repair & maintenance skills
At a minimum, you or someone in your group should know how to:
4. Go over your route & have a few plan B’s
Double and triple-check your route before heading out to make sure you know roughly where you’ll camp, where resupply points are, how much water you need to carry between water points, among other logistics.
It’s also a really good idea to have a few Plan B’s like bail options, hotels, alternative ways to cross a river if water levels are too high, etc… the more you plan and prepare, the smoother your trip will go!
5. Check the weather
Always, always, always check the weather before heading out on your trip!
Depending on the forecast, you may need to add rain gear, carry more water than expected, or even change your trip dates if a storm is rolling through.
6. Tell someone where you’re going
Last, but not least, always tell someone where you’re going and when you expect to be finished with your ride.
It’s also a good idea to carry a GPS communication device like a Garmin Mini inReach just in case you run into a problem and need help.
Final thoughts
I hope this post answers some of your questions about how to start bikepacking. Just like backpacking – or any outdoor pursuit – it’s going to take some time to really get comfortable doing overnight adventures and to really dial in your setup.
But the more you get out there, the easier and less intimidating it will become.
Start with short overnight adventures with the gear you already have (or is easy/affordable to get) and go from there!
RELATED POSTS
Looking for more bikepacking tips and resources? Check out these related blog posts:
What questions do you have about how to start bikepacking? Is there anything you’d add to this bikepacking 101 guide? Let us know in the comments!


I love hearing from you and appreciate your comments! However, if you leave a rude, unconstructive, or spammy comment, it will be deleted. It’s cool to be kind. Have an awesome day!