Bikepacking Food: How to Eat Well on a Bikepacking Trip
Planning a bikepacking trip and not sure what food to bring? This guide will help you choose the best bikepacking foods for your adventure!
When you’re bikepacking, the last thing you want to worry about is your food. You need to be able to focus on the trail ahead, and not on whether you have enough energy to make it to the next checkpoint. That’s why it’s important to plan your bikepacking food strategy ahead of time. Trust me, you don’t want to have to ration food with a big hike-a-bike ahead of you!
In this blog post, I’ll discuss tips I’ve learned for how to eat well while on a multi-day trip. I’ll cover everything from snacks to full-blown meals, and I’ll give you some ideas on how to store your food so that it doesn’t take up too much space on your bike.
Need Help Planning Your Trip?
New to bikepacking? I’d love to help you plan your first (or next) overnight trip! Click the link below to set up a Q & A session.
Learn how to eat well on your next adventure with this complete guide to bikepacking food
What Makes Good Bikepacking Food?
Before we get into the specifics of what to pack, let’s take a moment to pinpoint what makes good bikepacking food. Bikepacking is all about being lightweight and efficient, so you’ll want to choose foods that are both dense and nutritious.
Ideally, your food should also be easy to prepare and store and perhaps even easy to eat while riding if you’re looking to lay down a lot of miles in one day.
Here are a few questions to ask yourself when choosing what bikepacking food to pack:
- Does its weight justify the calories or nutrition? You want food that is lightweight yet still provides energy. Fresh fruit, while refreshing and delicious, is heavy and doesn’t provide as much energy for its weight as dried fruit does.
- Will it hold up to the rigors of the trip? The best bikepacking food will hold up well regardless of how rough the trail is, how hot or cold the temps are, and other conditions you might run into. Avoid fragile foods that might turn into crumbs or mush. (Leave the banana at home).
- Will the packaging result in excess trash or waste? You need to pack out all your trash and waste, so pack foods that won’t leave a lot of waste or trash. Better yet, choose foods that are packaged in cardboard or paper that you can use to start your evening fire.
- What will preparation involve? Unless you’re up for gourmet backcountry cooking, it’s best to choose foods that are simple and easy to prepare, especially if you have long days planned in the saddle. The last thing you want is to roll up to camp at dusk after a big day and have to put together an elaborate meal.
- How easy is it to pack? Bulky and oddly-shaped foods will be harder to pack into your bikepacking bags than foods that are more malleable or in smaller packaging. (Pro-tip: repackage foods into baggies so that they will fit better together in a small area. Squares and rectangles are hard to pack).
- Will it spoil? It would be a huge bummer to discover that your food has spoiled after a long day. If the temps look particularly warm, avoid packing meats, cheeses, or other easily-spoiled items.
It’s also important to keep in mind that a bikepacking trip is not the time to go on a diet or try to lose weight. You want to pack calorie-dense food that will keep your energy levels up and satiate your hunger. Believe me, it’s no fun going hungry and running the risk of getting hangry while out in the middle of nowhere!

How to plan your bikepacking food strategy
Now that you have a good idea of what to look for in bikepacking food, let’s take a look at how to plan your food strategy. The following tips will help you figure out what foods to bring with you and how to store them while on the trail.
Plan your meals ahead of time
This is by far one of the most important steps when planning your bikepacking adventure. Planning meals ahead of time is especially important if you are planning a trip with longer distances (3-4 days) between resupply points. You want to make sure you have enough to eat for breakfasts, lunches, dinners, and snacks.
I like to lay out my food and organize it for each day so that I can get a clear idea of how much food I need to pack. Each pile should include a day’s worth of breakfast, snacks, a lunch, and dinner.
If you’re not sure about how much food to bring, a good rule of thumb is to pack about 20% more than you would eat normally.
Research your resupply points
In addition to knowing where your resupply points are, it’s a really good idea to research the quality of food that will available. Will there only be a convenience store in the town you’ll be passing through? Does the restaurant serve vegetarian meals? What are the grocery store hours? The more you plan and research in advance, the less likely you’ll have to come up with a plan B (or go hungry).
Decide between dehydrated meals vs cooking from scratch (or both)
When it comes to bikepacking food, there are two main options: dehydrated meals or cooking from scratch. Dehydrated meals are lightweight and usually easy to prepare, but they can be a bit more expensive.
If you’re looking for a cheaper option, cooking from ‘scratch’ is the way to go. You’ll need to pack a bit more weight in your backpack, but you’ll have more control over the ingredients and flavor of your meals.
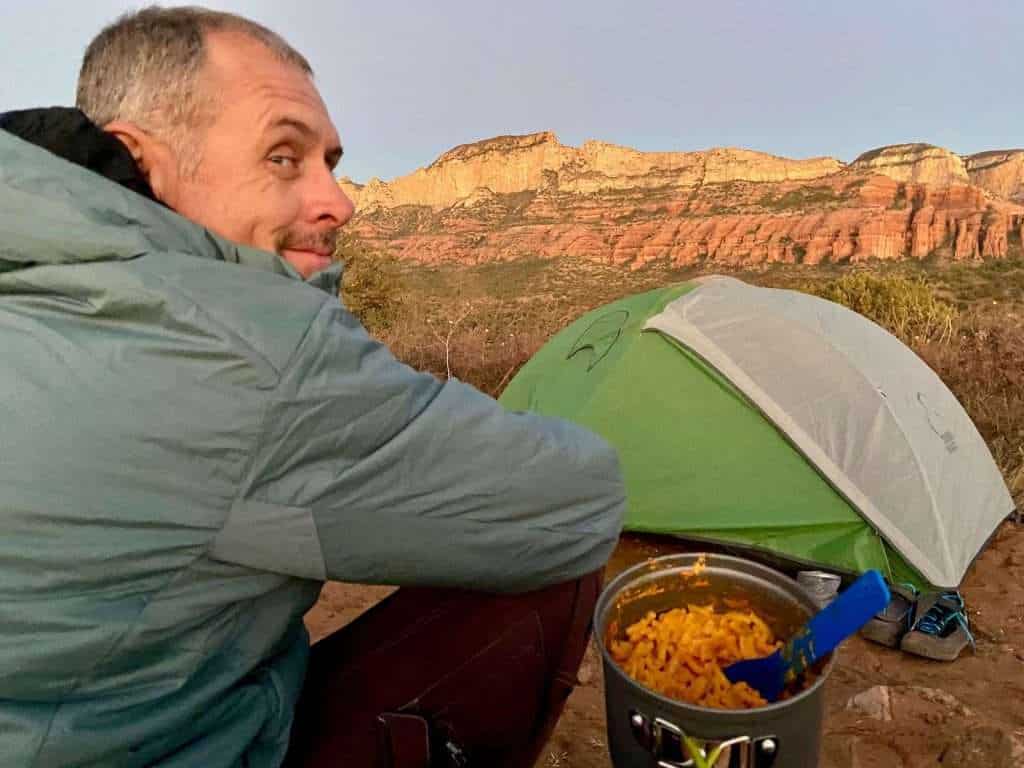
One way to lighten the load when cooking from scratch is to choose recipes that only require one pot or pan. This will minimize the number of dishes you have to wash at the end of the day. See the following section for some easy one-pot meal ideas.
Check water availability
Water availability along your bikepacking route will partially determine what kind of meals you can bring. If there are limited water sources, you may not be able to pack dehydrated foods, which need water to rehydrate. You don’t want to have to choose between drinking water and cooking water!
Some websites I use to check water levels are:
Don’t go overboard
I tend to pack too much food because I’m worried about not having enough to eat. To avoid carrying a bag of nuts 630 miles (yes, true story…) try to really be intentional about the food you pack and only bring what you really think you’ll need between resupply points.
Bikepacking meal ideas
Now let’s get into the fun part of deciding what you want to eat on your trip!
Bikepacking breakfast ideas
I like to keep breakfasts relatively quick and simple to maximize time spent on the bike. I’ll boil water for coffee (100% a necessity) and then eat something simple like a bar or bagel with cream cheese.
Here are a few of my go-to choices for bikepacking breakfasts:
- Bagels with a single-serving cream cheese
- High-calorie bars like a Probar Meal
- Oatmeal packets with trail mix
- Tortilla with peanut butter (or cream cheese) and jelly
- Dehydrated eggs
- Dehydrated breakfast meals
- Instant coffee (I like to mix mine with a hot chocolate packet!)
Bikepacking snacks & lunch ideas
Snacks are an important part of any bikepacking trip. They provide energy between meals and help keep your hunger at bay. I typically cobble together a few ‘snacks’ for my lunch throughout mid-mornings and afternoon, which keeps me from feeling too full and keeps energy levels high.
Here are a few of my favorite snacks and lunch items for bikepacking trips:
- Trail mix (nuts, seeds, dried fruit)
- Salted mixed nuts
- Jerky (there are some good vegan jerkeys out there if you’re a vegetarian)
- Energy bars like Clif Bars, Lara Bars, Bobo’s Bars (my favorites), or any one of the gazillion bars out there
- Peanut butter packets
- Dried fruit
- Chocolate
- Babybel cheese or string cheese
- Salami or other cured meats
- Olives
- Tuna kits (there are some great tuna kits out there, many complete with a small can of tuna, crackers, and sweet treat or pre-made tuna salads)
- Tortilla with peanut butter and M&Ms (a favorite concoction from my cross-Washington mountain bike trip)

Bikepacking dinner ideas
When it comes to bikepacking food, there are two main options: dehydrated meals or cooking from scratch (this could simply mean making a pot of mac and cheese and throwing in some dehydrated veggies).
Dehydrated meals are lightweight and usually easy to prepare, but they can be a bit expensive. If you’re looking for a cheaper option, cooking from scratch is the way to go but it does take a bit more planning in advance.
I don’t typically cook meals from scratch while bikepacking unless it’s a quick, simple one-pot meal like the ones below.
Dehydrated meals
Some of my favorite dehydrated bikepacking meals include:
- Backpacker’s Pantry Pad Thai
- Good To-Go Thai Curry
- Backpacker’s Pantry Chana Masala
- Alpine Aire Forever Young Mac and Cheese
PRO TIP
Go for the 2-servings packets instead of the single-serving. If you’re pedaling a loaded bike all day, you’ll need the calories!
One-pot bikepacking meal ideas
If you’re cooking from scratch while bikepacking, here are a few easy one-pot meal ideas that will minimize the number of ingredients you need to bring as well as dishes you have to wash at the end of the day:
- Ramen noodles with a spice packet and dehydrated veggies
- Box of mac and cheese with dehydrated veggies and cubed salami
- Dried tortellini with a tuna packet
- Couscous with powdered hummus and a tortilla
If you want to get even more creative and dehyrate you own meals, check out this post from Fresh Off The Grid.
How & where to store your food
One thing to keep in mind when choosing packing your bikepacking food is how and where you’ll be storing it. Depending on what type of bikepacking trip you’re taking, you’ll have different options for where to put your grub. Here are a few popular ways to store food while bikepacking:
frame bag
this is probably the most popular way to store food because you typically want the heaviest items (food) in the center of your bike.
backpack
I like to keep lunch and snack items in my hydration pack so I have easy access to them throughout the day. You don’t want to have to unpack half your bike bags mid-day just to put together a lunch.
top tube back or feedbag
There are some cool options out there for top tube bags and feed bags that make snacking throughout the day easy and efficient. The Revelate Designs Handlebar Feedbag is a great choice as is the Rouge Panda Alamo or Alamogordo bag.
bear canister
if you are traveling through bear country, you need to keep your food in a bear canister. Unfortunately, these canisters aren’t really conveniently shaped to fit into your bikepacking bags, but they can be strapped onto a rear rack or stuffed into a larger backpack like the Osprey Mira or Manta if you don’t need to carry many days worth of food.
Alternatively, you could use a bear bag, but they’re not as good at deterring bears as a canister.
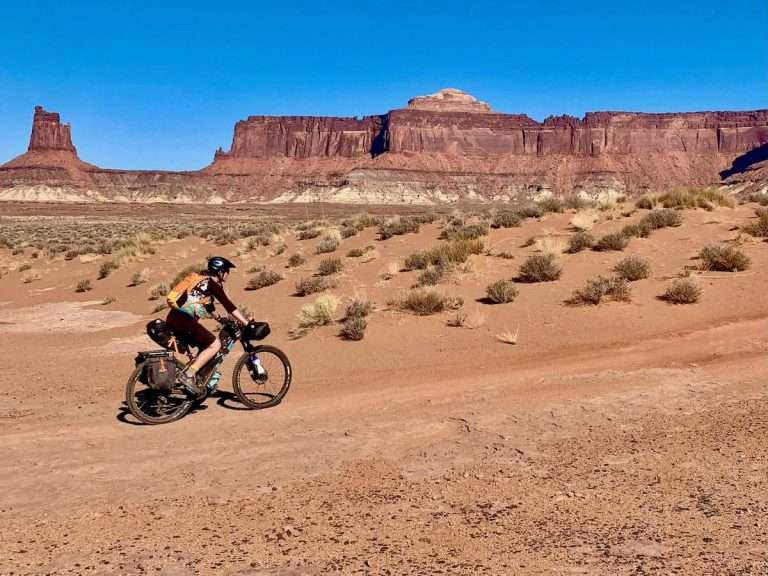
Your bikepacking bag setup will look different for every trip.
Bikepacking kitchen essentials
Even if you’re not cooking from scratch while bikepacking, there are a few essentials you’ll want to bring with you in order to make your trip a bit more comfortable. These include:
- A lightweight stove (I like the Jetboil Stash or MiniMo)
- Fuel canister for the stove
- Pot for cooking
- Spoon, fork, (or spork) and a knife – the Sea to Summit Alpha Lite Spork is great for dehydrated meals becuase it’s long enough to reach the bottom of the pouch
- Coffee mug
- Tea bags (tea is really nice at the end of the day)
- Instant coffee
- Hot chocolate (I like to mix one packet of hot chocolate with a packet of instant coffee to make a morning mocha)
- Seasoning packets (hot sauce, salt, pepper, etc.)
And that’s a wrap! I hope these tips for packing food for your next bikepacking trip are helpful.
Do you have any bikepacking food favorites or tips on how to carry your food? What questions do you still have? Leave a comment below!
Pin it for later!


Again, really enjoying your blog. One thing I’ve tried for snacking mid ride is a dog training treat bag. They are designed to open with one hand and can be hooked into your waist band pretty easily . They also cinch closed so you don’t drop anything. Great for trailmix and nuts (obviously buy one for just this…haha.)
That’s such a good idea!
Hi Becky, Glad that Aiko is recovering though it sounds like the beginning of a long goodbye. You are feeling better when you ride-a great gift to you and hopefully more to come! Thank you for two very well written blogs this week and for the wisdom and experience that are evident in each section.
Moving to The Woodlands north of Houston has been cycling heaven for us; 200 parks and 120 miles of pathways, most of them shaded by tall trees and overgrowth. I can imagine how much you miss the green you grew up with.
Best wishes, Bill DeForest
I’ve heard really good things about the biking around Houston! I’ll have to get out there soon 🙂