Bikepacking Across Washington On The Cross Washington Mountain Bike Route
Learn everything you need to know about pedaling the Cross-Washington Mountain Bike Route from the Olympic Peninsula to Spokane.
When I first stumbled across the Cross Washington Mountain Bike Route on Bikepacking.com I knew I needed to do it. The idea of pedaling across an entire state (for some reason?) really appealed to me and since I lived in Seattle for a couple of years, I sort of knew what to expect:
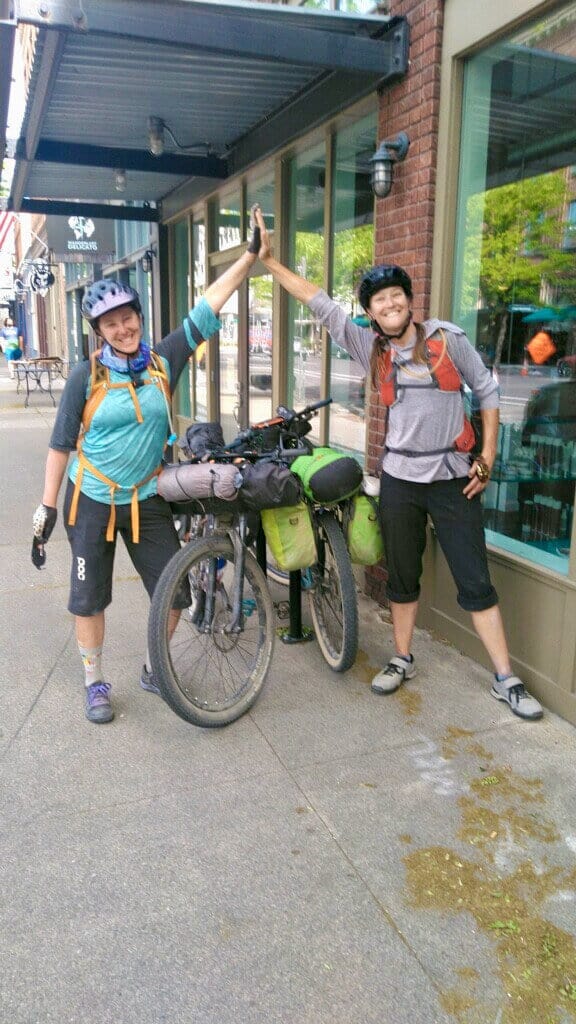
It sounded epic and I couldn’t get the route out of my head. So, I started planning. I ordered some maps and a Garmin GPS computer, I set a date, and I roped my friend Michelle into joining me. Neither of us had done anything like this before; our only experience with bikepacking to date were simple overnighters or two nights max. But despite our lack of experience, a few months later, we were on our way to Washington.
Our time on the Cross Washington Mountain Bike Route was awesome. Sure there were challenges, which I’ll get into below, but overall our adventure was unforgettable and surprisingly very smooth (no mechanicals 🙌).
We altered the route a bit to start and end in Spokane where we left our cars and it took us 12 days to pedal from Rialto Beach on the Pacific Coast of the Olympic Peninsula to our friend’s house back in Spokane.
Along the way, we trudged through deep snow, flowed along amazing singletrack, ate delicious food, sunbathed next to rivers and lakes, climbed thousands of feet, and pedaled past one too many wheat fields.
We covered a total distance of 630 miles and 33,000 ft of elevation gain and each day brought something different and unique. Would I do it again? I’m not sure… But I am absolutely glad that I did it once!
If you’re interested in doing the Cross Washington Mountain Bike Route, read on to learn more about how to plan for your trip, what to expect, gear to pack, and more.
The XWA at a glance
The XWA is always changing thanks to the work of Troy Hopwood, the creator of the route. Here are the current stats for the Official XWA Route.
Need Help Planning Your Trip?
New to bikepacking? I’d love to help you plan your first (or next) overnight trip! Click the link below to set up a Q & A session.
Which route to follow?
Depending on your source of information, there are actually a few different Cross Washington Mountain Bike Routes.
Troy Hopwood, the creator of the route and the man behind the annual XWA race, updates the route frequently to avoid private land issues and other obstacles like burned-down bridges.
However, these changes don’t always make it onto the Bikepacking.com website.
Therefore, I highly recommend using the Official XWA Race Route on the XWA website to navigate by, not the route on Bikepacking.com.
One major change we made to our Cross Washington ride was to end in Spokane, Washington rather than Tekoa because it was logistically easier for us.
Technically, the route ends in the town of Tekoa near the border of Idaho, but unless you have someone waiting to pick you up or you arranged to leave a car there, it’s not an easy place to find a ride out of.
For more transportation info, read the next section about how to get to the start.
The official (and most up-to-date) XWA route
XWA Highlights
As with any long-distance trip, there are sure to be some highlights and challenges along the way.
Here are a few of my highlights along the Cross Washington Mountain Bike Route:
The route is mostly off-road
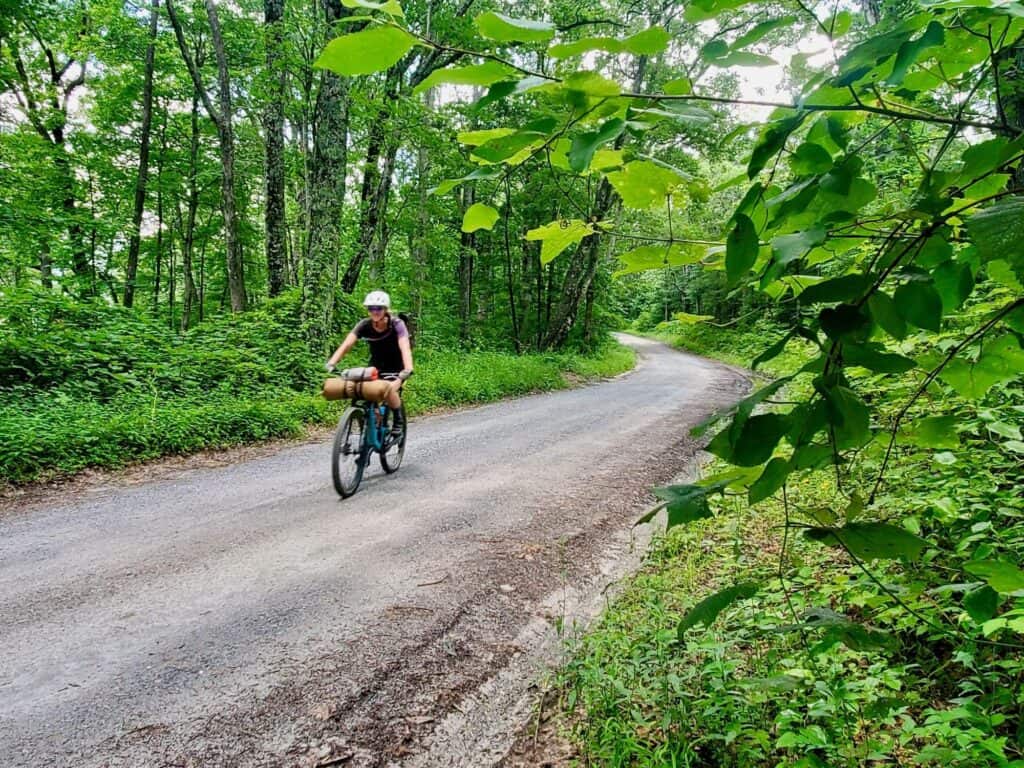
There is actually very little paved road time on this route, which is amazing. I would say that about 95% of the route is on fire roads, very quiet dirt backroads, paved bike paths, gravel rail trails, or singletrack.
The longest stretch of busy road is about 8 miles between Wenatchee and the turn-off onto Rock Island Grade Rd.
The Olympic Adventure Trail
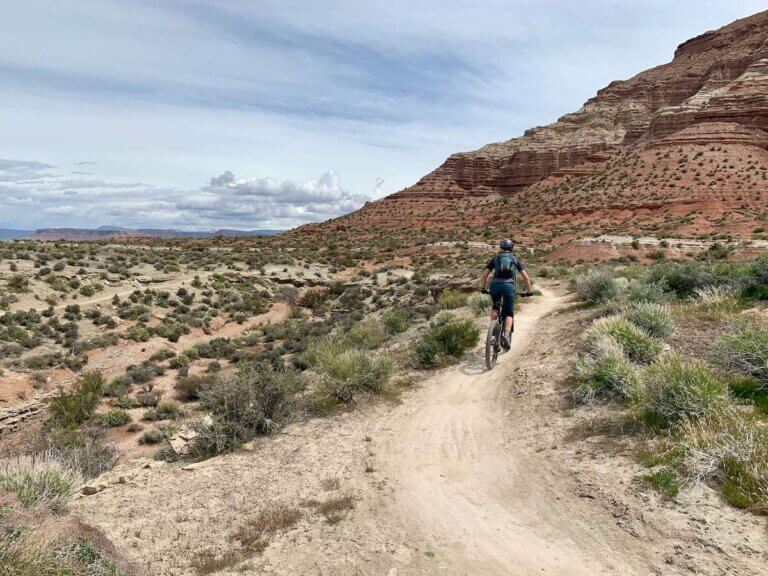
This was probably my favorite highlight of the whole trip! The Olympic Adventure Trail is 25 miles of super fun, flowy, and scenic singletrack on the Olympic Peninsula.
I’d go back just to do it again!
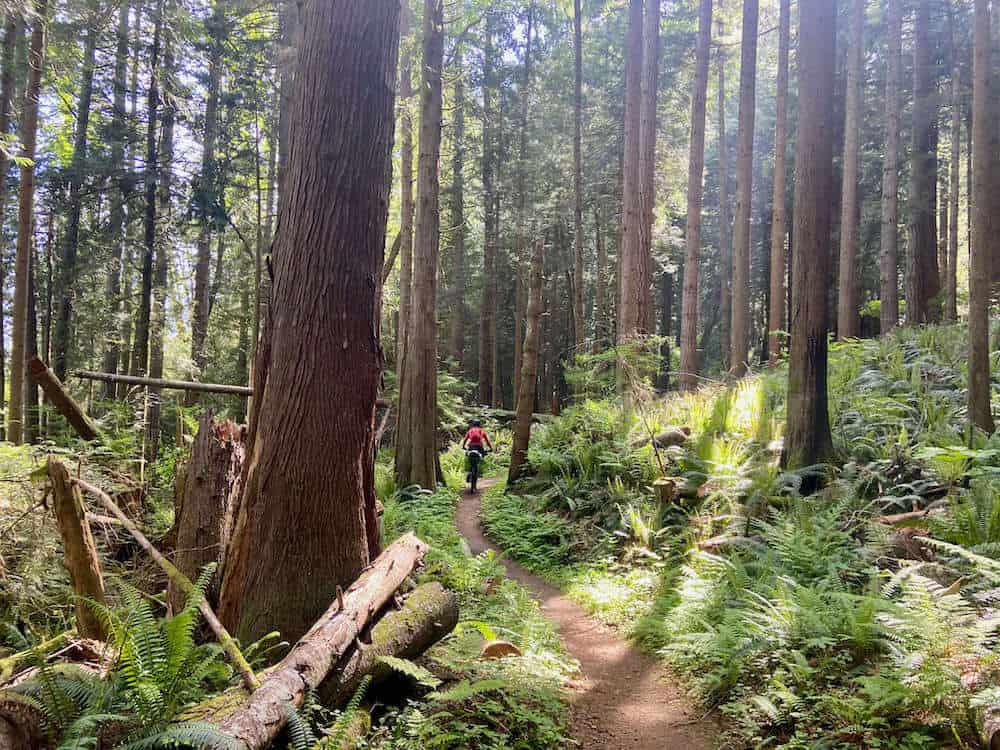
Lower Big Quilcene Trail
This is another stretch of singletrack coming into the town of Quilcene on the Olympic Peninsula.
It’s super scenic and mostly (trending) downhill.
Don’t miss it as it can be very tempting to just keep bombing down the paved road into the town of Quilcene.
Food and brews
Washington is known for its good food, including seafood, and this route does not disappoint.
There are great restaurants, wineries, and breweries all along the way. I mention my favorites in the day-by-day itinerary section.
Every day had redeeming qualities
Even if a climb sucked or we hit snow or the weather was less than idea, each day brought along something magical as well.
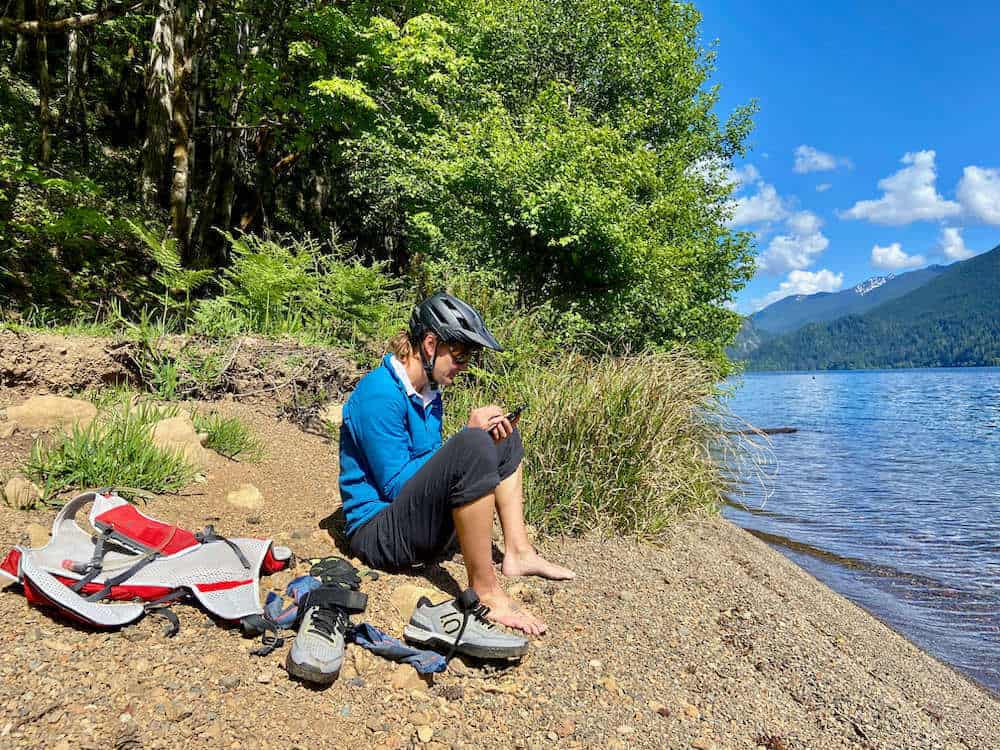
After trudging through snow on the Olympic Peninsula, we had a glorious half-hour of sunbathing next to the lake.
In Eastern Washington, the wheat fields went on forever but we the food, brews, and camping in Ritzville were all awesome.
XWA Challenges
Of course, long bikepacking trips aren’t all tailwinds and sunshine. Here are a few challenges we endured on our trip:
The climbing…
There is A LOT of climbing on this route and the riding actually trends uphill. Be prepared for some big climbing days with crazy steep pitches.
Weather & climate
We lucked out with mostly beautiful weather for our trip, but depending on the season, the weather can be cold, rainy, blazing hot, windy or all of the above.
Even though we didn’t really get rained on, we were cold and wet from the humidity for pretty much all of the Olympic Peninsula.
We also ran into some super strong headwinds past Wenatchee.
Snow
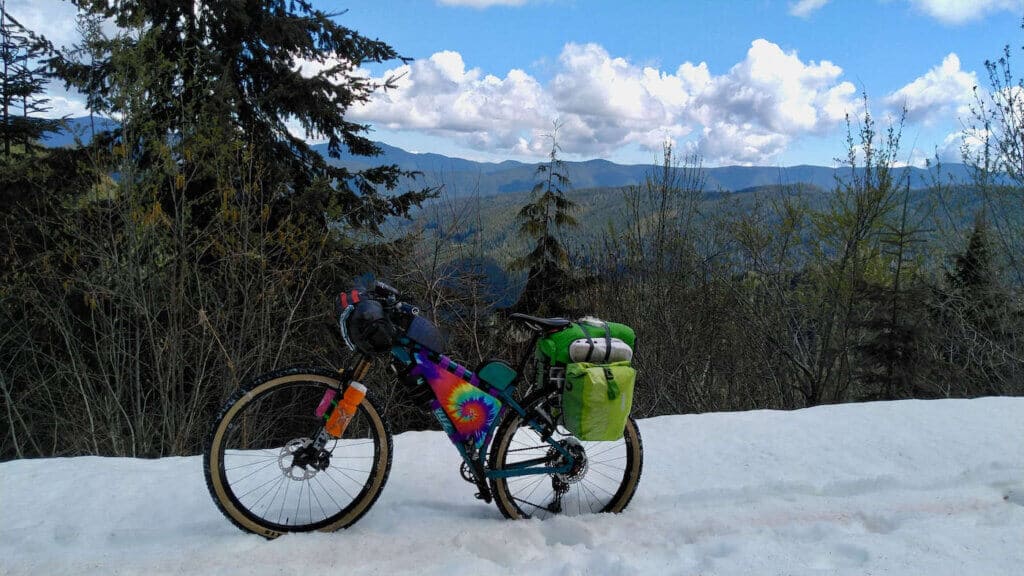
We had to trudge through about 2 miles of deep snow on the first pass on the Olympic Peninsula and it was not fun (we rode in mid-May).
We also ended up skipping the Mission Peak Pass from Cle Elum to Wenatchee because that was snowed in as well.
This was a bummer because supposedly that is one of the most scenic stretches of the whole ride!
The Palouse to Cascades Rail Trail (formerly known as the John Wayne Trail) east of Lind
I’m not sure who decided it was a good idea to route the course on the Palouse to Cascades Rail Trail east of the town of Lind, but it is terrible.
I mean terrible.
Either the deep gravel sucks your wheels into its depths (and I was running 2.5 tires) or it’s so riddled with loose rocks and shale that it makes pedaling painfully slow and jarring.
It was miserable (and I like riding on dirt and rocks!).
Oh, and to make matters even worse, there are tons of gates along the rail trail that you need to open and shut. Definitley type 2 fun.
Thankfully, there are very nice and quiet paved roads that parallel the rail trail and we had no qualms about bailing to ride on those.
To read more about how we avoided the deep gravel, teeth-rattling rocks, and gates see our day-by-day itinerary below.
(We diverged from the main route in Ritzville to head to Spokane, so I can’t speak to the quality of the Palouse to Cascades Rail Trail from Ritzville to the end in Tekoa. I hope it gets better for your sake!).
Getting to the start
One of the most challenging parts of doing the Cross Washington Mountain Bike Route is getting to the start in La Push (or Rialto Beach for us since La Push was closed due to covid) because it’s so remote.
If you have a very nice friend that will drive you, that is of course the best way to go, but depending on where you’re coming from, it’s a hefty drive all the way out to the west coast of the Olympic Peninsula.
Here’s how we did it:
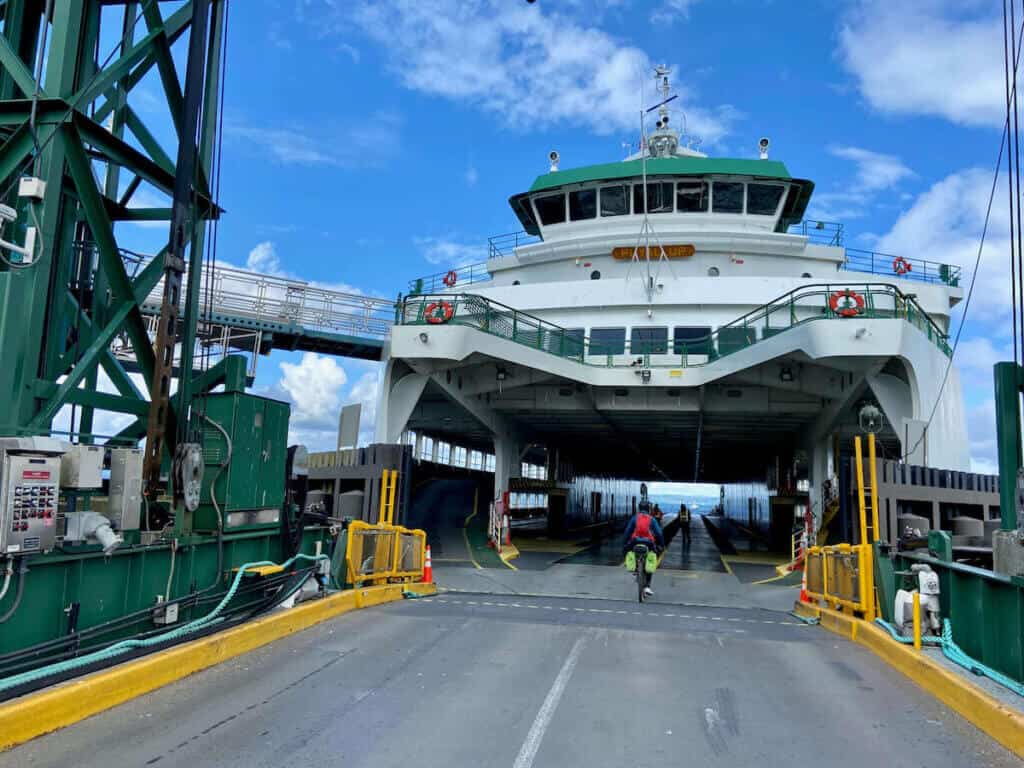
Spokane to Edmonds: We left our cars at a friend’s house in Spokane and took the 2:15 am Amtrak train from the station in Spokane to Edmonds. It was pretty straightforward and took about 7 hours.
The train wasn’t very full, so we were able to stretch out on the seats and get a little shuteye.
When booking your train tickets, be sure to add bicycles ($20 each).
Unfortunately, you will need to take your bikepacking bags off before you board, which is a pain… (they did let us keep our handlebar rolls and frame bags on, so ask before you remove everything).
Edmonds to Kingston: The train station in Edmonds is just about a mile away from the ferry station and ferries run regularly between Edmonds and Kingston.
Our train arrived at 9am and we caught the 10am ferry (enough time to grab some coffee and a donut!).
Tickets can be purchased from the kiosks in the ferry terminal for $10 per person.
Kingston to Rialto Beach or La Push: This was the hardest leg to figure out transportation for. There are buses that run from Kingston to La Push, but they’re pretty infrequent and you need to transfer at least three times, which is definitely not ideal after an all-night train ride and traveling with loaded bikes.
So we booked a private shuttle through Olympic Hiking Co. These guys mainly shuttle hikers to and from trailheads throughout the OP, but they were willing to give us – and our bikes – a lift from the Kingston ferry terminal to Rialto Beach. It worked out perfectly!
The driver met us at the ferry terminal and drove us 3 hours to the start at Rialto Beach with a stop in the middle to fill up our water reservoirs and grab last-minute snacks.
For two people and two bikes, it was $275 and absolutely worth it.
***Finishing in Tekoa: If you decide to finish your Cross Washington Mountain Bike ride in Tekoa rather than heading back to Spokane from Ritzville, which is what we did, you have several options:
- Have someone pick you up in Tekoa (easiest and best option)
- Pedal the 42 miles from Tekoa to Spokane (what’s another 42 miles?)
- Hire a taxi (it will probably be quite expensive)
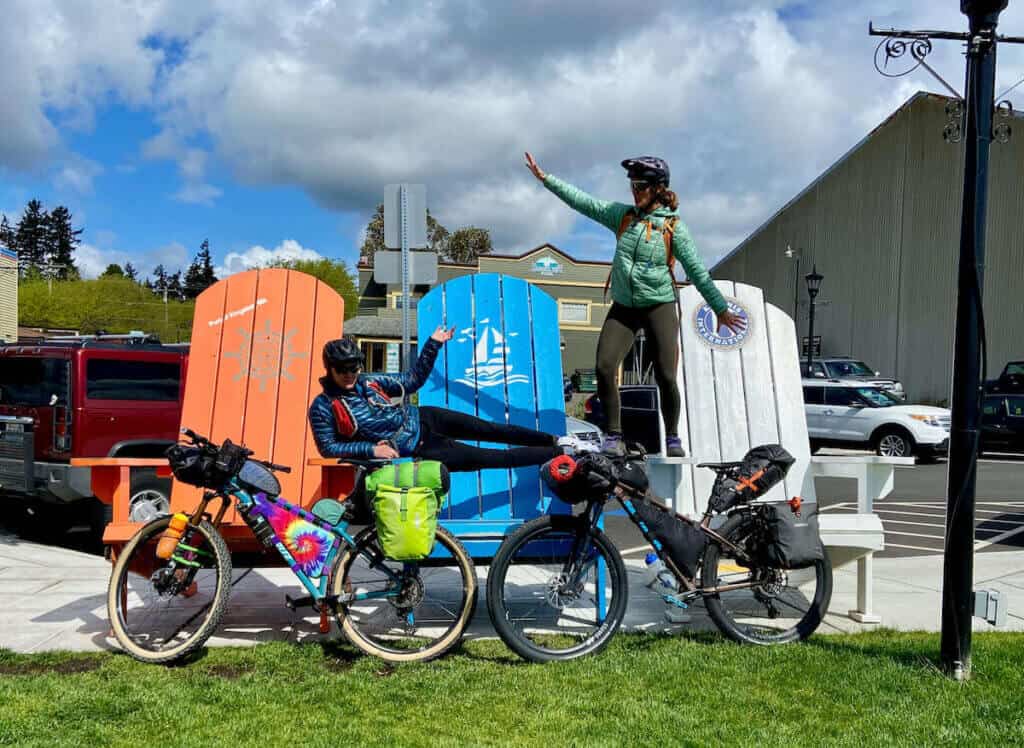
Our Cross Washington mountain bike route Itinerary
Below is our day-by-day itinerary for biking across Washington state. This is, by no means, the best or right way to do this ride.
The XWA route has plenty of room for modifications, time frames, stops, accommodations, and even transportation alternatives (see day 9!).
This is an amazing ride with lots to see and do, so make it your own.
The Olympic Peninsula
Day 1: Rialto Beach to NF-29
29.5 miles | 1,749 ft +
After our marathon train, ferry, and private shuttle ride from Spokane (which amazing worked like clockwork!), we found ourselves at Rialto Beach on the Pacific shores of the Olympic Peninsula.
Technically, the Cross-Washington Mountain Bike Route starts in the nearby Native village of La Push, but La Push has been closed to visitors due to the pandemic.
We found an open picnic table to organize our stuff and once our bikes were loaded, we wheeled them out onto the sand for our obligatory ‘start’ pictures. Then we were off!
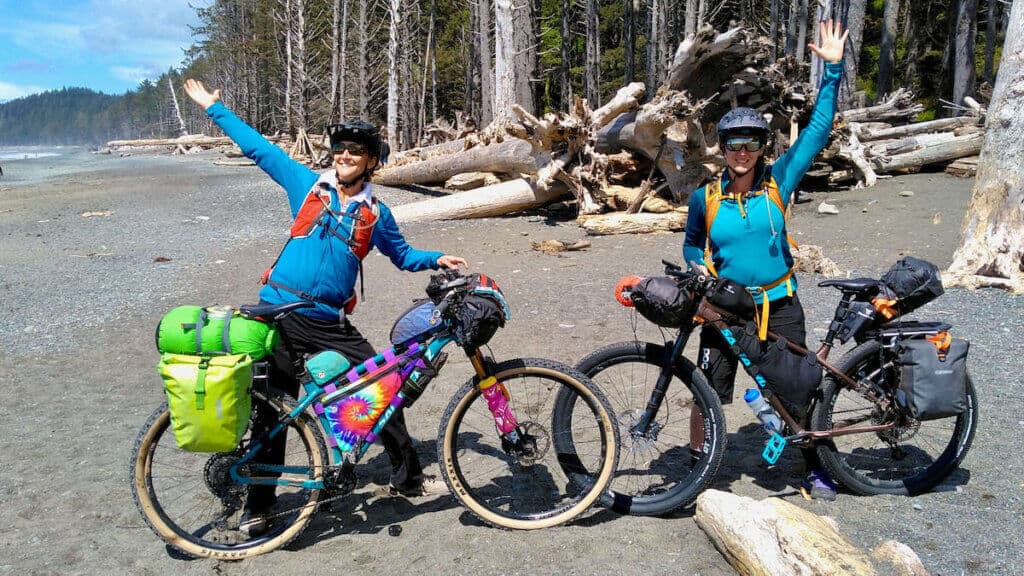
The first few miles were easy pedaling along quiet paved roads and it honestly wasn’t particularly scenic at first. I think I was expecting a lush temperate rainforest right from the start.
The pavement turned to dirt as we hit the NF-29 Road and we started to enter a denser forest with huge trees dripping with moss and lichen.
Our plan was to ride 20 miles on the first day to the Klahanie Campground (which is currently closed) but we were feeling good, so we kept trucking for another 10 miles and found a perfect campsite for the night.
Day 1 done!
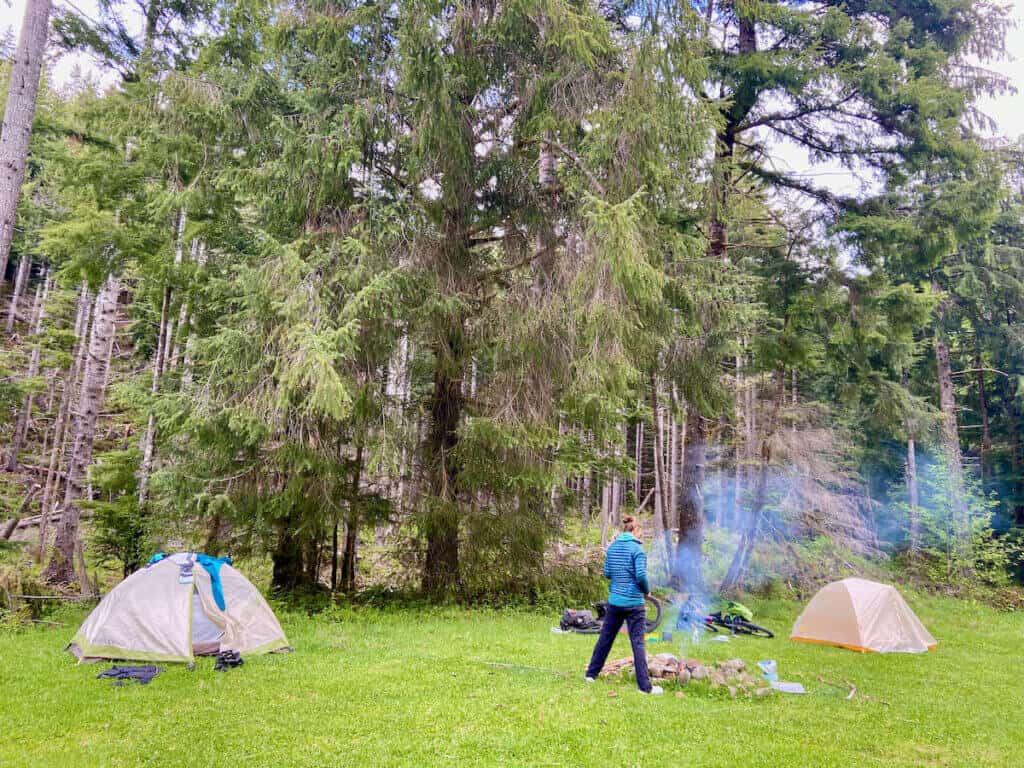
Day 2: NF-29 Road to Lake Crescent
42.75 miles | 3,822 ft +
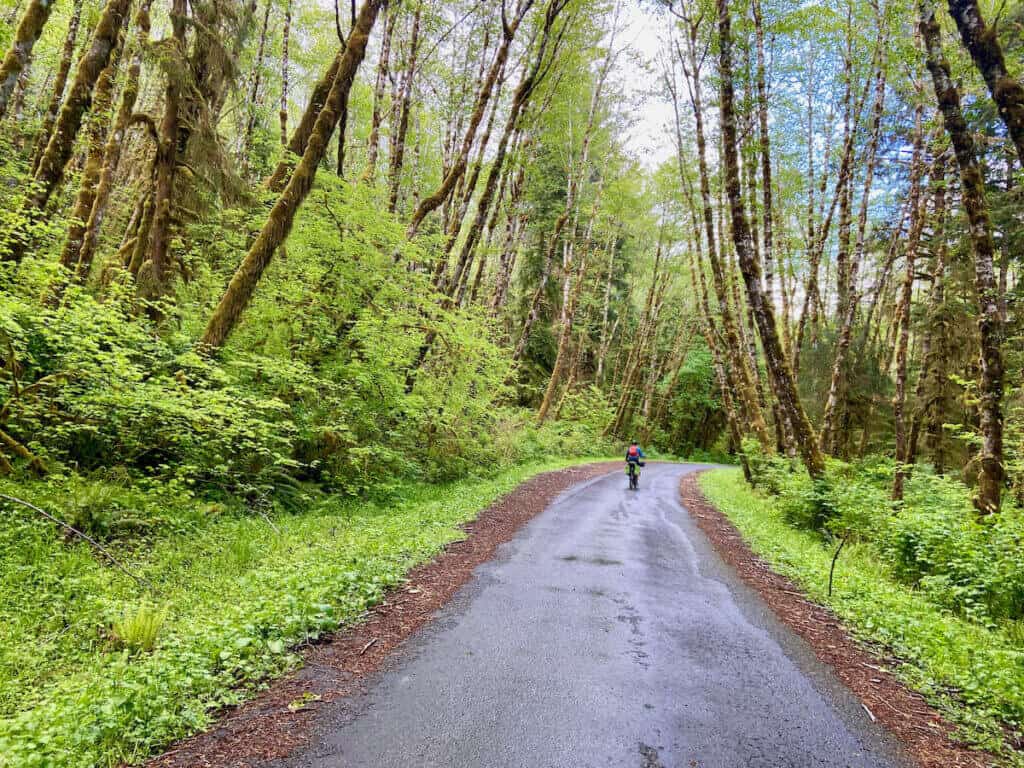
The climb up NF-29 was actually pretty mellow and pleasant (or as pleasant as climbing on a 60lb bike can be). The remote fire road winds its way up through lush temperate rainforest with a manageable grade that got slightly steeper towards the top of the pass.
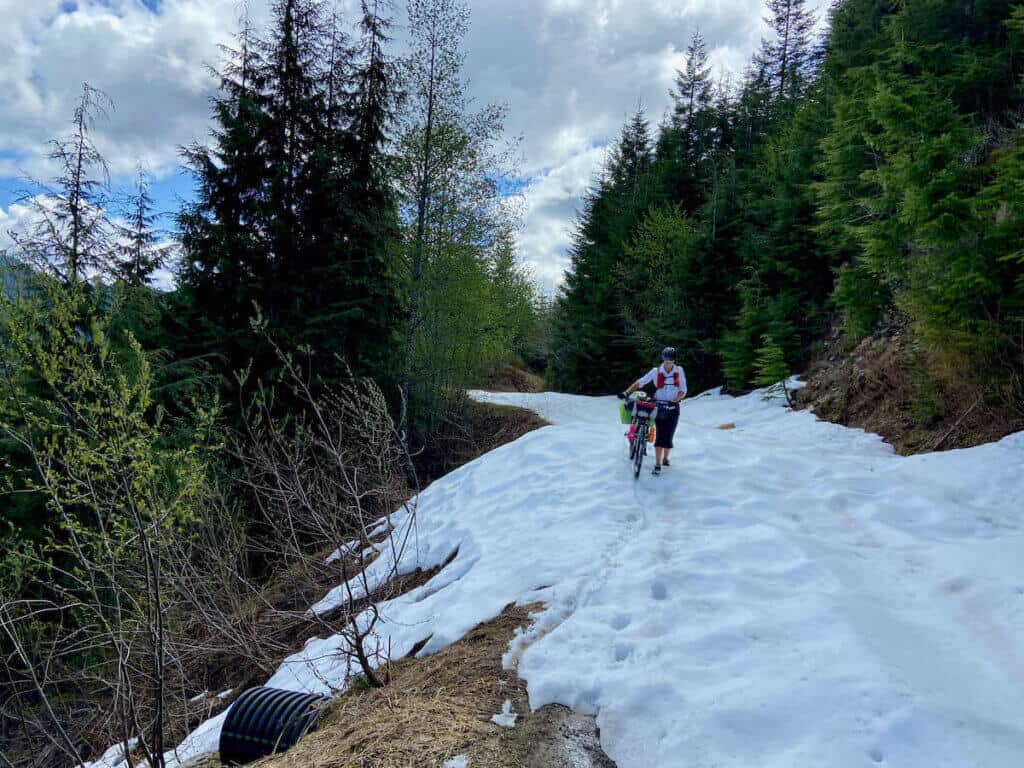
Unfortunately, it was there that we hit snow. Two miles of deep, slushy snow. It was a little demoralizing, to say the least, especially since we were trudging next to fresh bear prints…
But we knew that once we got past the snow, we’d have a big downhill to enjoy. And we did! The descent down the other side was long and fast and definitely much appreciated after a morning of climbing and post-holing through snow.
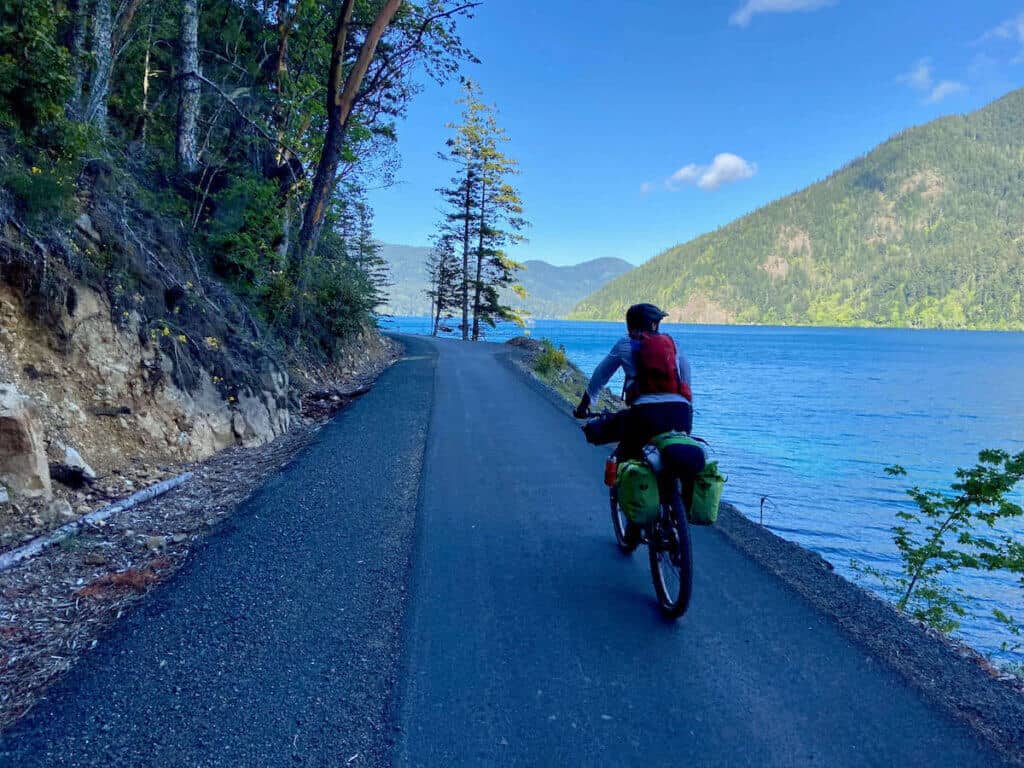
The rest of the day was pretty magical. The descent spit us out onto the paved Olympic Discovery Trail and then diverged off onto a short stretch of fun singletrack before returning to the ODT on the north side of Lake Crescent.
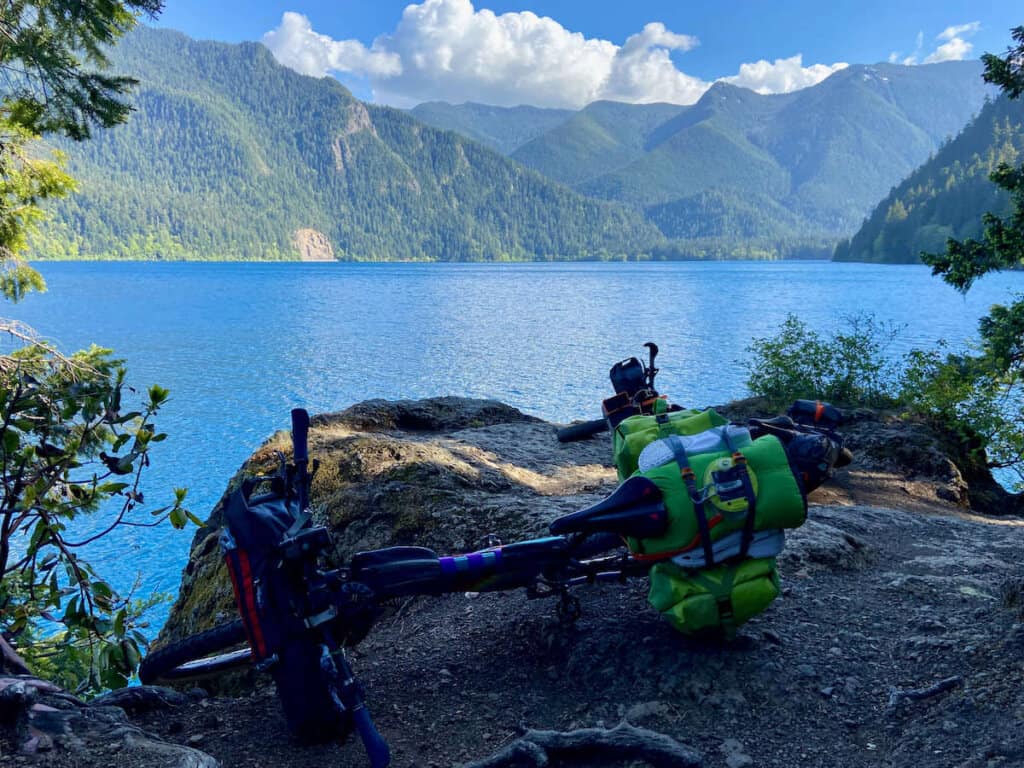
This stretch was beautiful and it trended downhill! We took a break on a small sandy beach next to the lake to soak up the sun and eat all the snacks. Then it was a few more glorious miles along the ODT and lakeshore. This stretch was definitely a highlight of the trip for me.
Late in the afternoon, we found a hidden gem of a camp spot by the water at the northwestern-most tip of the lake.
Day 3: Lake Crescent to Dungeness Forks Campground
64 miles | 5,788 ft +
This was a BIG day! We definitely underestimated how much climbing there would be past Port Angeles, but I’ll get into that below.
First, we left our beautiful Lake Crescent campsite and pedaled along a quiet forest road for a bit before dropping into some epic singletrack.
This was the start of the Olympic Adventure Trail, an alternative singletrack route to the paved Olympic Discovery Trail.
It was 25 miles of beautiful and flowy singeltrack that wound its way up and down fern-lined gullies, over hills, through dense temperate rainforest, and along scenic ridges. As a mountain biker, I was totally impressed and I’d love to go back and do it again on my real mountain bike!
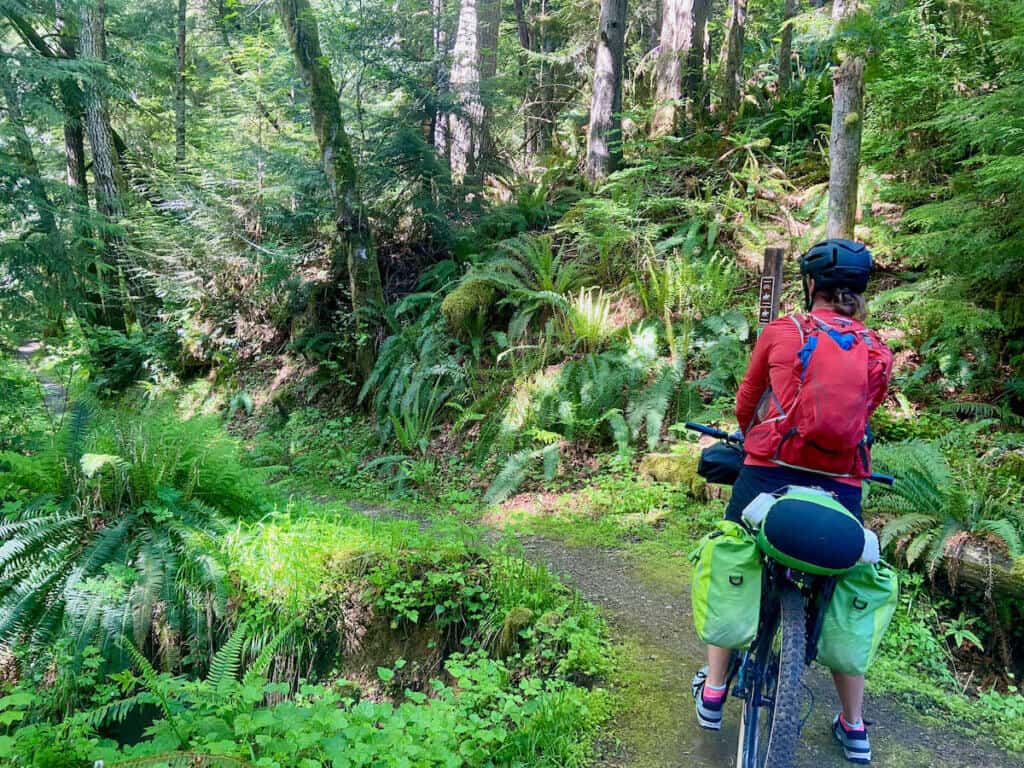
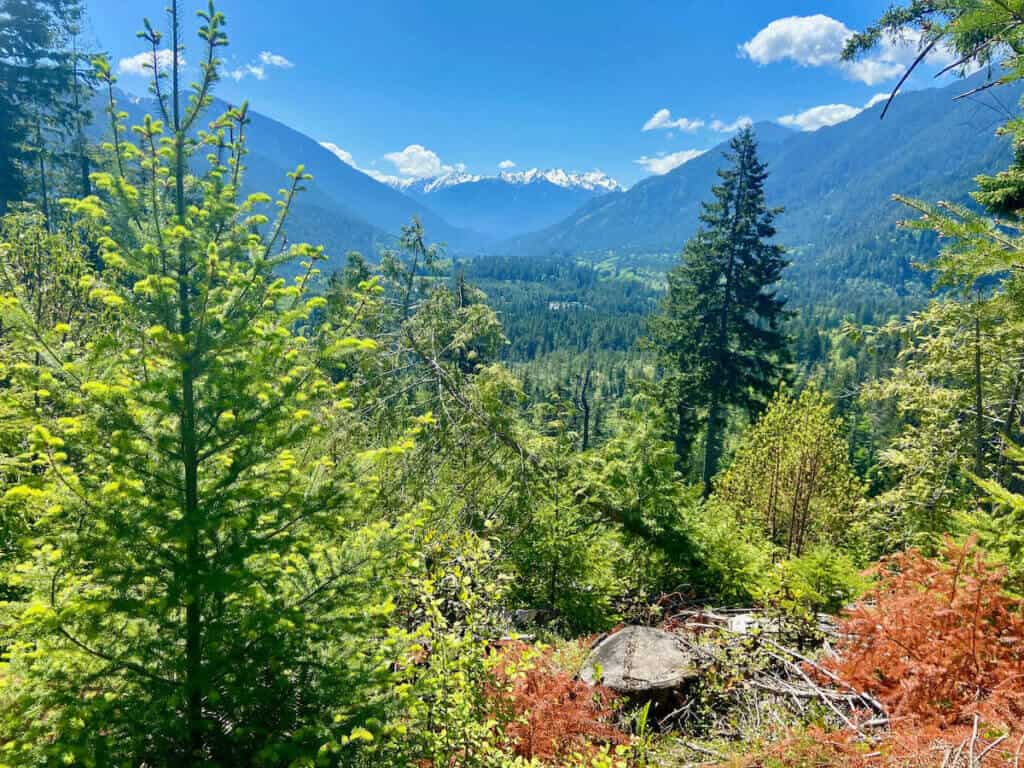
We took our time enjoying the singletrack and rolled into Port Angeles for a late lunch at Next Door Gastropub (soooo good! I highly recommend stopping here and fueling up).
Unfortunately, we didn’t fully realize what was in store for our afternoon pedal to Dungeness Forks Campground… With full bellies (including a few beers and ciders), we got back on our bikes and continued on out of Port Angeles.
The first 12 miles were flat, easy pedaling along the paved ODT. Then, we turned off the paved path and that’s where the uphill started. And kept going. And going. And going.
It was brutal, mostly because we weren’t mentally prepared for it. The miles dragged by and the hills never seemed to end.
We finally rolled into the Dungeness Forks Campground around 7:30pm totally pooped and extremely glad to be there.
Day 4: Dungeness Forks Campground to Quilcene
39 miles | 5,072 ft +
This was another big climbing day and the uphill started pretty much right off the bat after leaving Dungeness Forks Campground.
I was a little worried that this second pass on the Olympic Peninsula would have snow as well, but we talked to a few locals in Port Angeles and they seemed confident that we’d be in the clear. We were, thankfully! But this climb was definitely more challenging than the first big climb on Day 2.
The well-maintained fire road took us past Mt. Zion and up and over Bon Jon Pass. The scenery was beautiful with tons of gushing waterfalls and vibrant green forests, but the last few miles to the top were definitely a grind.
We topped out about mid-day and were looking forward to a nice, easy descent into Quilcene.
Nope. About halfway down the paved road that leads into town, the route makes a sharp right onto another fire road – and another (small) climb. It was tempting to just stay on the main road and skip this section, but I’m really glad we didn’t or else we would have missed the awesome 7-mile Lower Big Quilcene singletrack.
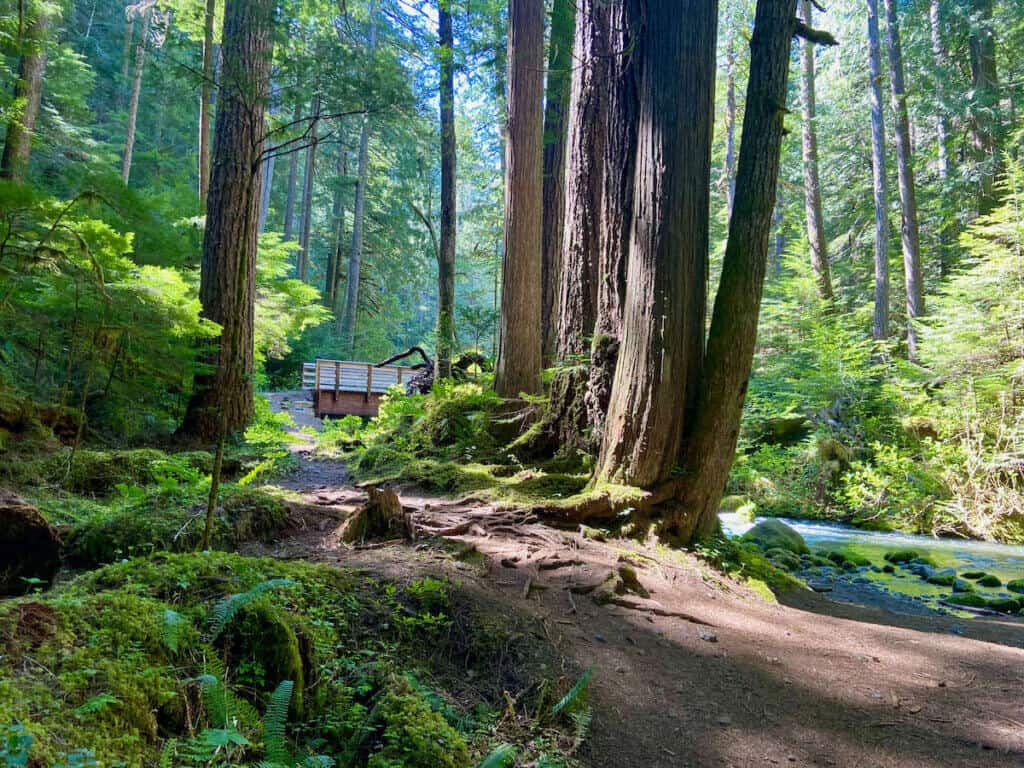
The trail follows the Big Quilcene River and it is stunningly beautiful. Definitely another highlight section of trail. There are a few places to camp along the river, but we were looking forward to some food and brews in town, which we enjoyed at 101 Brewery at Twana Road House.
We also scored a hot shower at the Marina outside of town (quarters needed) and set up camp in the small field above the Marina.
Seattle Area
Day 5: Quilcene to Seattle
57.65 miles (including ferry ride) | 4,068 ft +
We pedaled out of Quilcene early in the morning, excited to get to Seattle where we’d stay with a friend and enjoy some delicious PNW seafood and coffee (and do laundry!).
I had expected this day’s route to be pretty straightforward since we’d already covered the most remote areas of the Olympic Peninsula, but I was definitely wrong. This section of fire roads felt even more remote and jumbled than the two mountain passes we’d just climbed over!
It was also more challenging to navigate because there were so many intersections and crisscrossing roads. It felt like we zig-zagged the whole way across this last stretch of the Olympic Peninsula.
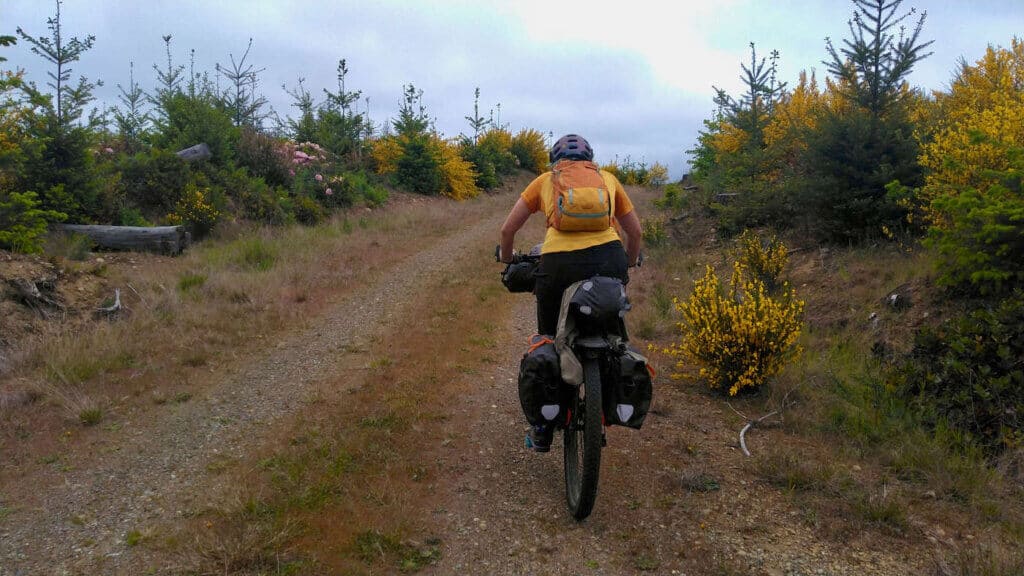
Route note: I messed up the navigation just past Port Gamble and missed a turn that would have bypassed much of Highway 104. I didn’t realize this until after, but we ended up doing the final 8 miles on busy road whereas the actual route skirts around highway 104 on backroads and trails.
When we got to Kingston, we dropped everything and headed straight to J’aime Les Crêpes Crêperie and wolfed down some delicious crepes. Then we boarded our ferry – the same ferry we took just a few days ago! – and sailed back across the Puget Sound to Seattle.
Here, we diverged from the Cross-Washington Mountain Bike Route to stay with my friend, Jen, in Seattle. We treated ourselves to an amazing dinner at RockCreek Seafood & Spirits in Fremont (so yummy!), did laundry, and slept in a real bed.
Day 6: Seattle to Woodinville
14.62 miles | 276 ft +
After saying goodbye to Jen, we did a whopping 14 miles and 270 feet of climbing today. We left my friend’s house mid-morning and pedaled over to the Burke-Gilman bike path which took us north to Woodinville, a town known for its local wine scene. This is also where we rejoined the XWA Route.
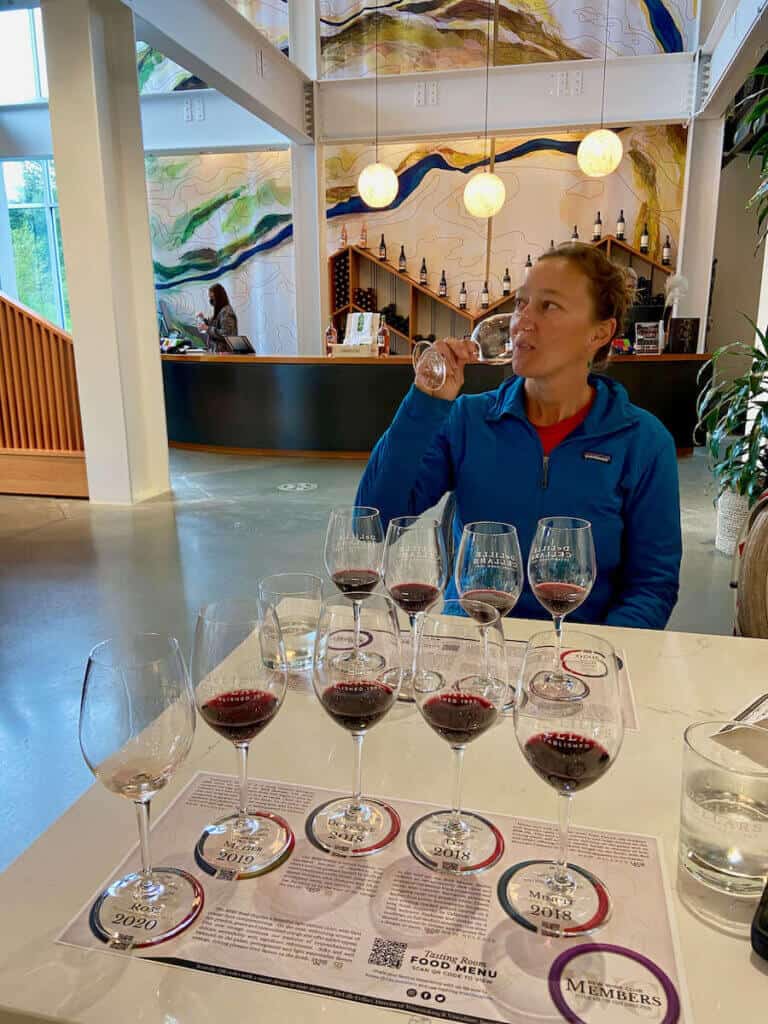
We had planned a ‘rest day’ in Woodinville to indulge in delicious wines and it actually turned out to be a good day to spend off the bikes because the weather was iffy and it started to rain right as we rolled into our first stop: DeLille Cellars.
DeLille is known for their big, bold Bordeaux-style reds and they did not disappoint! My favorite was the D2. Their tasting room is also beautiful and we were super happy to hang out there while watching it rain outside.
Once the rain calmed down, we hopped back on our bikes (dry thanks to an overhanging roof) and pedaled a few miles to our second wine-tasting at Matthews Winery. Matthews has a more free-form tasting menu where you can choose from any of their amazing wines. They also have great snack boards complete with cheeses, crackers, and charcuterie (we destroyed their largest one).
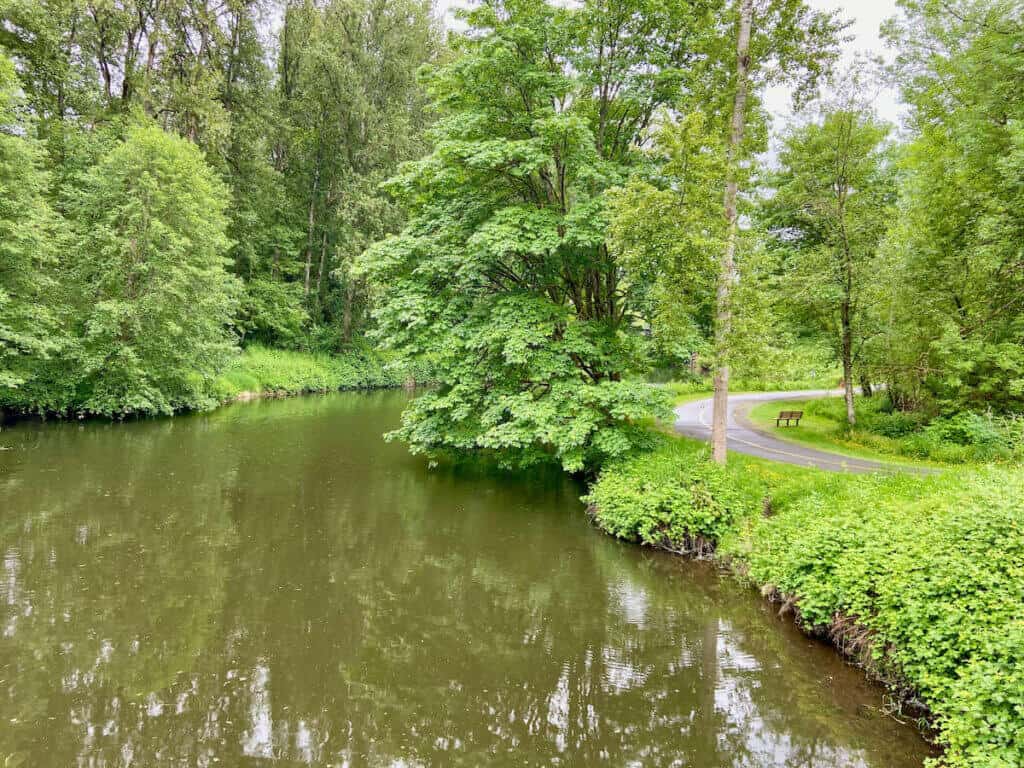
There isn’t much in the way of camping around Woodinville, but there are plenty of hotels to choose from, which is what we did.
Tip: If you plan on doing wine tasting in Woodinville, it’s a good idea to make reservations a day or two in advance, especially if you’re visiting on a weekend.
The Cascades
Day 7: Woodinville to Snoqualmie Pass
68.5 miles | 4,122 ft +
Feeling surprisingly refreshed after a day of wine tasting in Woodinville, we clambered back on our bikes and started the slow pedal toward the base of the Cascade mountain range.
This stretch of the Cross-Washington Mountain Bike Route was a combination of paved bike paths, quiet roads, busier roads, some beautiful forested trails through city parks, steep power line roads that sucked, and finally the Snoqualmie Valley Rail Trail.
This trail eventually turned into the Palouse to Cascades Trail (formerly the Iron Horse State Park Trail) which took us to the summit of Snoqualmie Pass.
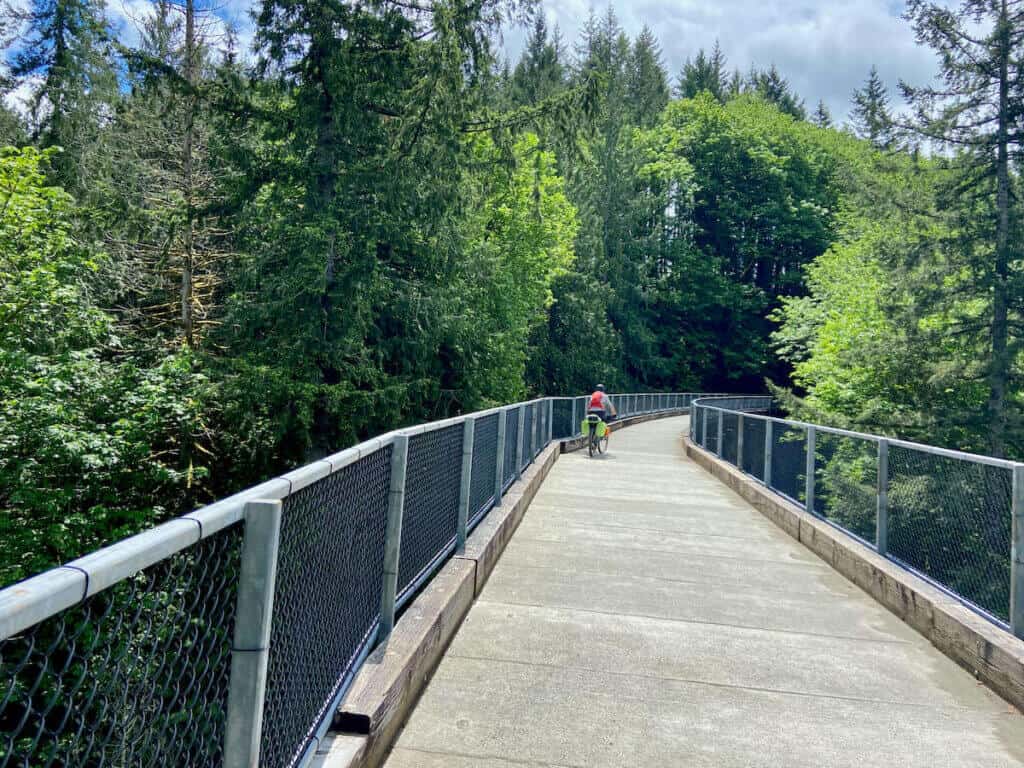
Once again, my expectations for this stretch went flying out the window. I had expected that this mountain pass – the pass that climbs over the massive Cascade Range – would be steep and challenging, but instead, the grade was almost non-existent and it barely felt like we were pedaling uphill.
What was a challenge was that both of our rear ends were almost unbearably sore and the 70 miles of constant pedaling with no stretches of downhill almost did us in.
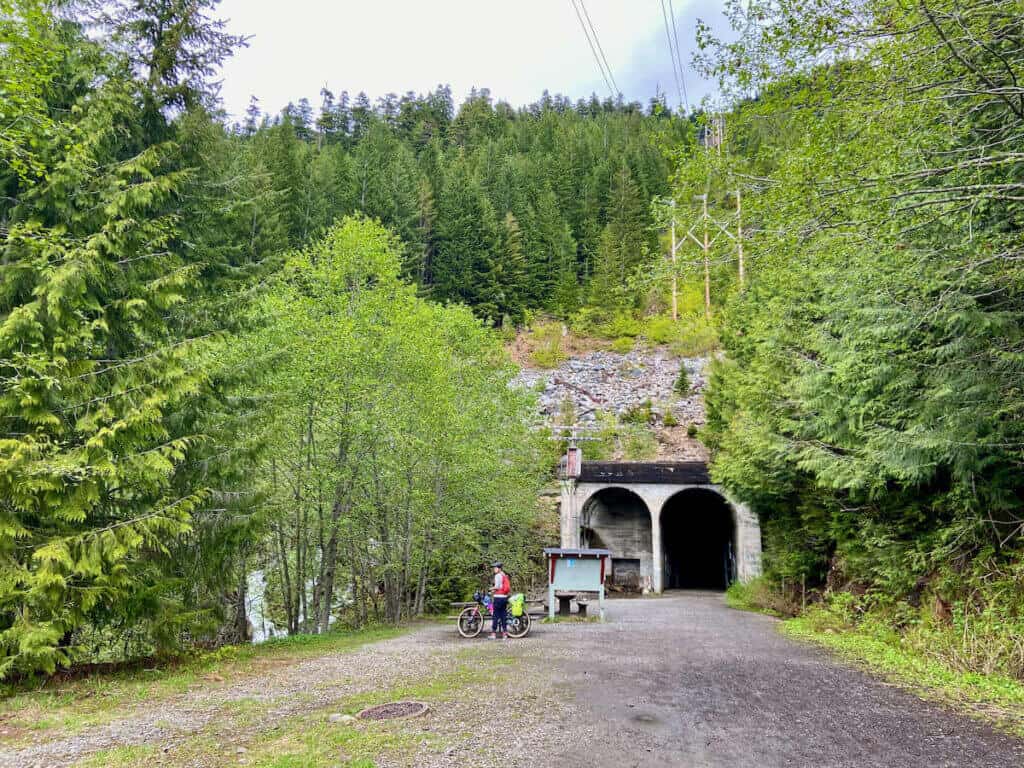
Thankfully, the views were awesome to distract us and there were dozens of old railroad trestles and tunnels that were super cool, including a three-mile tunnel near the summit.
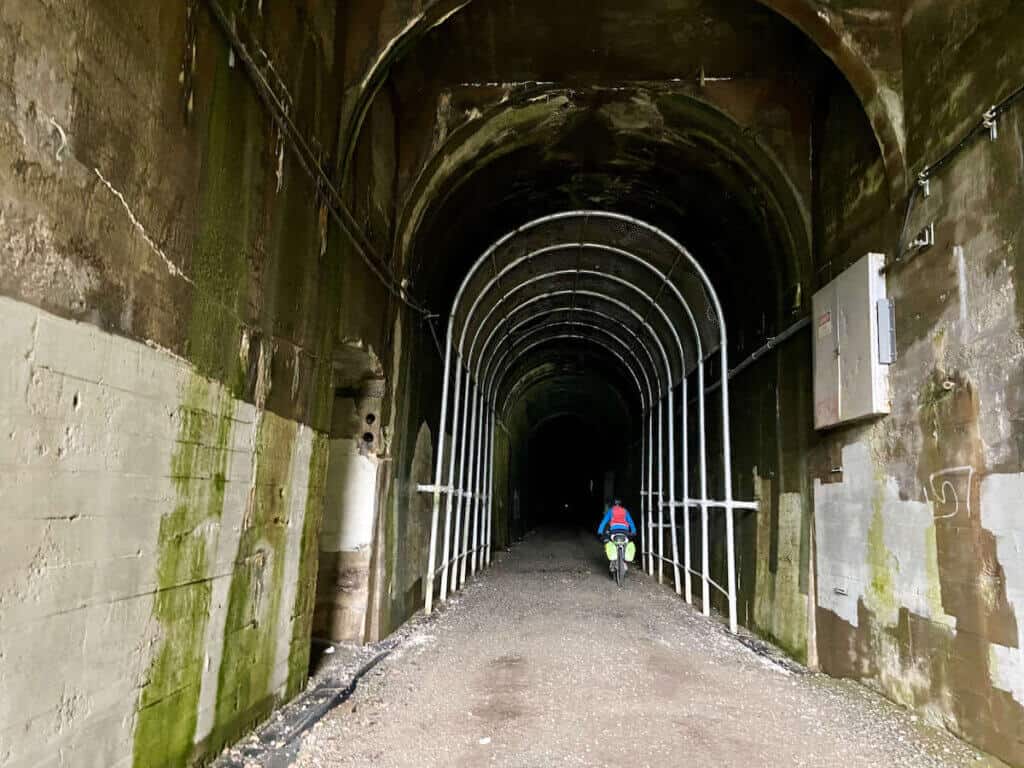
With great foresight, we had booked an Airbnb at the top of Snoqualmie Pass and it was equipped with a hot tub, which was very much appreciated.
Day 8: Snoqualmie Pass to Ellensburg
57.76 miles | 335 ft +
We had a decision to make today. After running into that two-mile stretch of snow on the Olympic Peninsula, which was miserable, we really didn’t want to have to trudge through more snow with heavy bikes.
I had a suspicion that the Mission Peak pass stretch from Cle Elum to Wenatchee could be snowed in, so I emailed the creator of the route, Troy Hopwood, to get his opinion. Sure enough, he said Mission Peak was still covered in snow (although the Teanaway section before it was rideable – see What I Would Do Differently Next Time).
Troy did mention an alternative route through the Collockum Wildlife Area, but also warned that “while it is lower elevation, it is extremely rough terrain and involves a few stream crossings.”
Well, neither option sounded great to use – risking deep snow on Mission Peak or hike-a-biking 5,000ft up Collockum so…. we rented a U-Haul! But I’ll get into that later.
First, let’s rewind to the top of Snoqualmie Pass. You would think that it would be all downhill from the summit into Cle Elum, but just like the ‘climb’ the day before wasn’t anything, so was the ‘descent’.
There was definitely a slight downward trajectory, which was nice, and the views passing Keechelus Lake were beautiful.
Perhaps the highlight of the day, though, was stumbling upon the trailside Smokey’s Bar-B-Que just before entering Cle Elum. Located in an old train depot, Smokey’s was a delicious treat and it should definitely be on your places to stop!
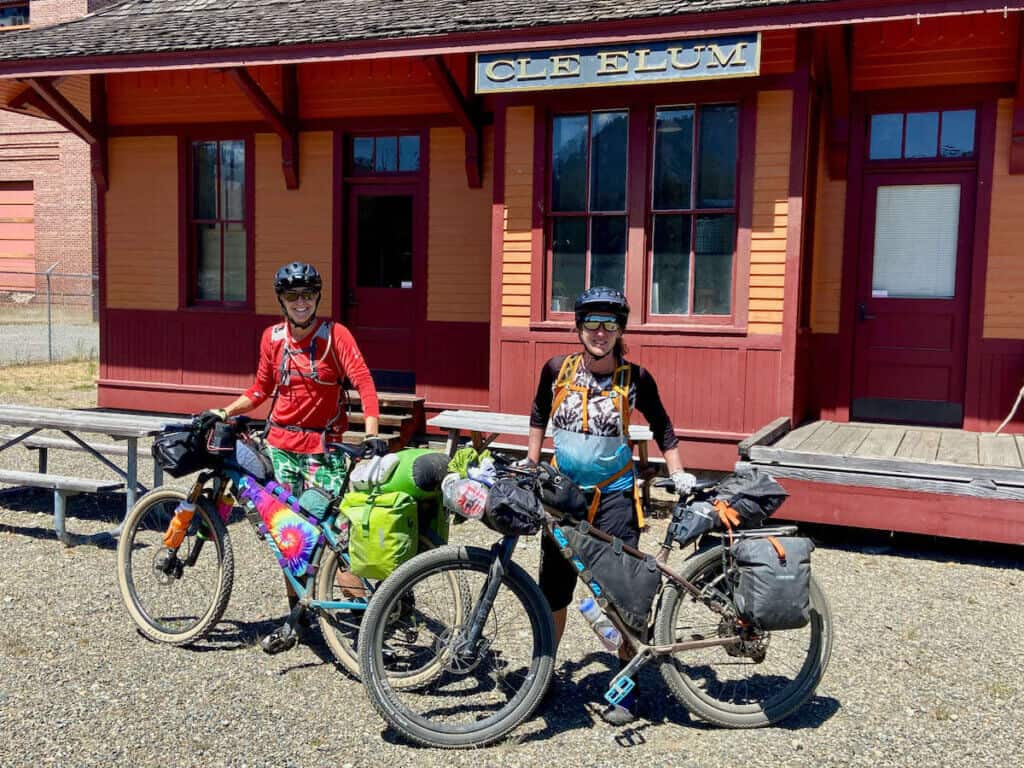
From Cle Elum, The Cross-Washington Mountain Bike Route diverges from the Palouse to Cascades Trail to climb up into the Teanaway Community Forest and then over to Mission Peak above Wenatchee.
As I mentioned above, the Mission Peak section was still snowed-in, so we continued on via the Palouse to Cascades Trail to Ellensburg.
This is also where we would have caught the Collockum Alternative if we had chosen to do that. Instead, we booked an Airbnb and ate pizza for dinner!
Eastern Washington
Day 9: Ellensburg to Rock Island
34 miles | 3,855 ft + (not including the drive)
In the morning, we rode our bikes over to Wildcat Storage to pick up our U-Haul truck that would transport us and our loaded bikes up to Wenatchee – effectively skipping the snowed-in Mission Peak and avoiding the hike-a-bike up Collockum.
I did feel a bit guilty and chagrined for copping out on the last big mountain pass, but then I remembered that this was our adventure and there’s no one right way to do it.
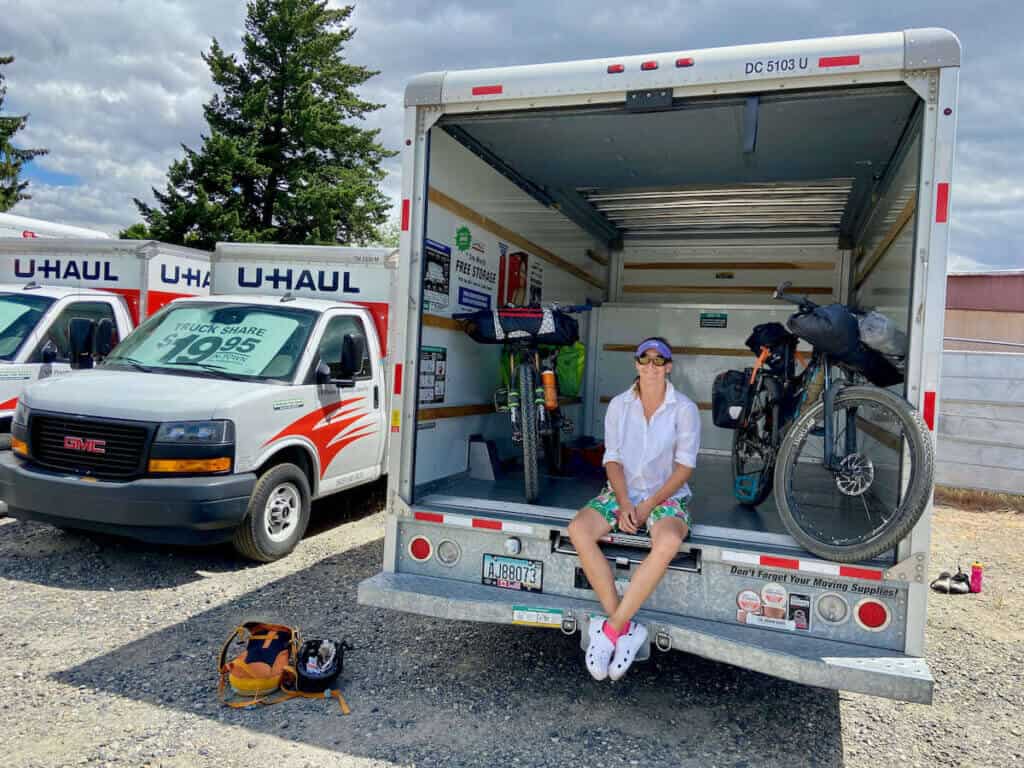
The drive up to Wenatchee went off without a hitch and we dropped off the truck and then went in search for some lunch. We briefly checked out the Public Market, which was really cool, and then settled in for some brews and delicious nachos at Badger Mountain Brewing.
Post-lunch, we hopped back on our bikes and headed out of Wenatchee toward Rock Island Grade. This stretch of the Cross-Washington Mountain Bike Route had the longest portion of on-road riding of the entire route – 8 whole miles!
We also caught a glimpse of a storm brewing over Wenatchee, which we would have been caught in had we chosen to go over Mission Peak. Definitely happy with our U-Haul decision.
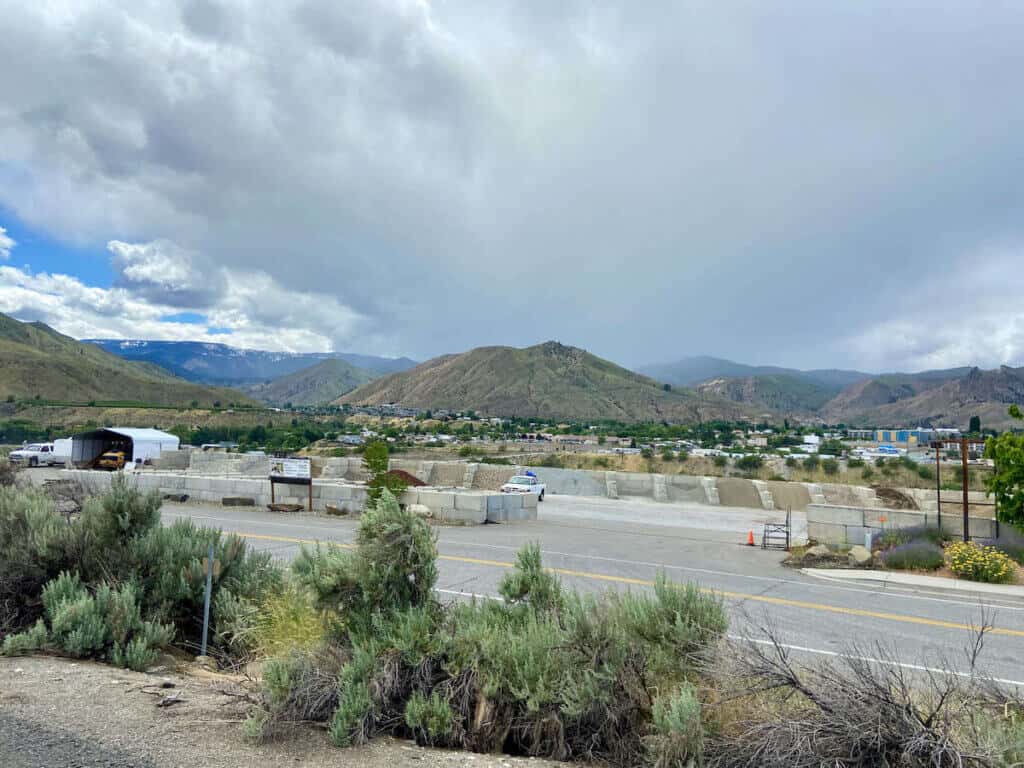
Rock Island Grade was the hardest climb for me for the whole trip. It was steep and long and my legs were feeling it (or I should say ‘not’ feeling it).
The headwinds were also insane, making any forward progress even more difficult. At least the views were stunning.
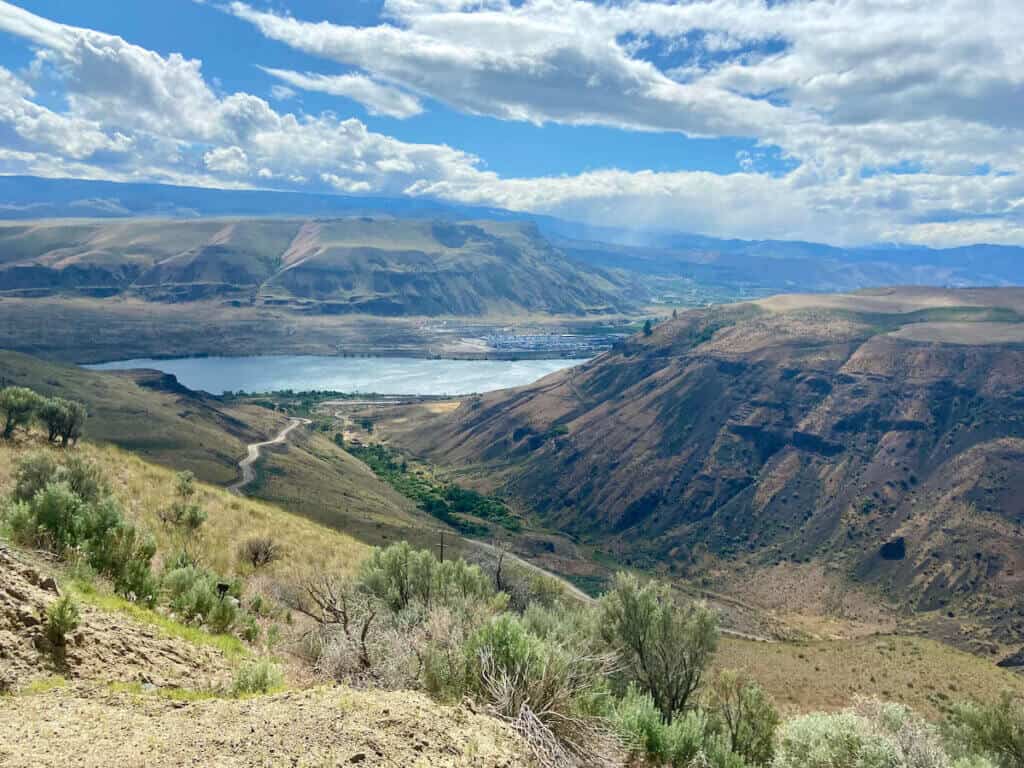
We finally made it to the top of the long climb and then started descending down toward Douglas Creek. We found a nice spot to camp by a stream crossing and called it a day.
Day 10: Rock Island to Potholes Reservoir
76.67 miles | 2,995 ft +
With all our biggest climbs over and the end in sight, we agreed that we would push as far as we could these last few days through Eastern Washington.
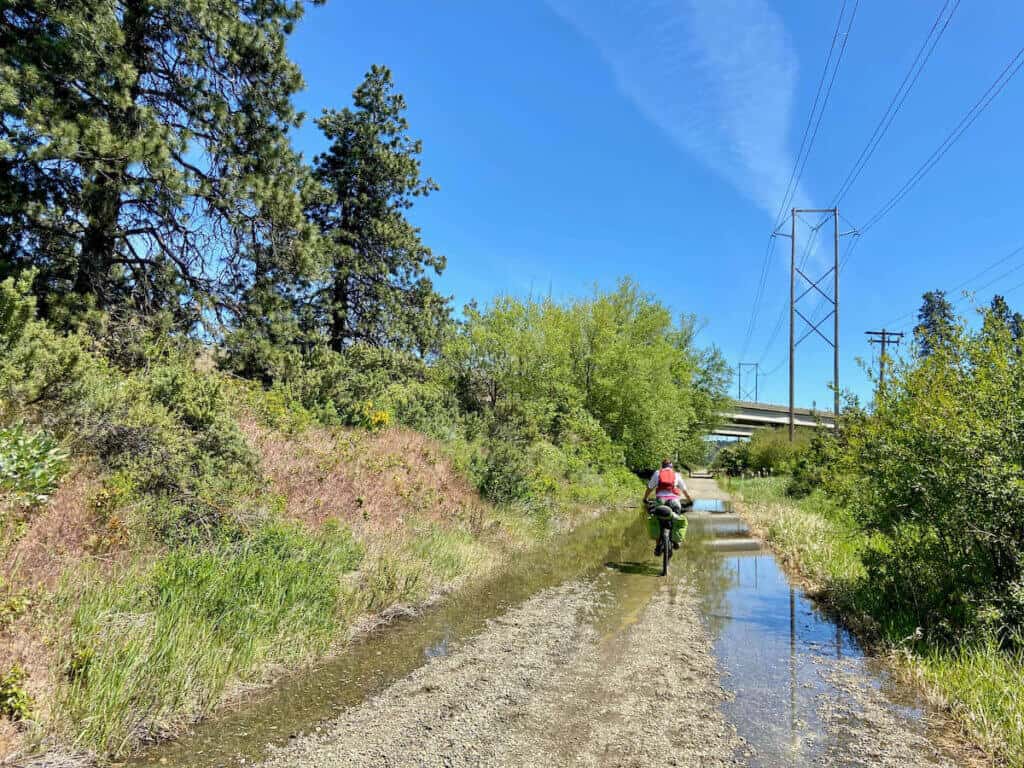
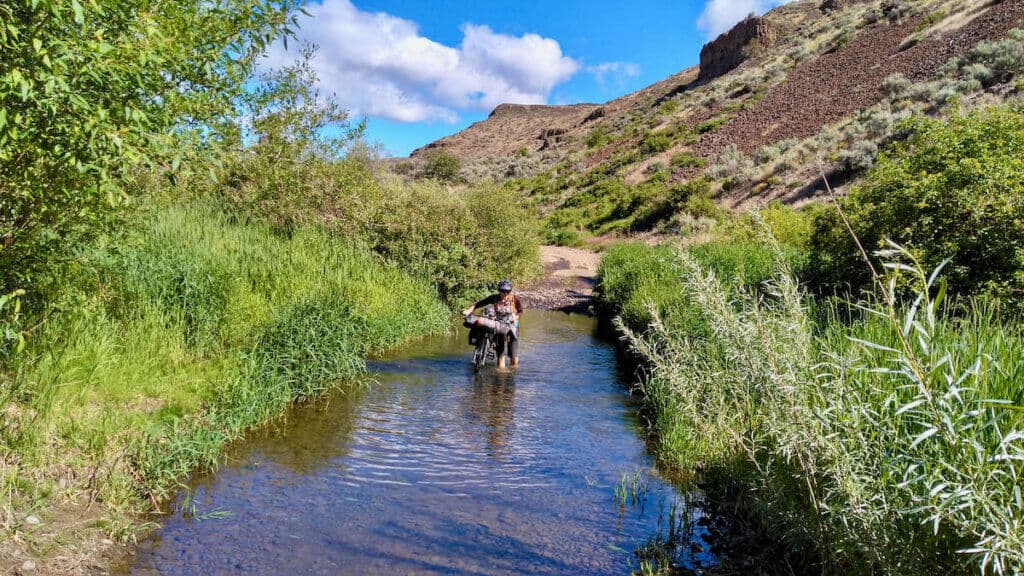
The road through the canyons of Douglas Creek Recreation Areal was crisscrossed with deep stream crossings – at least half a dozen.
We took our socks and shoes off for the first one but then realized that it wasn’t worth it and we made a game of trying to see how many crossings we could successfully pedal across.
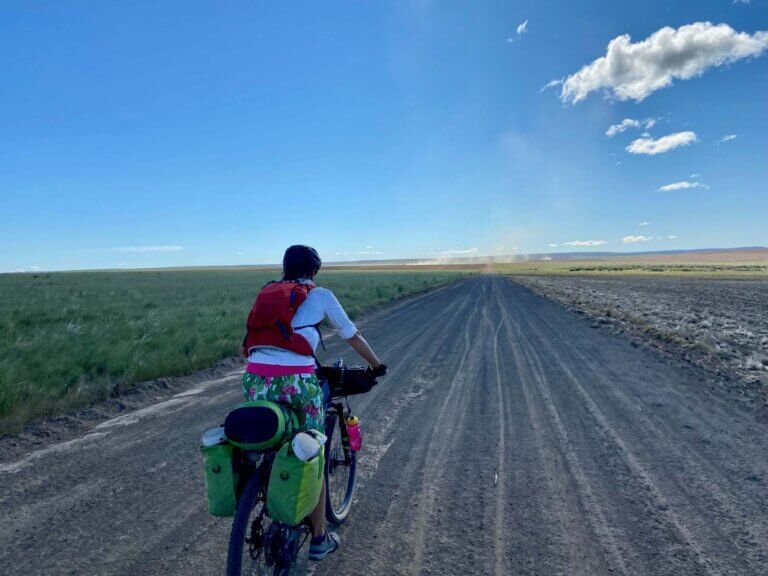
The rest of the day was spent on rolling gravel roads lined with wheat fields and some stretches of flat paved road. Eastern Washington is an interesting place. I can’t say this was our favorite part of the trip, but we did have some memorable moments like pedaling through Moses Lake on Memorial Day Weekend…. Let’s just say it was a cultural experience.
Day 11: Potholes Reservoir to Ritzville
62.17 miles | 2,726 ft +
We left our campsite at Potholes Reservoir Wildlife Area and set our sights on Ritzville. I was envisioning a day of mellow pedaling on compact rail trail, but that dream was definitely shattered the moment our tires touched the Palouse to Cascades Trail just passed the town of Warden.
It frankly sucked.
Deep gravel mixed with stretches of teeth-rattling rock bed, this eastern section of the Palouse to Cascades Trail is not fun. In fact, it was so bad that we decided to ditch it and ride on the paved road that paralleled the trail all the way to Lind.
After having a snack and guzzling some water, I decided to give the rail trail a second try while Michelle opted to take the backroads to Ritzville.
Soon after splitting up, though, I regretted my decision and promptly returned to the road for 40 miles of grueling gravel road pedaling through wheat fields and under a blaring sun.
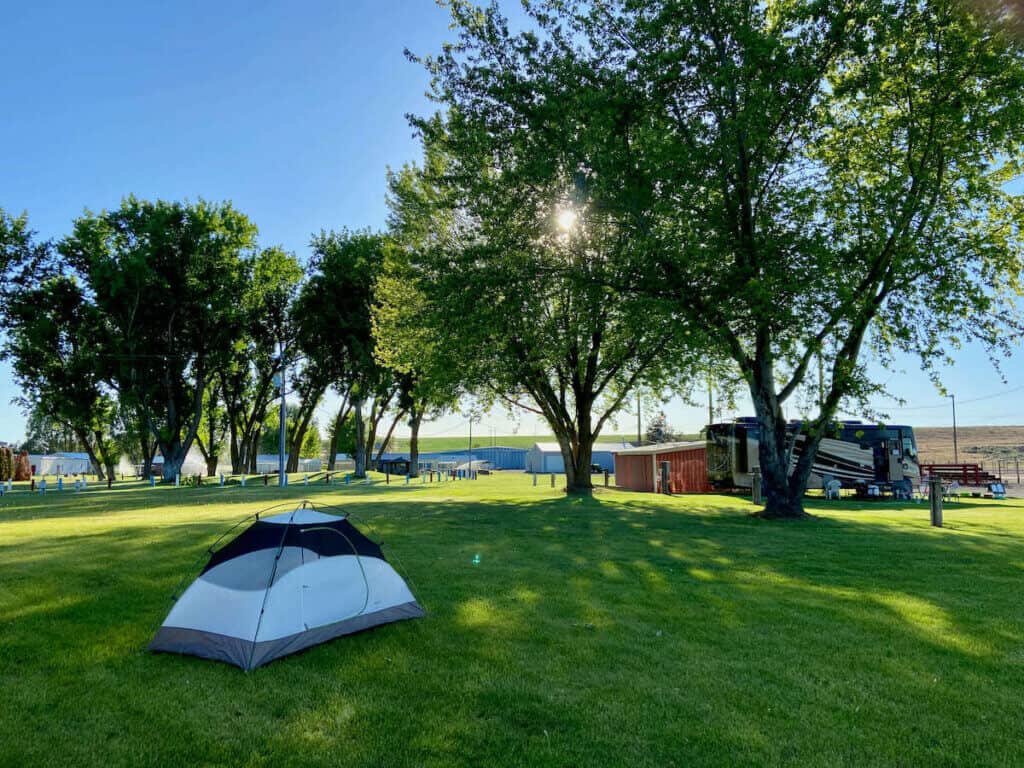
This was absolutely the worst day for me of the whole trip. But there were two redeeming surprises: first, the good food and brews at the charming Ritzville Pastime Bar & Grill, and second, the campground at the Ritzville Wheat Lands Community Fairground (although be warned, the train tracks are just a couple of hundred feet away…)
Day 12: Ritzville to Spokane
71.36 miles | 1,827 ft +
Our last day! From Ritzville, we diverged from the main Cross-Washington Mountain Bike Route once again and headed toward Spokane instead of Tekoa – the official finish.
I can’t speak to the conditions of the Palouse to Cascades Trail past Ritzville, but if it’s anything like the section between Warden and Ritzville, I’m sorry.
After such a miserable day yesterday, we just wanted to get to Spokane quickly so I plotted a direct route on my Garmin, and off we went. While the route was mostly on quiet backroads, we rode on pavement pretty much the entire way.
It wasn’t ideal after not having to worry about cars for the last 600 miles, but it was definitely faster than gravel!
The final few miles into Spokane were on paved bike path, which was great. And then we were there!
Honestly, the end felt a little anti-climatic, probably because we were so tired and sunburned at this point, but it felt great to be done and we were super proud. We celebrated with cold ciders and beers at Spokane’s Locust Cider & Brewing Company.
My XWA Bikepacking Gear Set-UP
Below is a rough overview of the big-item things I took on my Cross Washington bikepacking trip.
For a more detailed list of my bikepacking gear, head over to my bikepacking gear posts:
- A Complete Bikepacking Gear Checklist post
- Bikepacking Bags: The Big 3
- Tips for Dialing In your Bikepacking Set Up
Bike Set-up
Bikes
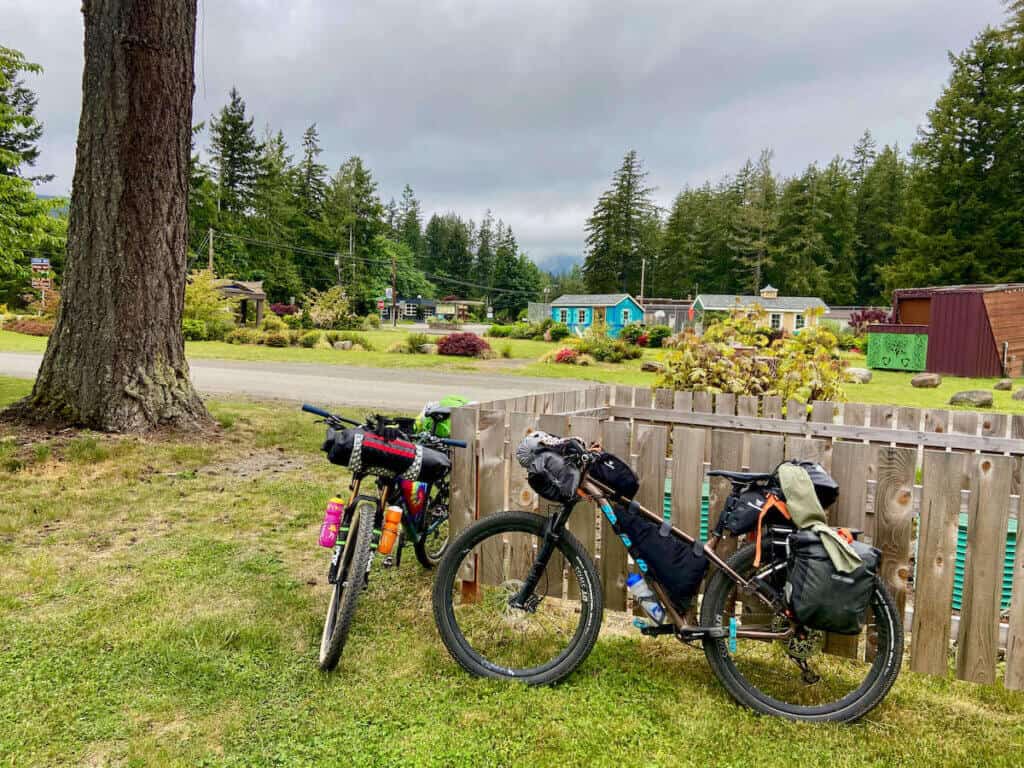
Both Michelle and I used our Santa Cruz Chameleon D+ hardtails for biking across Washington state and we thought they worked great.
You could definitely get away with a shorter travel hardtail or even go with a fully rigid gravel bike, but we thought having some front suspension was really nice, especially on the singletrack and rough fire road sections.
Tires
For tires, I ran the Surly Extraterrestrial 2.5 tires. They feature low rolling resistance while still providing some traction and they are designed with a nylon breaker in the sidewalls for extra protection against cuts and slashes.
As would be expected, they worked great on the paved bike paths and the gravel roads, but I was especially surprised at how well they did on the singletrack sections.
I think having a loaded bike helped with traction, but they felt really secure and solid. I am very thankful that all the dirt we rode was dry. I’m not sure how well they would do in wet conditions…
I would definitely recommend at least 2.3-2.4” tires. There’s deep sand in some places and if you choose to ride the Palouse to Cascades Trail east of Warden you’ll be thankful for wide tires.
Navigation
You absolutely need a GPS device to help you navigate this course. There are so many backroads, twists and turns, and hidden trails that a regular map will just not do.
I don’t recommend using your phone either, because the battery dies more quickly than a GPS computer and there are some very remote stretches.
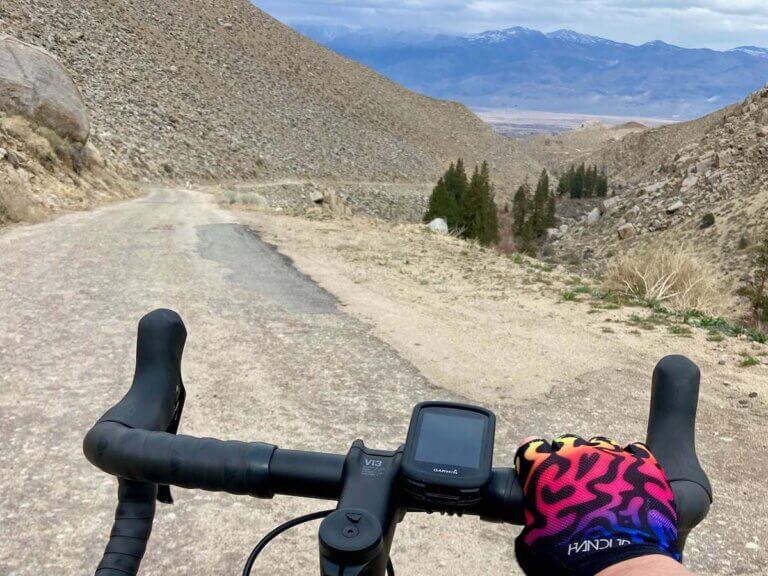
I used my Garmin Edge 830 and it worked great.

Bikepacking bags
For bikepacking bags I used:
- A handlebar roll for my sleeping bag, sleeping pad, and tent poles
- A frame bag for food
- A cockpit bag for snacks and my phone
- A seat post bag for clothes
- Two rear panniers for my tent, stove, some food, and random stuff
We definitely packed for comfort and warmth and Michelle and I each had our own tent.
Depending on how lightweight your gear is and how much you’re willing to ‘suffer’ you could get away with not using panniers.
If I did this route again, I would try not to use panniers.
Read next: Looking for more tips and recommendations? Head over to my Complete Guide to Bikepacking Bags
Hydration system
There is water everywhere along this route, so you really don’t need to load up on water bottles or reservoirs. I had one water bottle in my down tube cage for electrolytes and a hydration backpack with a 3L reservoir on my back.
We used my Platypus GravityWorks 2L Filter System to filter steam and river water. It’s fast and super easy to use.
Things I Would Do Differently Next Time
As with most big adventures, there are usually a few things you’d do differently ‘next time’.
While our bike across Washington state went incredibly smoothly and we had great weather, here are a few reflections and perhaps suggestions for your trip:
1. Ditch the rear panniers
While it was nice to pack for comfort (and we definitely did!) next time I go on a long bikepacking trip I’ll try to leave the panniers at home if possible.
For this cross-Washington trip, you really don’t need to carry much water or food at one time, so it’s definitely feasible to just have a handlebar roll, frame bag, seat post bag, a hydration pack, and maybe some top tube bags.
That being said, the panniers did work fine and they weren’t ever a burden, they just added extra weight that I definitely felt on the many, many hill climbs.
2. Carry less food
If you have room in your bags, you’ll fill them with something, right? We carried way too much food. I get a bit of anxiety about running out of food, but we could have cut way back. I think I carried a 1 lb bag of nuts all the way to Spokane without even opening it 🤦♀️.
The longest stretch you’ll need to carry food for is from the start in La Push or Rialto Beach to Port Angeles, which is about 100 miles.
3. Finish in Wenatchee…
I’m not saying that I didn’t enjoy the whole Cross-Washington ride, BUT if I was tempted to do this route again, I’m pretty sure I would stop in Wenatchee or at least do a small loop past Wenatchee to get in Rock Island Grade for the amazing views.
The Eastern Washington portion of this ride just isn’t that great (sorry!). It was a lot busier, hotter, drier, and much less scenic and the Palouse to Cascades Trail east of Warden is really tough to bike on.
So, if you want to do this route but you don’t have much time off or you’re not sure about the total mileage, stopping in Wenatchee is an excellent option! There’s even a train station there, so you can get back to Seattle or Spokane easily.
Racing the XWA
There is an annual XWA Mountain Bike Race that happens in May. We actually started about 4 days before the racers, and many of them passed us as we slowly made our way east.
Racing the XWA is definitely not on my to-do list, but if that’s your thing, go for it! There’s a very active XWA Facebook page that I joined, and it seems like a really cool community of people.
Final Thoughts on the XWA
The Cross Washington Mountain Bike Route both lived up to my expectations and fell a bit flat in places, too.
I’m absolutely glad I did it and I’d recommend it to anyone interested in biking across Washington state. Like every big adventure, there are going to be pros and cons, so try to go into it with an open mind and adventurous spirit!
RELATED POSTS
Looking for more long-distance bikepacking inspiration? Check out these related blog posts:
Would you consider bikepacking the Cross-Washington Mountain Bike Route? What about it appeals to you? What questions do you still have? Leave a comment below!

Hi Becky,
Thank you for this post! Super helpful. What do you think about doing the route the opposite direction? Everything I see online seems to indicate doing it West to East.
Hi Liz! You could definitely do it in the opposite direction. I do think the rougher sections would be a bit more challenging going east to west and some of the hills will be steeper, especially on the Peninsula.
I was really looking forward to reading this. I lasted about 5 minutes, bit got frustrated with so many pop-up ads.
Hi Steve – sorry you didn’t have a good experience. However, I put an incredible amount of time into these blog posts so that others can go out and enjoy similar adventures. Do I like having ads on my site? No, I don’t. But they provide enough income so that I can continue doing what I’m doing (offering these guides for free!) and hopefully inspiring others to get out and explore the world on two wheels. Cheers.
The character of the route changes completely – again – after Ritzville, and riding through the Palouse to Tekoa was one of the highlights of XWA for me. The P2C is not so bad on that stretch.
Thanks for that insight, Matt! Glad to know that the trail gets better past Ritzville 🙂 I would love to go back and finish the two sections I missed because it sounds like they are both highlights
Next time I recommend spending some time on the trails around Ellensburg. I think you\’d like e.g. the "Mark Brewer" trails. Some of the mountain biking in eastern WA is pretty good, like around Kennewick (e.g. Badger Mountain) and Pullman (e.g. Steptoe Canyon), but I know those places are a bit off the route.
Eastern Washington is on my places to mountain bike for sure! I know about the trails around Wenatchee, but I wasn\’t aware that there is singletrack around Ellensburg, so thanks! Spokane is supposed to be rad, too
Very enjoyable reading, detailed and entertaining. Pictures are stunning and I’m sure it was even more stunning in person. What a great adventure!!