
Explore the Olympic Discovery Trail Adventure Route by Bike
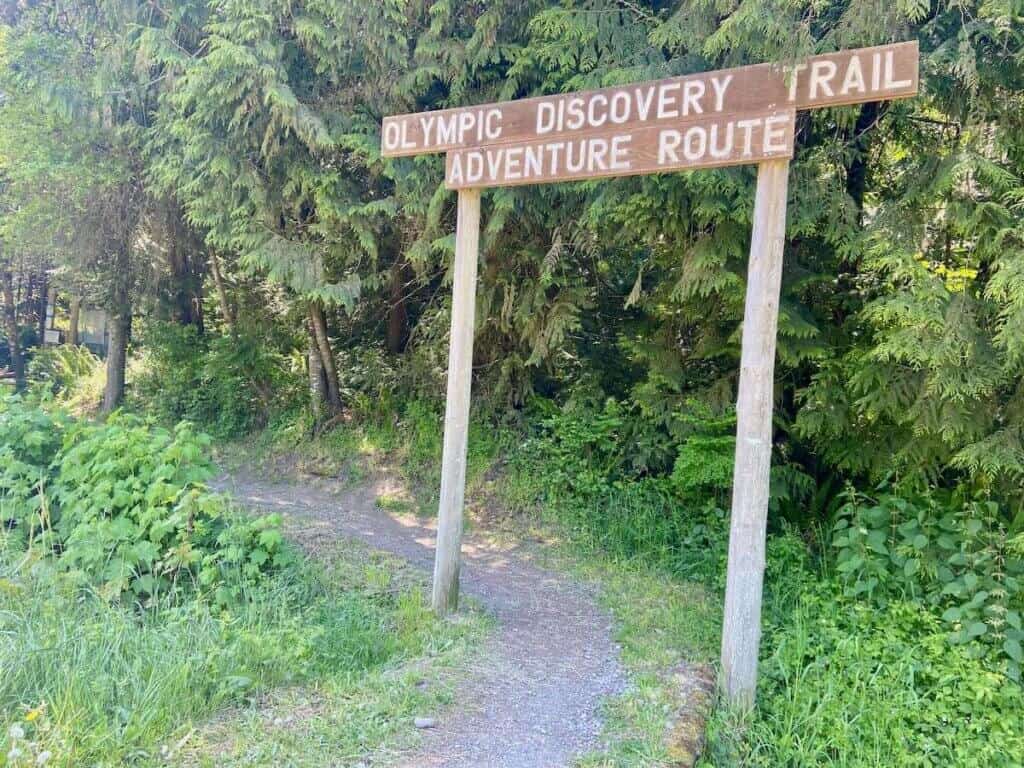
The Olympic Adventure Trail is a 25-mile singletrack mountain biking (or hiking) route off of the Olympic Discovery Trail on the Olympic Peninsula in Washington.
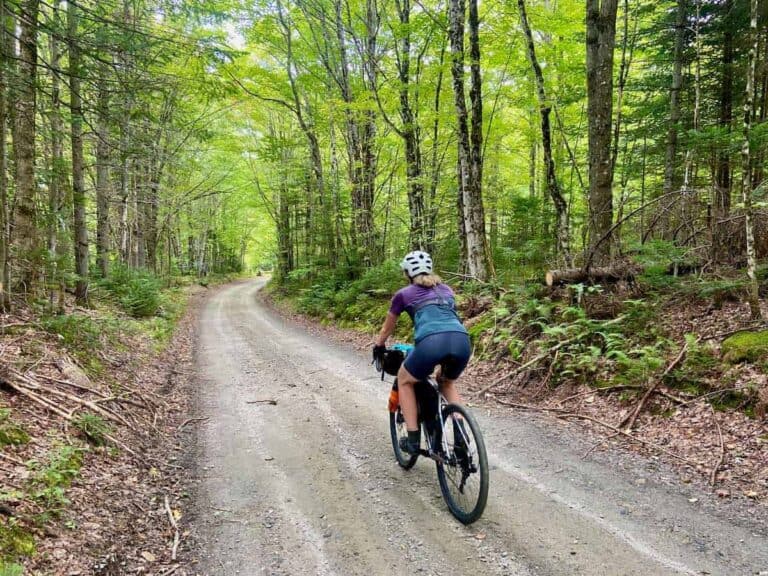
I rode the full Olympic Discovery Trail Adventure Route on my Cross-Washington bikepacking adventure and it was by far one of the best stretches of the whole 700+ mile trip.
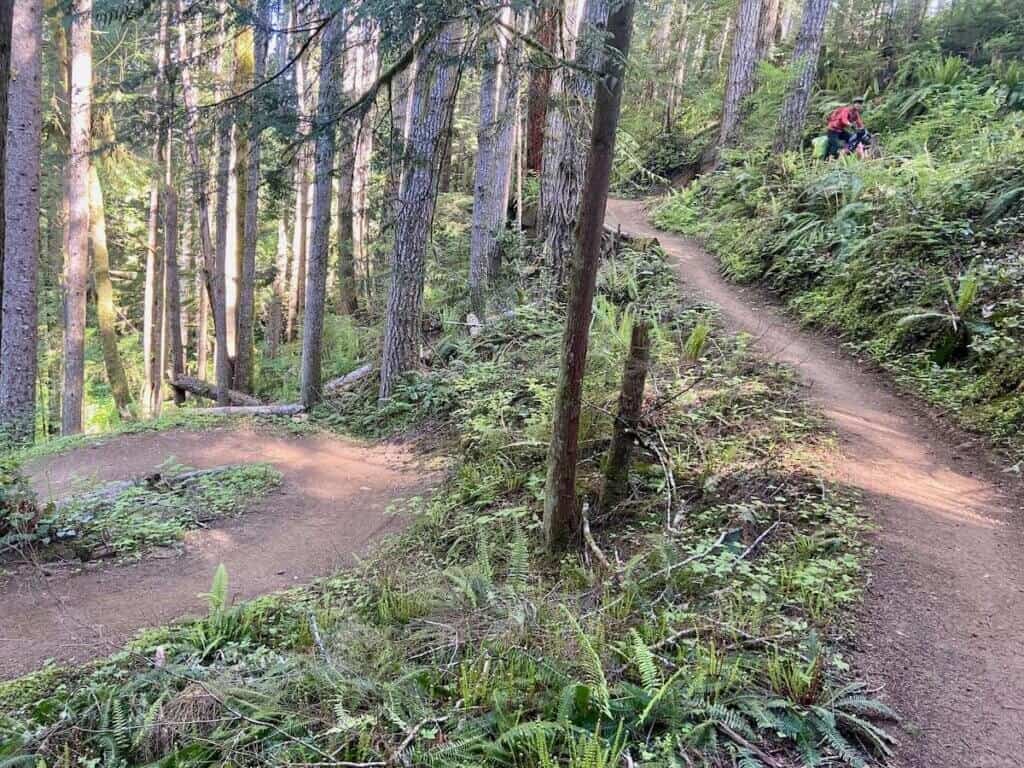
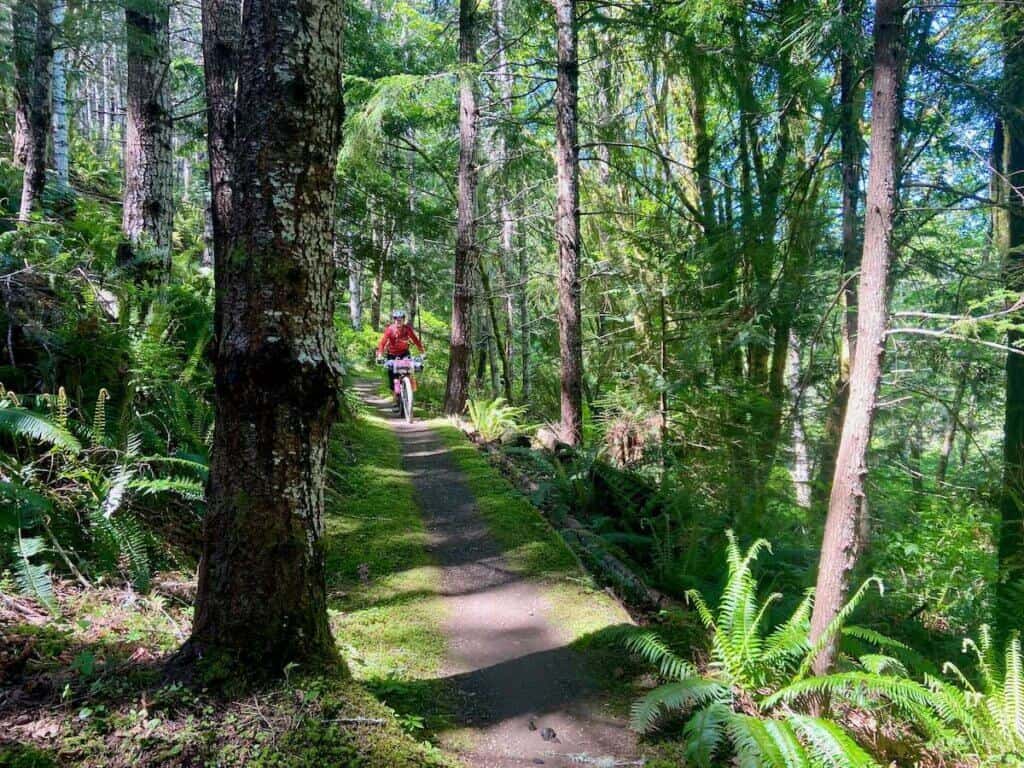
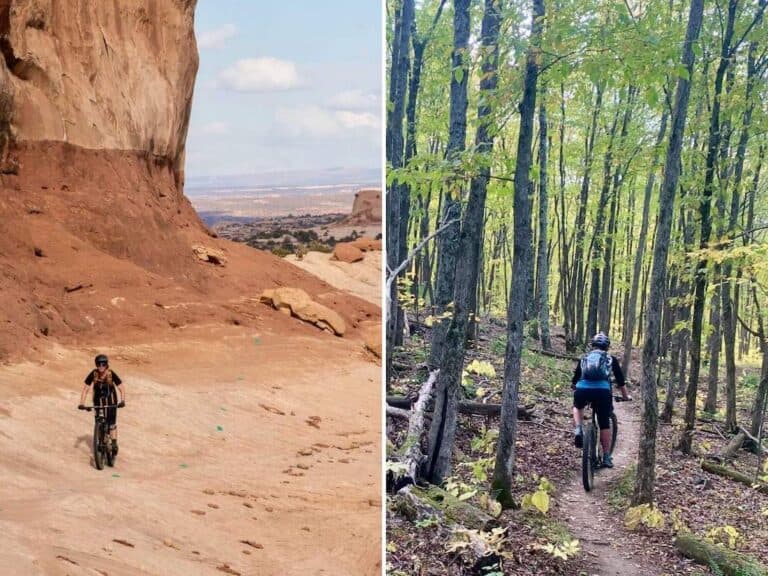
The trail features fast, flowy singletrack through beautiful Pacific Northwest forests, amazing views of the snow-capped Olympic Mountains, and glimpses of the blue waters of the Straight of Juan de Fuca. The whole thing is magical.
Whether you’re looking for an awesome day ride or want to plan a multi-day bikepacking trip across the Olympic Peninsula, the Olympic Adventure Trail is a must. In this post, I share everything you need to know to plan your trip!
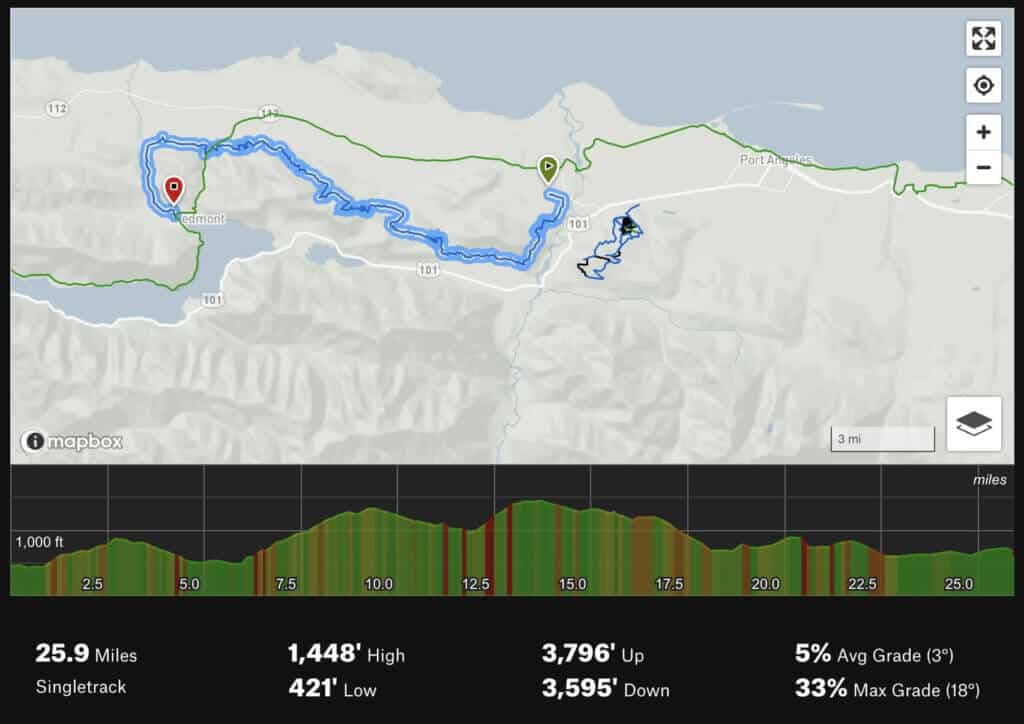
Olympic Adventure Trail Map
The Olympic Adventure Trail (blue on the map below) is a 25-mile (one-way) stretch of singletrack on the north coast of the Olympic Peninsula.
It’s a singletrack alternative to the paved Olympic Discovery Trail.
Olympic Adventure Route FAQs
Olympic Adventure Trail Parking
There are several parking areas to access the Olympic Adventure Trail:
- Main Eastern Trailhead – this is the closest parking area to Port Angeles.
- Main Western Trailhead – located on the western side of the trail on Lake Crescent. You’ll need to pedal a few miles of dirt road to get to the singletrack
- Joyce-Piedmont Road – this is a small parking area on the western side with easy access to the trail.
There’s not much parking along the trail, so you’ll most likely start at either the eastern or western main trailhead.
Important: Car break-ins have been reported. Do not leave anything valuable in your car.
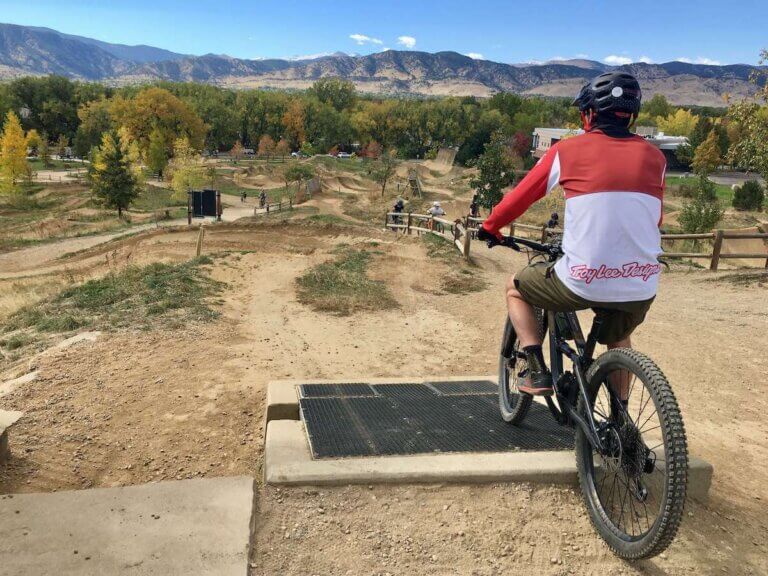
Olympic Adventure Trail Day Rides
The Olympic Adventure Trail can be ridden as an out-and-back day ride starting from either end – the western trailhead or the eastern trailhead.
Personally, I loved the western side for its lush forest, minimal trail traffic, bigger views, and more backcountry feel.
The eastern side is more popular because it’s easier to access and closer to Port Angeles.
There’s no right or wrong answer as to where you start or how far you need to ride. The trail is rolling with no major climbing (there’s always climbing…) or technical features.
Just get out there and have fun!
Bike rentals & guided tours
If you need to rent a mountain bike, Adventures Through Kayaking has rentals or you can sign up for one of their guided day tours.
Bikepacking the Olympic Adventure Trail
Want to spend a few days exploring this beautiful area of the Olympic Peninsula? Here are two multi-day options for bikepacking the Olympic Adventure Trail:
1. As an out-and-back
Bikepacking.com has a 1 day/2 night out-and-back route. This is a great way to explore the full trail and see both the eastern side and the western side.
On day 1, you’ll ride the trail from east to west starting at the eastern trailhead. Spend the night at the Log Cabin Resort Campground.
On day 2, retrace your route back across the Adventure trail to where you started.
2. A 5-day trip from coast to coast
If you’re like me, out-and-backs are kind of boring. I prefer to have every day be new and fresh!
As I mentioned before, I rode the Olympic Adventure Trail as part of my Cross-Washington bikepacking trip, but you could easily just do the Olympic Peninsula portion as a 5-day/4-night trip.

This route is rugged, challenging, and adventurous, but an amazing way to see Olympic Peninsula. (If you prefer paved surfaces and an easier route, check out my 3-Day Olympic Discovery Trail Itinerary).
With roughly 18,500 ft of climbing over ~220 miles, it’s definitely an undertaking, but – in my opinion – absolutely worth it! In addition to the awesome Olympic Adventure Trail, this route also descends down the beautiful Lower Big Quilcene singletrack outside of the town of Quilcene.
Bikepacking Logistic
If you bikepack the Olympic Adventure Trail as a 1-night out-and-back, the logistics are pretty straightforward.
However, if you do a one-way trip, you’ll need to do a bit more planning. Here are a few logistics to consider:
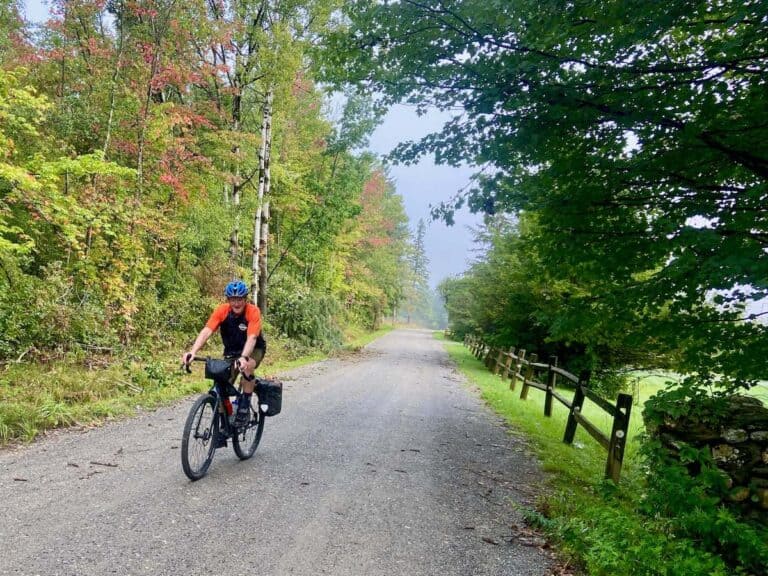
- Transportation: If you start in La Push on the Pacific Coast and end in Kingston, you’ll need to arrange transportation. The easiest option is to set up a self-shuttle with two cars. Alternatively, you can get a one-way transfer with Olympic Hiking Company, which is what I did for my trip. I provide more transportation information in my Olympic Discovery Trail post.
- Food and water: Generally, food and water can be found pretty regularly across the full route. Pack a water filter.
- Camping: Campgrounds can be found at regular intervals. Reservations are highly recommended, especially during the summer months.
- Accommodations: If you prefer to sleep in a real bed, you can plan your trip to do so. Some days may be longer with more climbing, though.
- Bike: This route is a mix of a bunch of different riding: dirt and gravel roads, paved multi-use paths, and mountain biking singletrack. I rode a hardtail Santa Cruz Chameleon with wide gravel tires and it worked great. You could do it on a fully rigid gravel bike, but the singletrack sections won’t be as fun. A short-travel full-suspension bike would also work well.
- Gear & bikepacking bags: I always try to go as light as I can when bikepacking without giving up too much comfort. Use my bikepacking trip gear checklist to help pack for your trip. For bags, I’d try to avoid panniers since they’re a pain on singletrack (said from experience…).
Read next: A Complete Guide to Bikepacking Bags
Final thoughts
Whether you’re heading out for a day ride on the Olympic Discovery Trail Adventure Route or you want to plan a multi-day bikepacking trip that includes the Olympic Adventure Trail, I hope you’ve found the inspiration and information you need to hit the trail.
I loved my ride on this super scenic and flowy stretch of singletrack and I have no doubt you will too!
RELATED POSTS
Looking for more adventures in the Pacific Northwest? Check out these related blog posts:
What questions do you still have about the Olympic Adventure Trail? Have you ridden it? Would you do a 5-day bikepaacking trip from coast to coast? Leave a comment below!


is the adventure trail suitable for adaptive mountain bikes? my track width is 32 inches
Hey Charlie – I would say it’s a bit narrow for aMTBs, unfortunately… There’s a lot of vegetation growth on either side of the trail and there are several bridges that might be narrower than 32in. You can try to reach out to Evergreen Mountain Bike Alliance to see what they say or if they have any other recommendations on where you can ride.