
Bikepacking Bags: A Complete Guide for Two-Wheeled Travel
Bikepacking bags are a big decision when it comes to choosing the right gear for your set-up. You want to find the balance between carrying all the essentials (plus maybe some luxury items) and not weighing down your bike too much so that you can only manage to pedal a few miles a day.
I’ll preface this post by saying that there is no one right way to pack your bike or carry your gear. It’s also important to point out that different trips are going to require different bikepacking bag setups. For example, if I’m heading out on a two-night mostly singletrack adventure I’ll choose different bags than if I were to head out on a two-week gravel ride.
This post is meant to give a broad overview of what types of bikepacking bags are available and when you might use them, and provide a few tips on how best to pack your bike for bikepacking.
Let’s dive in!
The Big Three
There are a lot of different options when it comes to bikepacking bags, but most set-ups will have the big three:
- Frame bag
- Handlebar roll/bag
- Seat post bag
Below I’ll run through each bag, what they’re best used for, and my top picks for each.
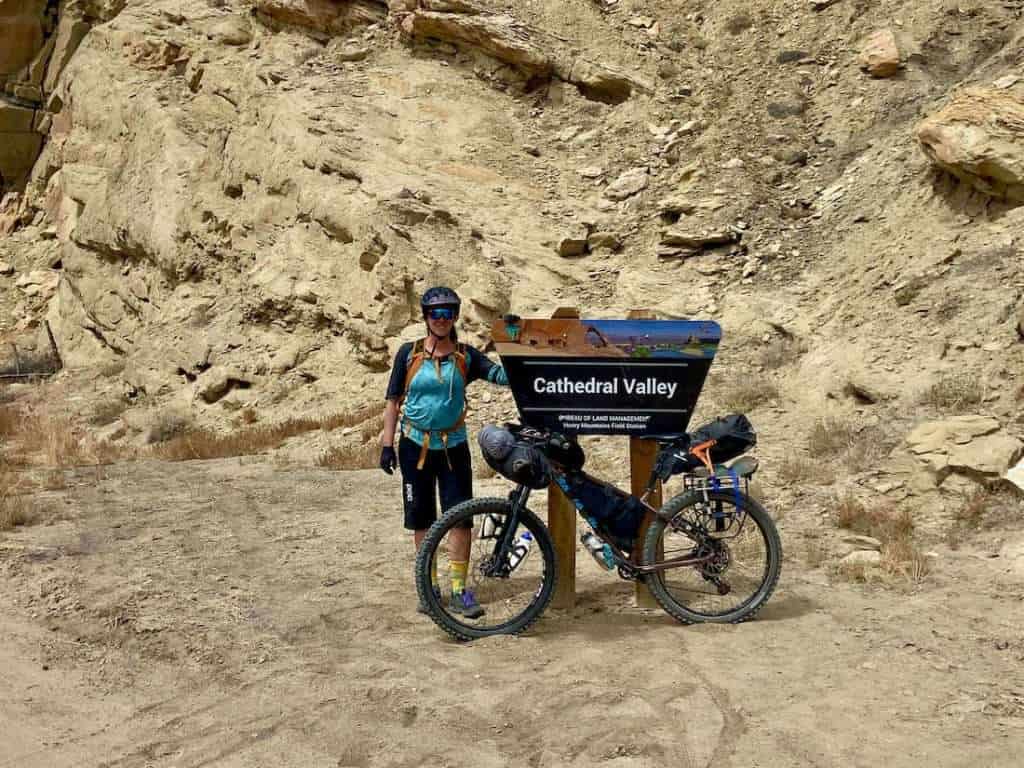
1. Frame Bag
Frame bags a designed to fit within the frame triangle of a bike. The problem is, there are very few bikes that have the same frame measurements. This means you need to measure your frame triangle carefully before buying a frame bag.
Better yet, you can order a custom-made frame bag that is specifically cut for your bike. They are more expensive, but you’ll be getting a product that actually fits your bike.
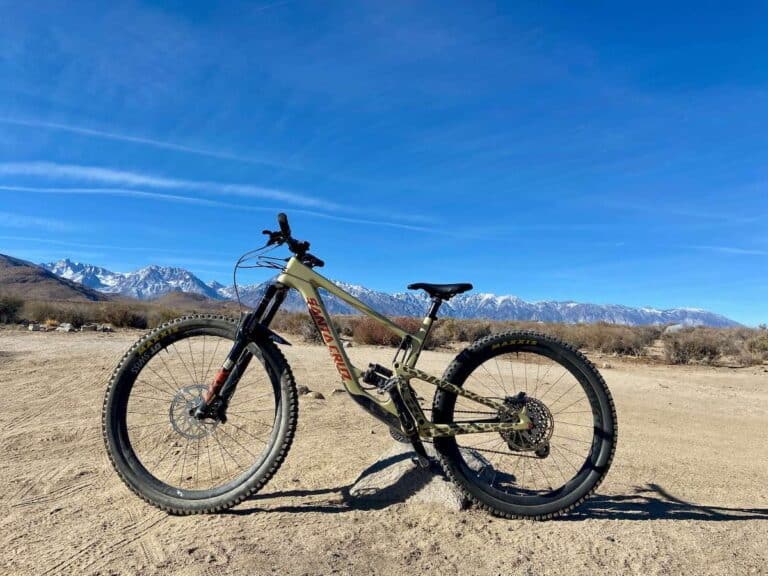
If you plan on bikepacking with a full-suspension bike, a custom frame bag may be the only way you can go in order to fit around the rear shock.
Tips for choosing a frame bag
When choosing a bikepacking frame bag, there are a few things you want to look at to make sure it is high-quality, durable, and will actually fit your bike:
custom frame bag
Rogue Panda Custom frame bag
Rogue Panda has long been a favorite for bikepacking gear because they really care about the quality and functionality of their gear.
Their frame bags are totally customized to your bike and they can make a bag for virtually any make and model. Plus, you get to choose fun colors and patterns!
>> Where to Shop:

universal frame bag
Ortlieb Frame Pack
If you don’t need or want to go the custom frame bag route, check out the Ortleib frame packs. It comes in two sizes, 4L and 6L, and fits most rigid or hardtail bikes.
Made with Ortleib’s legendary waterproof material and burly zippers, these will last a long time.
>> Where to Shop:
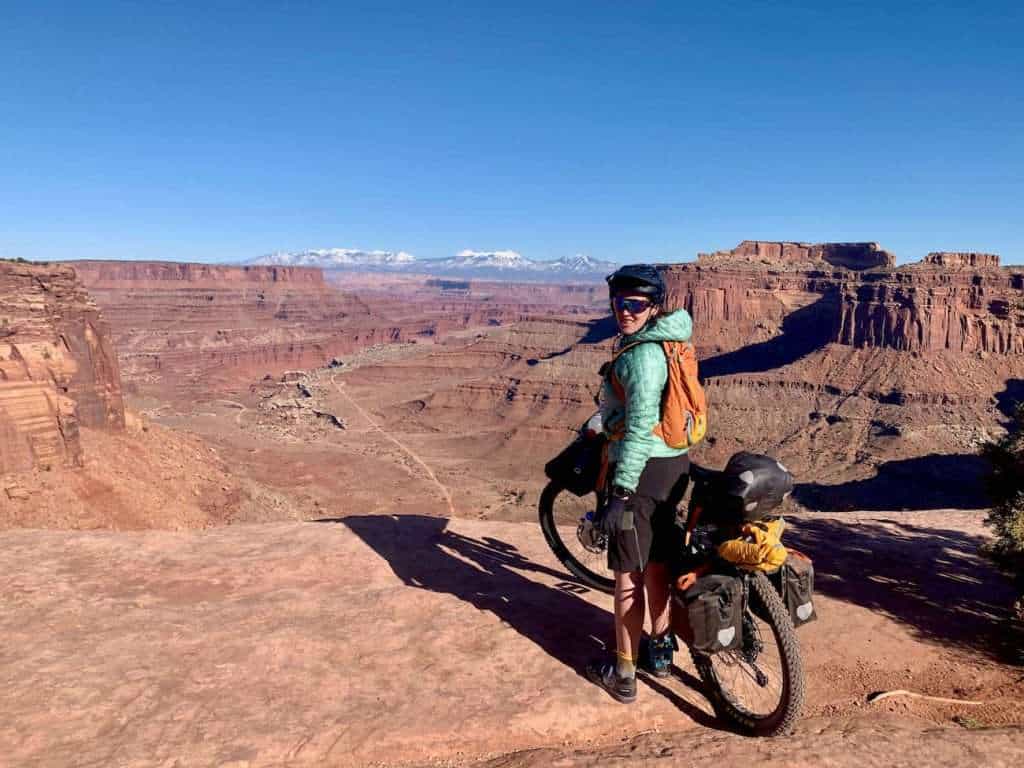
2. Handlebar Roll/Bag
I feel like the bikepacking world is still trying to figure out the best way to attach a bag to the handlebars.
Currently, there are two options:
- A fixed roll that stays on your bike throughout your ride
- A handlebar harness that allows you to remove a dry bag for easier access to your gear.
I’ve used both, and I definitely lean toward the harness because it’s more versatile, but the roll is a great option, too, and can be more secure.
TIP: Whichever design you decide to go with, it’s a really good idea to apply some bike protection like electrical tape to the areas on your bike frame and fork that will come into contact with your handlebar bag to prevent abrasion and wear.
Fixed rolls
Fixed handlebar rolls are meant to stay attached to your bike throughout your bikepacking trip. They’re usually a bit tricky to strap on initially, but once you have them attached they shouldn’t bounce around or come loose.
Gear can be loaded and unloaded into the bag on either end and then compressed by rolling down the ends and snapping the clips together.
Choose a fixed handlebar roll if:
- You want a bag that is securely attached to your bike at all times, reducing as much bounce and movement as possible
- You don’t need to bring your gear into your tent, hotel, or out of the rain
- You won’t be using public transportation (which usually requires you to remove your handlebar bag)
handlebar roll
Ortlieb Handlebar Pack
Again, I think Ortlieb makes high-quality and durable gear and their handlebar pack is no different. It’s definitely not the lights roll out there, but it will keep your gear dry and secure. It also has some webbing on the front, so you can stuff a jacket or extra layer without needing to open it up.
It comes in two size options: 9L and 15L.
>> Where to Shop:
Handlebar harnesses
Handlebar harnesses are designed to work with a removable dry bag that can be loaded and unloaded into the harness.
The harness stays on the bike throughout your entire trip, but you’re free to remove the dry bag whenever you want.

Choose a handlebar harness if:
- You want to be able to remove your dry bag from your bike
- You want to be able to choose different size dry bags depending on how much gear you need to carry for each trip
- You need to work around mountain bike cables (fixed handlebar rolls will work with mountain bike cables, but they’re typically a lot more fiddling you need)
handlebar harness
Rogue Panda Canelo
The Rogue Panda Canelo handlebar harness is relatively new, but it has undergone a lot of R&D. It’s pretty cool. It does take some finagling to get it on, but once it’s secured, you really don’t have to touch it during your trip.
It’s designed to be used with any dry bag, which you can also purchase from Rogue Panda.
>> Where to Shop:
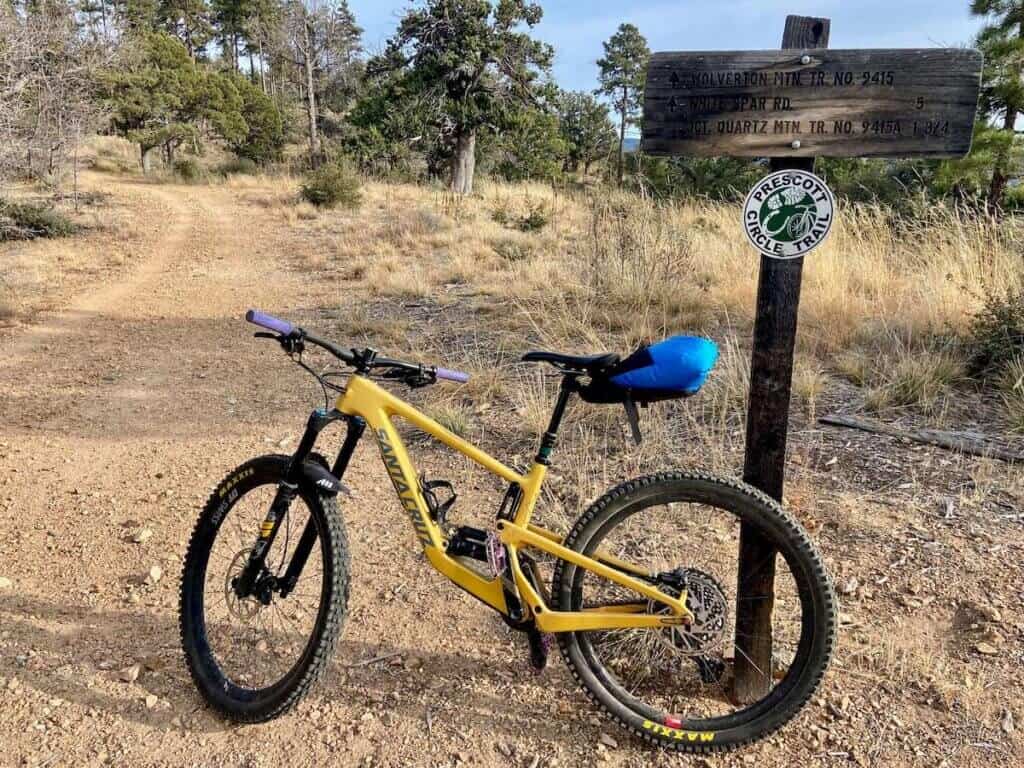
3. Seat Post Bags
Seat post bags for bikepacking have come a long way over the last few years and now there are a number of options to choose from.
Like the handlebar bags, you have two options when it comes to saddlebags:
- A fixed bag that stays attached to your seat post
- A harness with a removable dry bag
If I had to choose between a harness-style and a fixed bag, again, I prefer the harness. Being able to remove your bag from your bike makes camping and packing up a lot faster and easier.
On the flip side, fixed bags can typically hold more gear and you can really compress them down tight so it doesn’t sag or jostle around.
In the future, I do think that most brands will be moving toward the harness system for saddle bags.
HAVE A DROPPER POST? Some seat post bags are compatible with dropper posts (see the Rogue Panda Ripsey below), and others are not. If you want to use your seat post bag on a dropper post, the Wolf Tooth Valais may work. You’ll have better luck using it with smaller-sized seat post bags (10L or less) and you will lose a little bit of range on your dropper post.
seat post harness
Rogue Panda Ripsey
The Rogue Panda Ripsey consists of a lightweight injection-molded harness that cradles a removable dry bag.
Simple in its design, it’s remarkably stable and light. Plus, you can opt to use it with the Wolf Tooth Valais clamp to make it compatible with your dropper post.
>> Where to Shop:
Additional Bikepacking Bags
The frame bag, handlebar roll, and seat post bag are the biggest ticket items when it comes to bikepacking bags, but there are lots more options for carrying gear.
Panniers + Rack
Panniers are a good option if you need to carry a lot of extra gear, but I don’t recommend using them if you don’t need absolutely to, especially if you’re planning on doing singletrack-heavy bikepacking.
Large panniers can get in the way of pedaling or hike-a-biking and they can make your bike ridiculously heavy if you’re not careful with what you fill them with. They will also bounce around a lot on rocks and roots no matter how secure you try to make them.
That being said, sometimes you need to carry a lot of extra water or gear, and in that case, having panniers on front and/or rear racks can be helpful.
For a rack, check out Old Man Mountain Racks, which are designed to work on pretty much any bike regardless of braze-ons and dropouts. I’m also really curious about this Aeroe system, which looks pretty rad.
Here are a few panniers to check out for bikepacking:
Cockpit & top tube bags
Cockpit and top tube bags are great for small items like a multi-tool, snacks, sunscreen, and other items that you need frequent and easy access to.
There are a ton of different options out there. Here are a few of my favorites:
A Backpack
I actually prefer to wear a backpack on short 1-2 night trips, especially if it’s singletrack heavy. You’ll find that mountain bikes just don’t handle the same when loaded with gear, so if you want optimal fun on downhills during your trip, a backpack is the way to go.
bikepacking backpack
Osprey Mira 34/Manta 32
Designed for overnight missions, the Osprey Mira (women’s) and Osprey Manta (men’s) are perfect for short bikepacking trips.
They have a 3D mesh back panel for airflow, they’re super comfortable and distribute weight well, they have a water reservoir, and they can hold a ton of gear.
>> Where to Shop:
Read next: Want to know more about the Osprey Mira and Manta? Read my full review here.
Bikepacking bag companies
Now that you have a good idea of the different types of bikepacking bags available, I encourage you to go do your own research into brands, styles, and products. What works for me may not work for you and vice versa.
Here is a list of bikepacking bag & gear companies to get you started:
- Rogue Panda | Flagstaff, Arizona
- Revelate Designs | Anchorage, Alaska
- Apidura | United Kingdom
- Oveja Negra | Salida, Colorado.
- Ortlieb | Germany
- Blackburn Design | California
- REI Bikepacking Collection | Seattle, Washington
- Rockgeist | Woodfin, North Carolina
- Jpaks LLC | Denver, Colorado
- Topeak | Taiwan
- Brooks England | United Kingdom
- Old Man Mountain Racks | Bend, Oregon
- Aeroe | New Zealand
RELATED POSTS
Just getting into bikepacking or looking for more tips? Check out these related bikepacking posts.
What are your favorite bikepacking bags? Do you have any tips or recommendations to add? Let me know in the comments!


I find the Aeroe rear frame unit to be spectacular, 3 cradles can be attached. And it fits and attaches securely to any bike. The attaching mechanism is amazing, like no other. It does require torqueing the hex bolts to 4 NM, so a small torque wrench is required. They also have a handlebar cradle, which I have not yet purchased.
Thanks Steve! I hadn’t heard of Aeroe. I’ll check them out. Thanks for the rec!
Thanks so much for your blog posts. I’m a road bike tourer rather than single track, but your advice is helpful for all who load up a bike and go for an adventure. After reading a lot of reviews, I decided to get a set of Ortlieb panniers for bike touring. I managed to grab a set of Ortlieb Back roller plus pros off craigslist (new still in the box) for half the cost of a new set from the store. Plus an additional Ortlieb single back roller on craigslist for $30…score!!!
Here’s a question for you…anything that you bring with you that’s just for fun? I personally bring a sketchbook, watercolor pans and travel watercolor brushes instead of a camera. Thanks again,
The Ortliebs are a great choice 🙂 What do I bring just for fun… I’ll either bring a book if I’m doing a trip by myself or a travel cribbage game if I’m riding with a friend. I wish I was more artistic!
Becky, I have obtained a JPaks LLC (Denver, CO-entrepreneur) has superb top tube paks that he sews himself and good choices of sizes: SnakPak is the smallest (9.5″), Footlong (12.5″) and then the FarvaPak at 15 in. Either Velcro or snap-on. Great zips and nicely sewn. I have a Footlong and man it holds loads of snacks, phone, small camera, multi-tool and keys. You might want to check Joe’s handiwork out.
Thanks! I think someone else mentioned JPaks, but the comment got deleted when I made my new site live… I’ll check them out!