
Telluride to Moab by Bike: My San Juan Huts Adventure & What to Know Before You Go

When my friend Michelle—who I’d biked across Washington State with—asked if I wanted to ride the San Juan Huts route from Telluride to Moab, I thought, Sure! How hard could it be? I’d already pedaled across an entire state. Turns out, this ride had plenty of ways to prove me wrong.
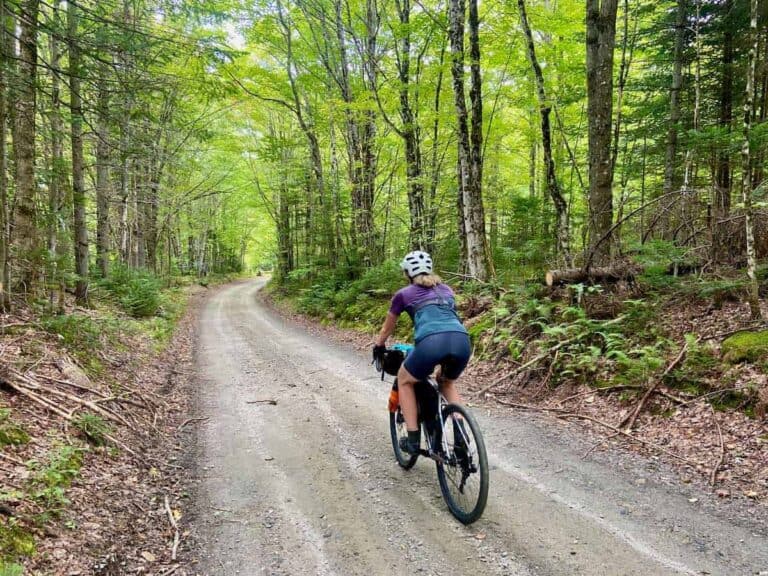
The Telluride to Moab route is a true backcountry adventure. It’s stunning, remote, and rewarding, but definitely not easy. We faced endless climbs, rutted singletrack, high-altitude passes, and the kind of unpredictable terrain that made us question our life choices (in the best way).
That said, riding from hut to hut through the San Juans is a bucket list experience for good reason. The scenery is jaw-dropping, the off-grid camaraderie is real, and there’s nothing like being fully unplugged with only your bike, fellow riders, and a stocked hut waiting at the end of the day.
Thinking of doing it yourself? Here’s everything you need to know to plan your own Telluride to Moab hut-to-hut ride with San Juan Huts.
Highlights of the Telluride to Moab hut-to-hut route
Our trip route (& other San Juan Huts options)
We chose the Telluride to Moab route mostly because we wanted to finish with The Whole Enchilada in Moab (spoiler: we didn’t actually ride the full thing—more on that below). It’s also a bit shorter and supposedly easier than starting in Durango, and we thought it would have better singletrack… which turned out to be debatable (also covered below).
There are four mountain bike route options for the San Juan Hut Systems:
- Telluride to Moab | 6 days/7 nights | 201 miles | 18,205 ft +
- Durango to Moab | 6 days/7 nights | ~215 miles | ~23,000 ft + (couldn’t find exact stats)
- Telluride to Gateway | 4 days/5 nights | 143 miles | 10,839 ft +
- Durango to Paradox | 4 days/5 nights | 148 miles | 15,108 ft +
*The shorter 4 day/5 night trips follow the same route as the longer trips, but they just end two days earlier.
**The elevation gain and mileage listed are for the Standard Route only. Most days offer singletrack-heavy Alternative Routes that add elevation gain and mileage.
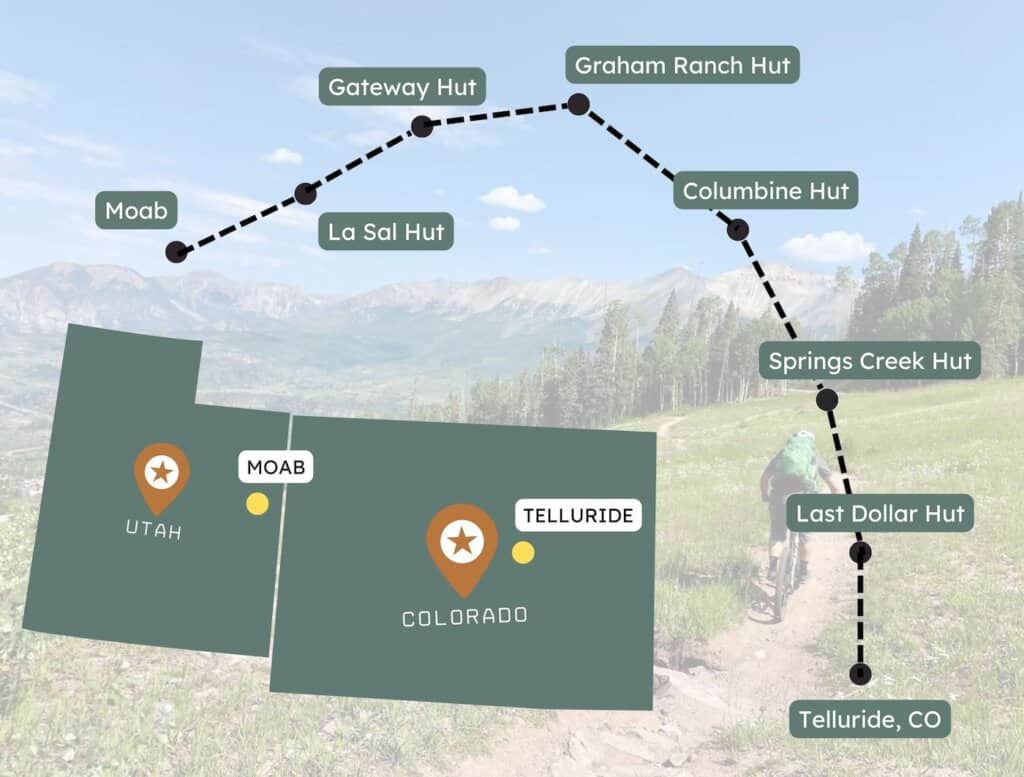
Telluride to Moab route map
Our trip day-to-day
Depending on what route you do and what huts you’re assigned, your day-by-day will probably look a little different. But here’s how our trip went. If you’re just looking for tips on how to plan your adventure skip town to my FAQs section.
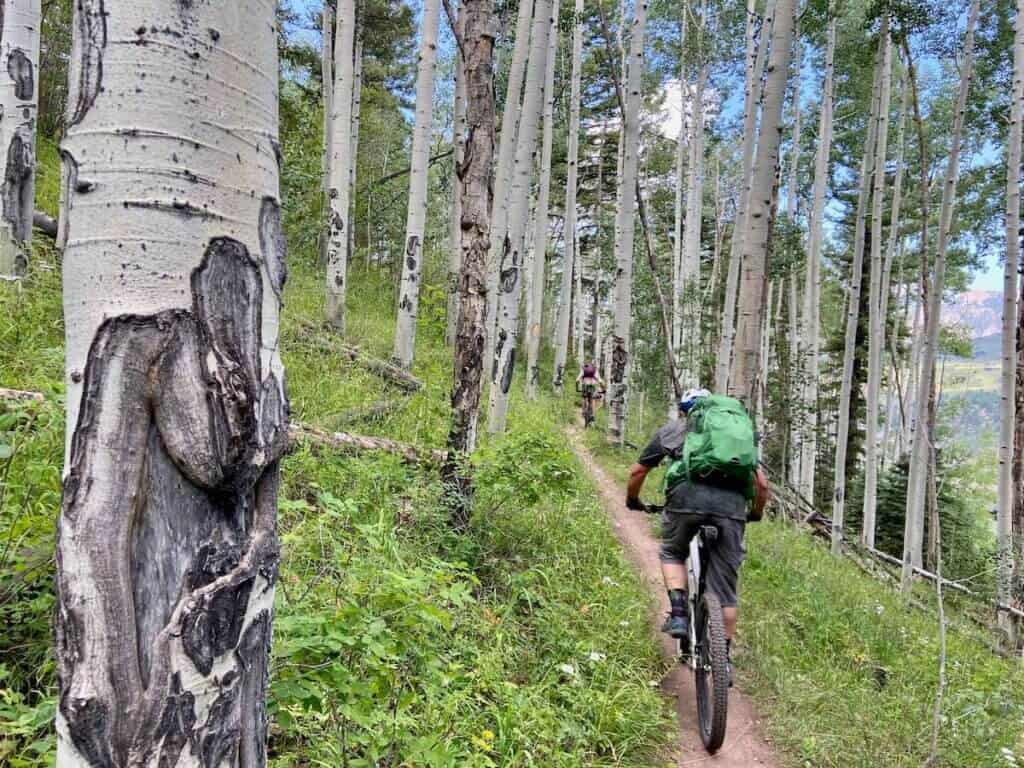
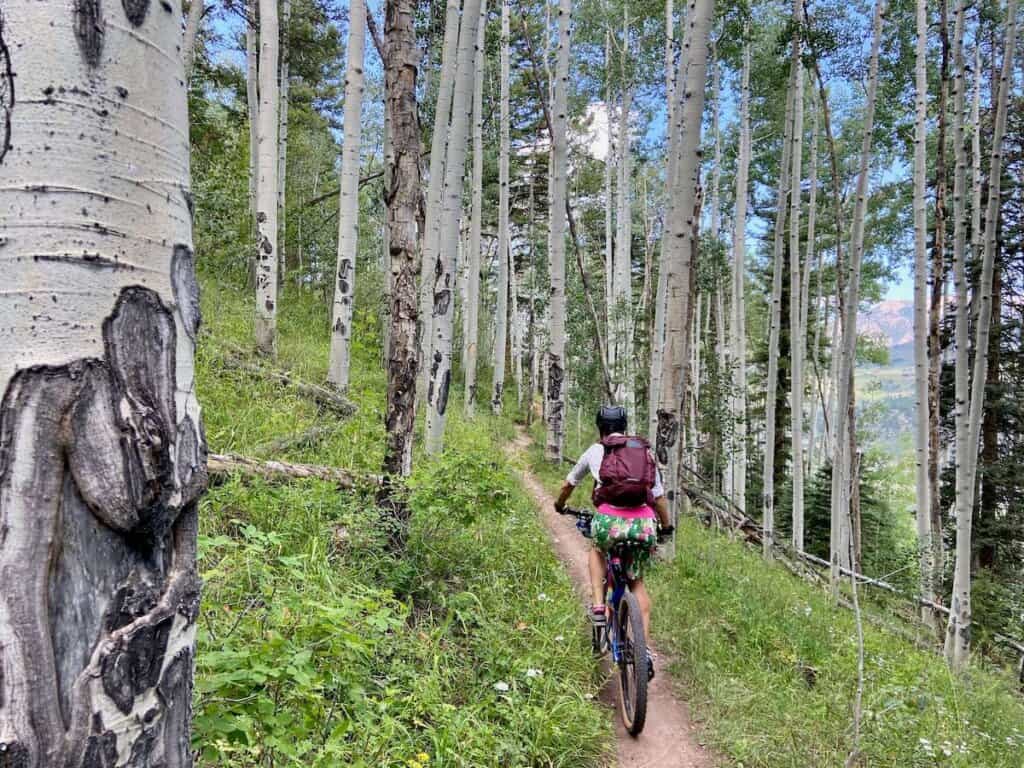
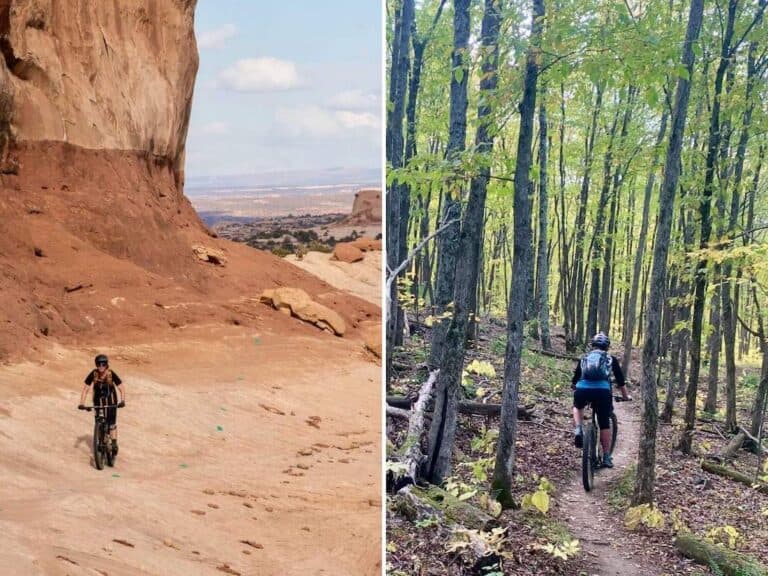
A note on the singletrack options: I want to take a minute to talk about the singletrack alternatives. As an avid mountain biker, I have to admit, I was pretty underwhelmed by most of the singletrack sections on the Telluride to Moab route.
Many of the trails are primarily used by motos and cows (a.k.a. moo-to trails), so they’re not exactly in top condition. Think rutted, rocky, washed-out, steep, and pretty lacking in flow. Below I’ve noted the singletrack options I DO recommend and those to skip.
If you’re riding in wet conditions, I’d strongly recommend skipping the singletrack altogether unless you’re into hike-a-bike mudfests and general Type 2 suffering.
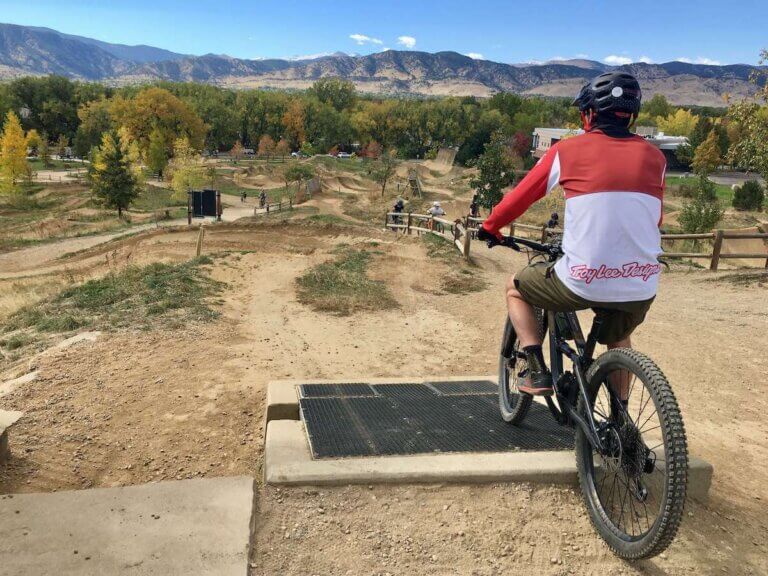
Day 1: Telluride to Last Dollar Hut
- Miles: 22 miles
- Elevation gain: 3,258 ft
- Max altitude: 10,995 ft
- Singletrack notes:
- Definitely ride Galloping Goose either from the Telluride Bike Park trails or by taking Valley Floor trail from Telluride.
Day one kicked my butt! I don’t typically do well at high elevations and Last Dollar Hut sits at just below 11,000ft. (Side note: I’ve since started taking vitamin B12 and it’s made a huge difference with how my body adjusts to altitude – make sure it’s methylated though).
We started out by taking the lift up the mountain at Telluride Bike Park and then descending down Village Trail > Bike Path/Road > Jurassic > Meadows > Galloping Goose. From the end of Galloping Goose it’s up, up, and up…
Starting from Telluride Bike Park: The gondola from Telluride is free, but the bike park trails are not. We were told that we needed to purchase a park pass when we got off the gondola, but after some un/feigned confusion and lack of directions, we were allowed to go for free.


Day 2: Last Dollar Hut to Springs Creek Hut
- Miles: 27 miles
- Elevation gain: 2,044 ft
- Max altitude: 10,995 ft
- Singletrack notes: None
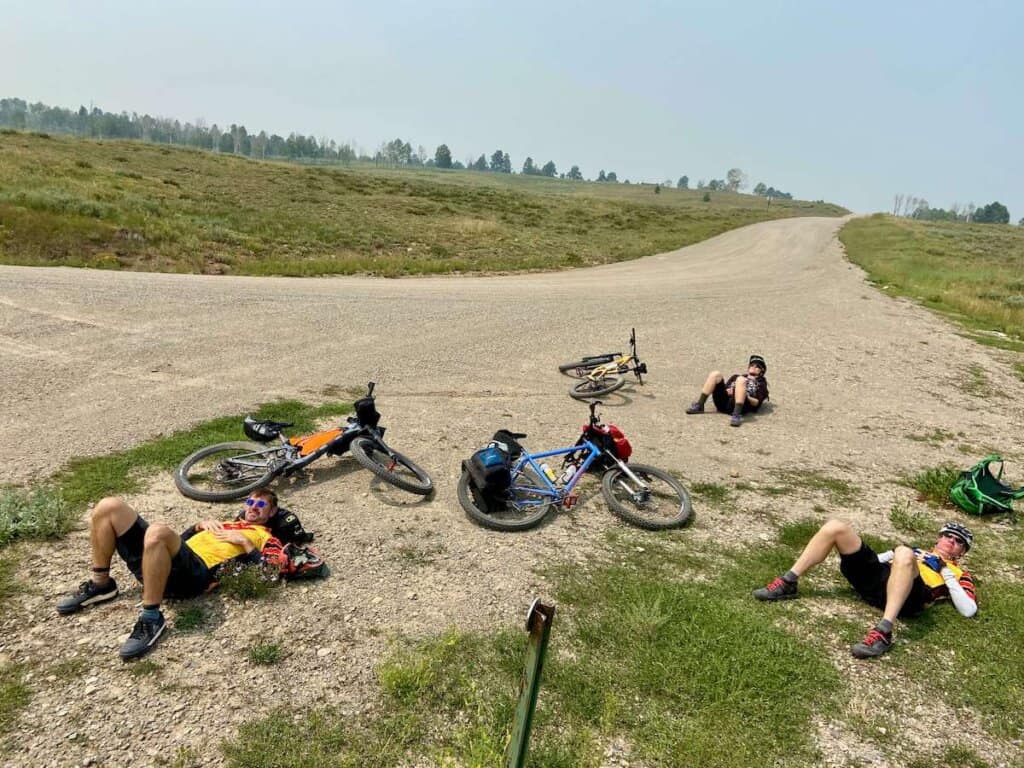
Day two was a bit mellower and downhill-trending with a mix of forest roads, doubletrack, and rolling terrain. We pedaled through alpine meadows, pine forests, and open ridge lines with great views. It’s a good recovery day after the initial push, but still it involved a fair bit of climbing. Be on the lookout for wildflowers and wildlife, you’re deep in the backcountry now!

Day 3: Springs Creek Hut to Columbine Hut
- Miles: 39.5 miles
- Elevation gain: 3,005 ft
- Max altitude: 9,886 ft
- Singletrack notes:
- There are several options for singletrack on Day 3, but I only recommend doing the Parallel Trail unless you’re super fit and acclimated to the elevation and didn’t feel like you were dying on the Day 1 climb. Parallel Trail is mostly doubletrack and a nice alternative to the main gravel road. The other singletrack options are a mix of moo-to trail and can be really muddy and rugged.
This day steps things up with more distance and elevation. We climbed and descended through beautiful forest and along backcountry roads, some of which were pretty rough with steep pitches and chunky surfaces. The views are wide open and beautiful though!


Day 4: Columbine Hut to Graham Ranch Hut
- Miles: 36.5 miles
- Elevation gain: 2,021 ft
- Max altitude: 9,640 ft
- Singletrack notes: None
Day 4 took us out of the high alpine and began the descent into more arid terrain, but not quite in red rock country yet. The route featured a long mix of descending and pedaling through scrubby forests, open meadows, and wide ranch lands. It’s still remote and rugged, with fewer dramatic mountain views and more of a “high desert foothills” feel. The riding itself wasn’t overly technical, but it did feel a bit long and exposed, especially in the heat.

Day 5: Graham Ranch Hut to Gateway Hut
- Miles: 27 miles
- Elevation gain: 1,663 ft
- Max altitude: 8,950 ft
- Singletrack notes:
- Ute Creek Trail. This was my favorite section of singletrack on the whole route. It actually felt like mountain bike singletrack rather than moo-to trail and it was a good mix of flow and tech. There are definitely some challenging sections, though, so if you’re not comfortable with techy mountain biking you might want to skip it or be prepared to walk some sections. That being said, the Ute Creek Trail cuts off quite a bit of climbing on the Standard Route, so you might be better off getting off your bike on the challenging stuff instead of skipping the trail entirely.
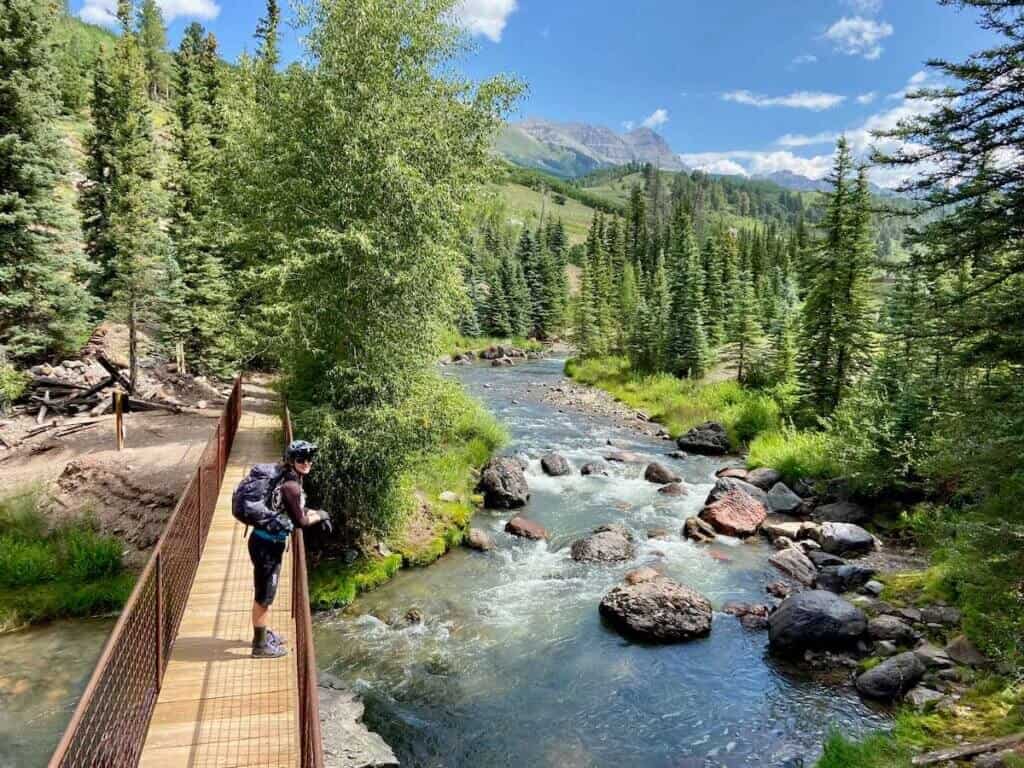
Day 5 was a long, rugged transition deeper into canyon country as we continued the descent from higher elevation into more arid landscapes. The day started with mellow rolling ranch roads before the climbing kicked in again, gradual but steady. This section is dry, exposed, and remote, so be sure to carry plenty of water and get an early start if temps are high. The Gateway Hut sits near the Dolores River and marked our arrival on the edge of Utah canyon country, setting the stage for the final climb into the La Sals!


Day 6: Gateway Hut to La Sal Hut
- Miles: 7.5 miles (see below)
- Elevation gain: 860 ft
- Max altitude: 8,560 ft
- Singletrack notes: None
If you’ve already signed up for your Telluride to Moab trip and glanced at the route packet, you know what’s coming: Day 6 is all uphill. We’re talking 4,500 feet of climbing over 21 miles. It might sound doable now, but by Day 6—after five long, dusty days in the saddle—you’ll likely be thinking otherwise.
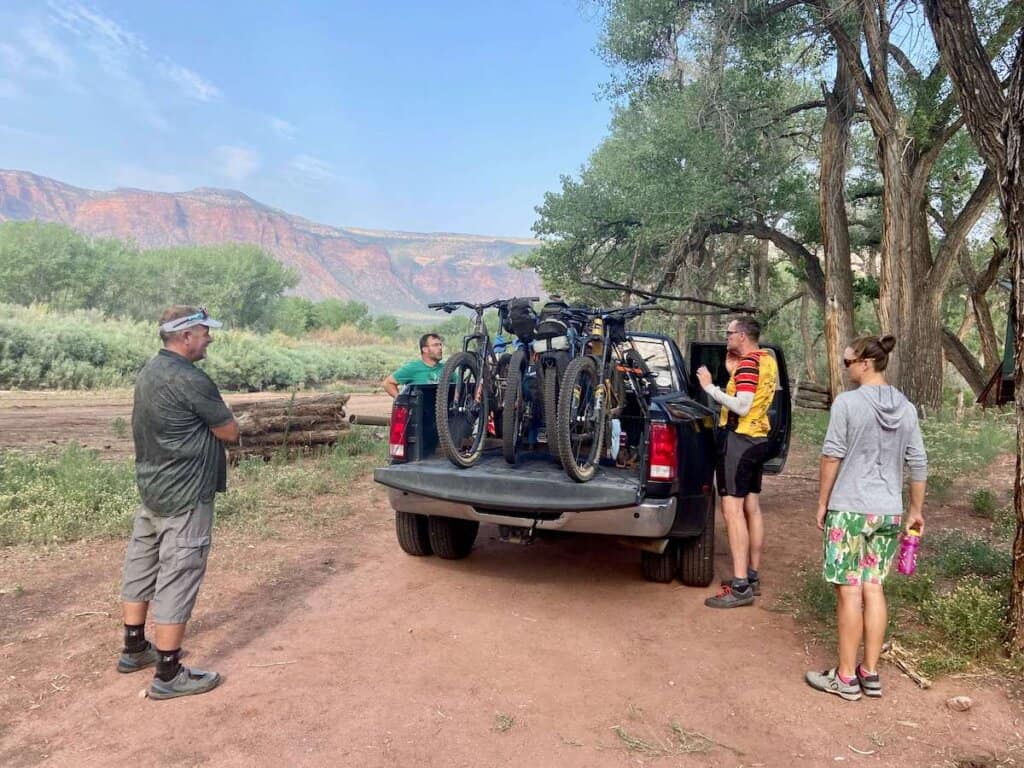
Enter the Gateway General Store.
As you roll into the tiny town of Gateway, hot, tired, and maybe questioning your life choices, make a pit stop at the Gateway General Store. Grab a cold drink or an ice cream, and ask about shuttle options up John Brown Canyon for the next day. They usually keep a list of local drivers who can give you a lift.
We lucked out with a guy named Patrick who was awesome… but sadly, he’s since moved back to the East Coast. Still, the general store should have updated contacts.
No shame here. We gladly booked a ride and enjoyed a relaxing evening at the Gateway hut. The next morning, Patrick dropped us off near the La Sal Mountains State Forest sign, which still gave us 8 miles of pedaling and 860 feet of climbing to the La Sal Hut.
If you’re debating whether or not to shuttle, here’s what you’re in for otherwise: a 6.5-mile, 1,900-foot paved climb up John Brown Canyon to start your final day. The good news? It’s all on smooth pavement and climbs steadily—not steeply. The bad news? You’re doing it after five days of riding, and likely in the heat.
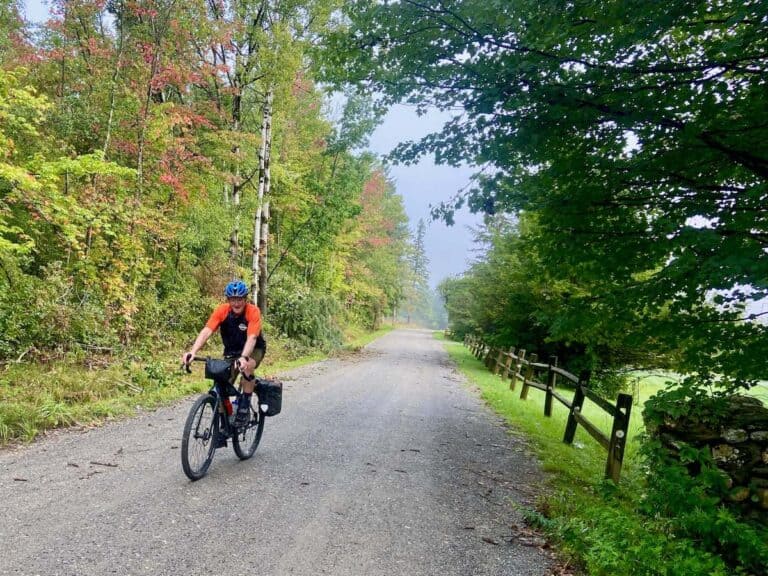
Day 7: La Sal Hut to Moab!
- Miles: 34 miles
- Elevation gain: 2,743 ft
- Max altitude: 8,260 ft
- Singletrack notes:
- I was really looking forward to doing the UPS and LPS singletrack down to Moab, which I’d ridden before as part of The Whole Enchilada. But honestly? It wasn’t that fun after 6 big days on the bike and a severe lack of sleep! It was also really hot in August. If I did this trip again, I’d skip UPS and LPS – both of which are very techy and engaging – and opt for the Falcon Flow trail. Falcon Flow is faster and flowier and a better option if you’re tired and wobbly.
The final day! As I mentioned above, we were excited to end the trip on The Whole Enchilada, but we ended up bailing to Sand Flats Road (Falcon Flow wasn’t built yet). After 6 big days of riding, loaded bikes, and brutal heat, we just weren’t up for a technical finish.
Whether or not you do TWE, be prepared: this day is not a free ride. Even though you’re mostly descending, there’s still some climbing, technical sections, and rough terrain. Pace yourself, soak in the views, and enjoy the epic finale as you roll into Moab tired, dusty, and full of stoke!


A brief history of the San Juan Huts System
The San Juan Hut System was born over 30 years ago after two backcountry adventurers were inspired by a hut-to-hut ski trip in Canada. They wanted to create a similar experience in the U.S.—and set out to do just that.
Tragically, Joe Ryan’s partner died in an avalanche soon after their trip, but Joe carried on with the vision. In 1987, the first five huts were built outside of Telluride, providing access to world-class backcountry skiing.
A few years later, the system expanded to include the Telluride to Moab mountain bike route, followed by the Durango to Moab route.
Today, the San Juan Huts serve a wide range of year-round adventurers—from skiers and bikers to hunters, hikers, and trail runners.
What to expect from the San Juan Huts
Food options
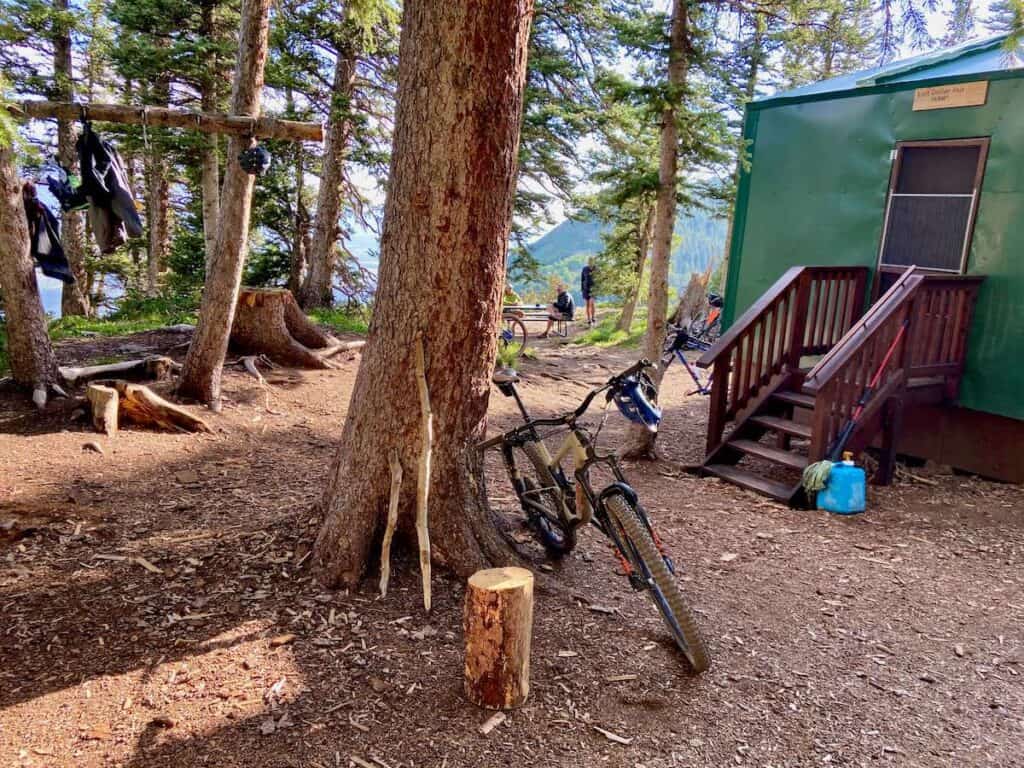
Each hut is stocked with canned and dry goods, basic produce, and snacks—plenty to fuel your ride, especially if you get creative with the hut cookbook and enjoy cooking with your crew.


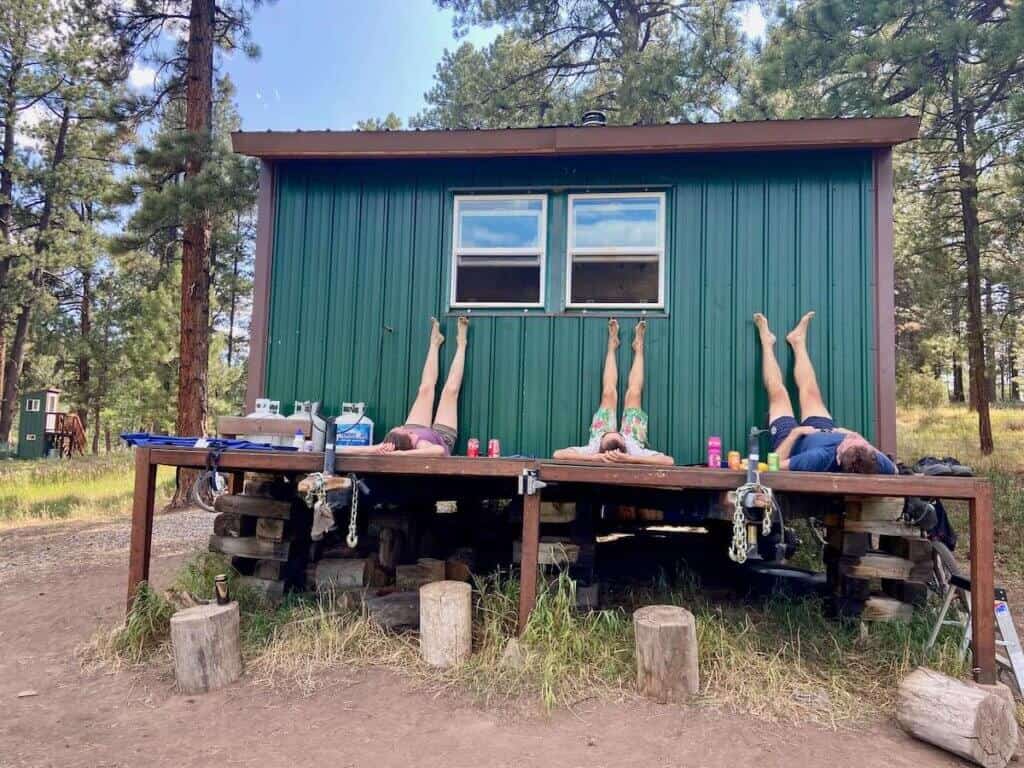
The sleeping situation
Each hut sleeps up to 8 (though 5 felt more comfortable), with vinyl mattresses you can use inside (or drag outside for a starry night). Don’t forget earplugs if you’re a light sleeper!
Composting toilets
Each hut has its own two-story composting toilet, which are actually pretty cool, relatively clean, and not smelly (some are better than others). Toilet paper is provided.

The beer package: Do it. If you drink, the Beer Package is 100% worth it. Knowing there’s a cold brew waiting at the next hut can be just the motivation you need to push through those final tough miles. For $44 per person, you get up to three drinks per day with a good variety to choose from—Colorado and Utah craft beers, light Mexican lagers, hard seltzers, ciders, and even some white wine.
Not a drinker? No worries — every hut is also stocked with cold bubbly water and soft drinks, no beer package required.
FAQs & planning tips for your adventure
The Telluride to Moab hut-to-hut trip was… all the things for me. It was challenging, surprising, beautiful, frustrating, exhilarating, exhausting, rewarding… I’m not sure I’d jump on board to do it again (maybe with a hardtail or gravel bike), but I’m definitely glad I did it once. It’s a unique trip that features incredible views, quirky cabins, varied terrain, and lots of time to get lots in your thoughts. Just be prepared for high elevations, long days in the saddle, and lots of canned food 🙂
Are you planning a San Juan Hut System Telluride To Moab trip? What questions do you still have? Is this a trip you’d like to do? Leave a comment below!
Read next
Need help organizing your trip? Download my bikepacking trip planning sheets


Hey it’s Patrick, the best part of the shuttles I offer are the people.
Thanks for the kind words, my wife just shook her head when she read them, like my head isn’t big enough already!! Tell your friend, yes, absolutely, I still love my Ram and brag every chance I get.
My number has changed but the adventures keeps getting better!!
970.697.7123
Thanks for giving us a lift! It was one of our highlights for the trip 🙂
You folks were awesome, glad I was able to be a part of your adventure! 👍✌️👍
This is Patrick, unfortunately I was called back east for some family matters and no longer providing shuttles. I’m happy for the people and adventures I had!!
Bummer! Sad to hear – but I’m sure you’ll figure out a way to help disheartened travelers on the east coast 🙂