Trail Guide: Mountain Biking Sedona’s Iconic Hiline Trail
Hiline Trail in Sedona is a favorite for mountain bikers. In this post, learn what to expect, how to ride it, where to start, and more.
Every mountain biker who finds their way to Sedona has either heard of or will hear of Hiline. This trail is one of two expert-only ‘pro-lines’ in red rock country (not including the White Line, which should truly only be left to the pros). The other is Hangover, which isn’t quite as technical but has far greater consequences if you fall.
The hype around Hiline is real. It’s one of my all-time favorite trails for its views, red rock riding, technical sections (up and down), and multiple alt-lines that make it one of those trails that gets better and better each time you ride it. It’s a blast! (If you’re prepared for it).
So if you’re heading to Sedona and you want to give Hiline a try, read through this trail guide to help you get ready for your first run.
Need Help Planning Your Trip?
I’d love to chat about your Arizona mountain biking adventure! Click the link below to set up a trip planning session.
Quick facts
I don’t shoot video, but here is a clip from BCPOV of Hiline. Skip to minute 9 for the rowdy stuff.
Where to Start Your Ride
Hiline Trail can be accessed in a few different ways. The two most popular starting points are:
- The base of Slim Shady by Bike and Bean. You’re probably not supposed to park in the Bike and Bean parking lot but… If it’s full, you can park at the Bell Rock Parking area across the street, which requires a Red Rock Pass that can be purchased there.
- Yavapai Point Parking – Requires a Red Rock Pass.

I personally like to start at the base of Slim Shady because it’s a good warm-up climb and a really fun descent on the way back down. If you park at Yavapai Point, it’s a shorter initial climb, but you don’t get the fun downhill back to your car.
Use your America The Beautiful Pass!
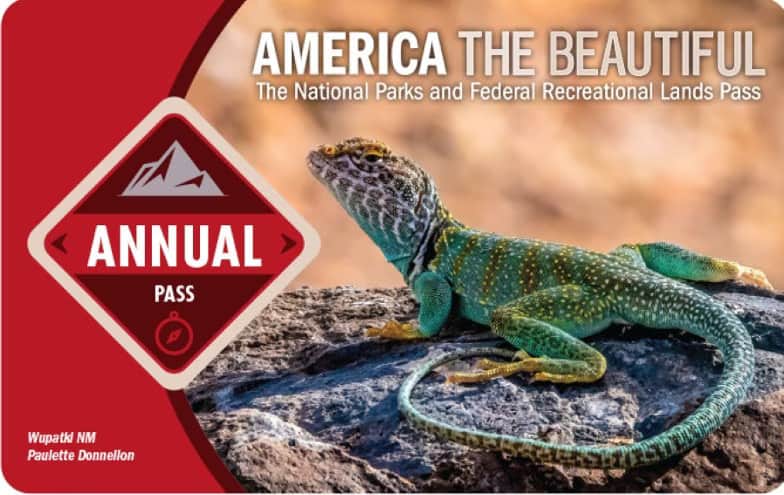
Save on Red Rock Pass fees by using an America The Beautiful Pass. This pass unlocks countless amazing public lands across the US from National Parks to National Monuments, and yes, the parking areas in Sedona.
All you need to do is leave the pass visible on your dashboard before you set off on the trail.
Note that the America the Beautiful Pass does not work at concessionaire-fee sites around Sedona like Crescent Moon Picnic Site and State Parks.
What to expect on Hiline Trail
One of the reasons that Hiline is so popular (and so fun!) is that it features a wide range of mountain biking entertainment. Here are a few things to expect during your ride:
A challenging climb
When most people hear of Hiline, they think that it’s a rowdy downhill trail, which it is. But you gotta get up there first, right?
The climb up to the start of the descent is pretty technical in sections with one really mean rock garden at the start and a handful of tricky sections throughout the upper traverse.
I’ve cleaned all of the technical ups, but not on the same ride. #goals.
Trail traffic (including hikers)
Hiline is one of the most popular trails in Sedona for mountain bikers as well as hikers. Definitely expect there to be some trail traffic when you ride it and please be respectful and courteous to other trail users.
The last time I rode Hiline, there was an agro (white male…) who blew past us without a word and scared some hikers down below. Don’t be that person.
Multiple alt-lines
One reason I love Hiline so much is that there are a ton of alt-lines. The first time you ride it, you’ll probably just stick to the main ‘trail’ (if you can call riding on rock a ‘trail’). But if you ride it again, especially with someone who knows Hiline well, you’ll see that there are dozens of fun little alt-lines and rock rollers.
If you’re only in Sedona for a few days and you want to do a guided tour of Hiline Trail to see these alt-lines, Sedona Trail Lovers does day tours. You may need to prove your skills first before the guides take you up there, though…

The last quarter mile
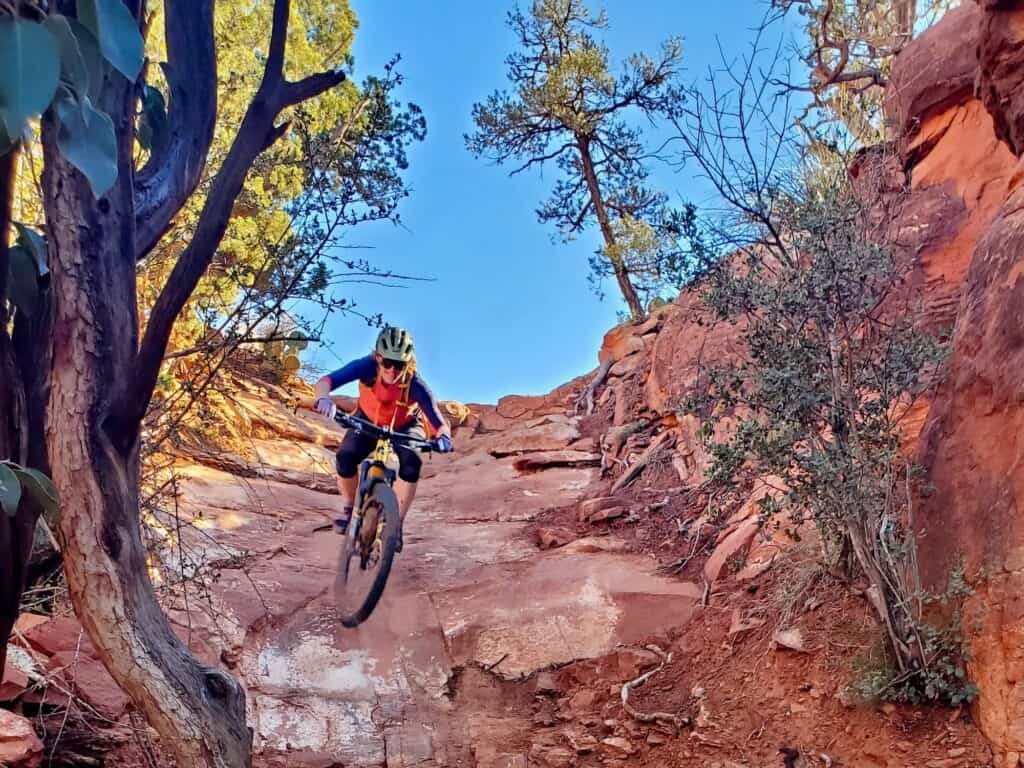
While all of Hiline has some technical ups and downs it’s really the last quarter of a mile that makes it a doubleblack. The first ‘big’ feature you’ll come to is a steep, narrow chute (see the feature photo) and from there the riding is pretty much full-on.
The upside is that there isn’t any life-threatening exposure, but you can definitely end up in the hospital if you take the wrong line. Always scope before you ride! And walk if you’re not feeling it.

How to Ride Hiline
Hiline can be linked into a number of different trails to make a variety of routes of differing lengths and difficulty.
This route is my personal favorite way of riding Hiline, but I also give a few other options down below.
Hiline from Absolute Bikes
This route starts from Absolute Bikes, but you can really start it from anywhere in the Village of Oak Creek. It’s my preferred route because I like the warm-up on Slim Shady (which is also a fun descent on the way back) and Easy Breezy is an easier pedal than Templeton post-Hiline.
Route Basics
Ride it for:
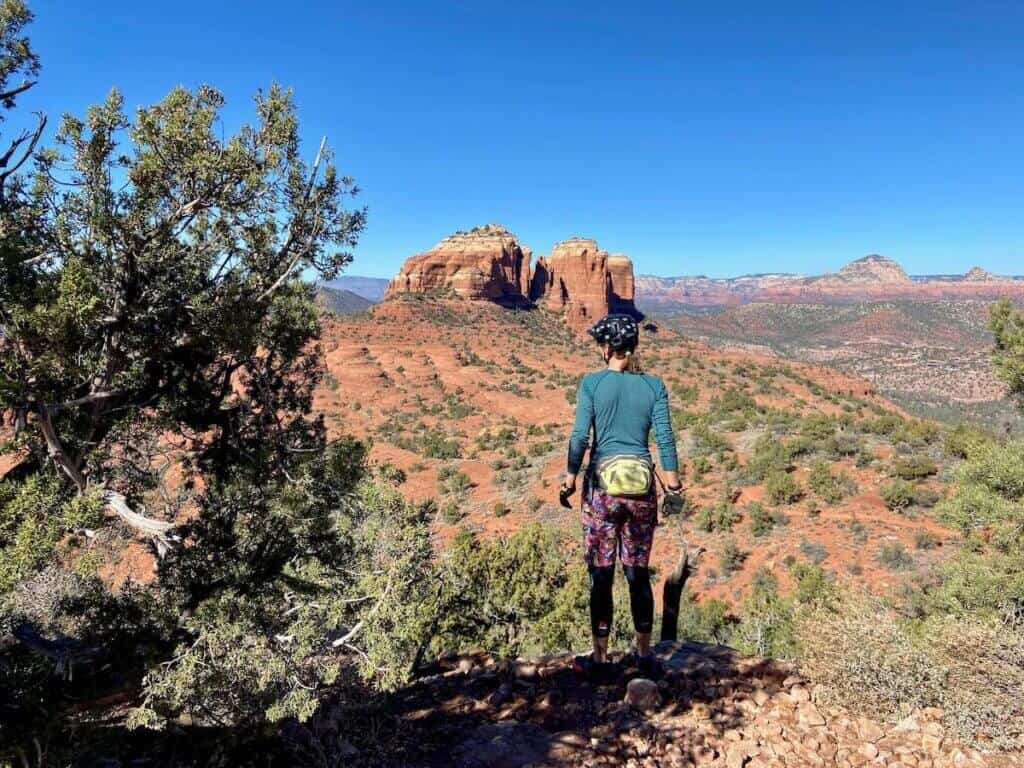
- Amazing views of Cathedral Rock
- Super fun and technical descent
- Test your technical climbing skills
Need to know:
- This is an advanced ride
- There is no water along the trail
- Always scope before you ride
- Watch out for hikers
Route directions: Village of Oak Creek > Slim Shady > Hiline > Baldwin > Easy Breezy > Templeton > Hermit > Coconino > Slim Shady
Parking: If you’ve rented a bike from Absolute Bikes or Bike and Bean, they may let you park in their lots. The other option is parking at Bell Rock Parking area which requires a Red Rock Pass.
Other route options:
- Make it harder: If you want a challenging climb to finish your Hiline loop (who are you?) take Templeton instead of Easy Breezy.
- Make it easier: The fastest and easiest way to end Hiline is to pedal back on the paved Verde Valley Road.
- Shuttle it: You can set up your own shuttle or book a one-way ride with Trail Lovers. If you do your own shuttle, park one car at Baldwin parking lot.
- Do more: If you still have some juice left in your legs or you want a quick spin after grabbing some food, head over to the other side of the highway and ride Llama. This is a fun, mostly mellow trail with great views.
So should you ride it?
I’m not going to lie, Hiline is a very challenging trail and rated a doubleblack for a reason. If you are an experienced rider and enjoy technical riding, then go for it!
If you’re on the fence, it’s ok to be nervous. I’m always nervous every time I ride Hiline 🙂 It’s a great trail to session features, build confidence, and get a feel for technical rock riding.
If you do plan on taking it slow and sessioning or walking features, just please be aware of riders coming up behind you. There are some places (like the chute) where oncoming riders can’t see whether anyone is in the middle of the trail. Always have one person as a lookout if you’re scoping out a line or walking a feature.

Gear up for your ride
In addition to your mountain bike pack essentials, here’s what I recommend bringing on your Hiline ride:
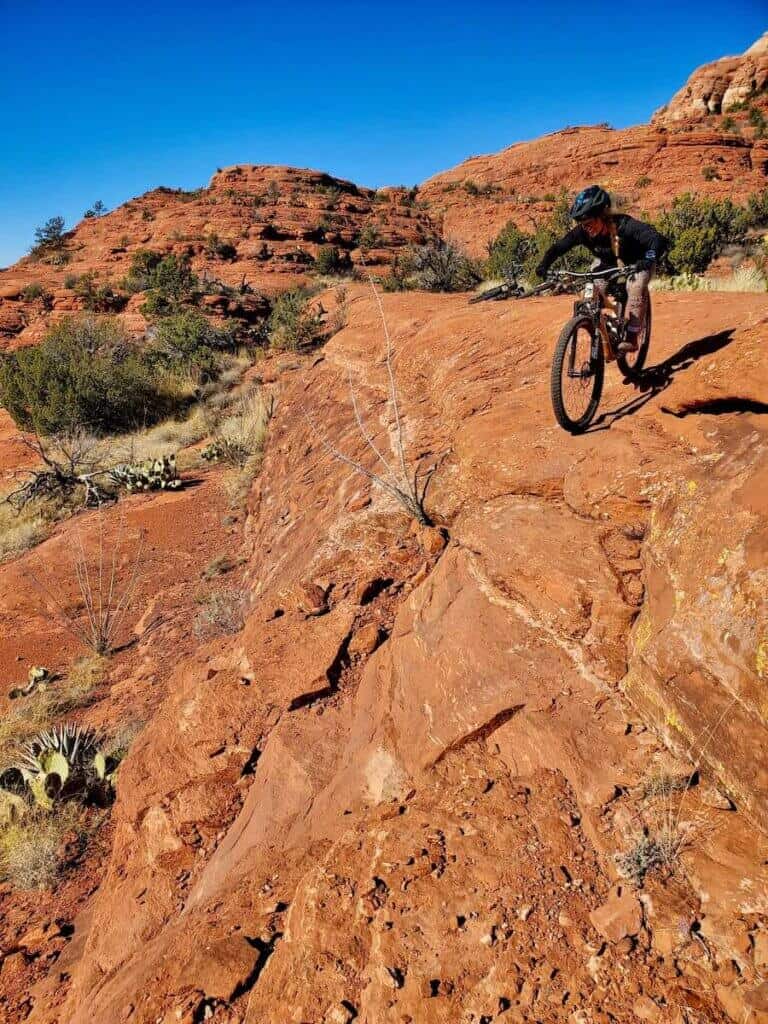
Hiline is one of my favorite trails for its technicality, views, flowy red rock riding, and alt-lines. That being said, it IS a challenging trail and should only be attempted by experienced riders.
Please be kind and courteous to other trail users including hikers and always ride within your skill level.
Most of all, have fun and be safe!
Read next
Planning a mountain bike trip to Arizona? Check out these posts to make the most of your adventure:
Have you ridden Hiline Trail in Sedona? What did you think? Did you love it or hate it? What questions do you still have? Leave a comment below!

Great article. Really helpful. One question – about how long did it take you to ride your recommended route?
Hi Mitch! It really depends on how fast/slow you go. If you like to stop and session stuff, I’d say 3-4 hours. If you power right through I’d say 2-3 hours. Have fun!
Rode it a few years ago, but walked the first chute and I think 2/3 of the following ones. Still so much fun though, the descent from the top to the first chute is great. Would love to get back!
Yeah, the last 1/4 mile is pretty full on. I remember the first time I rode I was like WTF!?!?
Yesss! So fun to ride with you Becky! Stoked for more Sedona adventures with you.
For sure! I’ll be back 🙂