
My Bikepacking Gear List: What I Pack for Multi-Day Adventures

When I first got into bikepacking, I had no idea what I was doing—or packing. I brought way too much, forgot a few key things, and learned some lessons the hard way (like why a good sleeping pad really matters).
Over the years, my gear list has gotten a lot more dialed. This post breaks down what I usually pack for multi-day trips, from the essentials that go with me on every ride to a few comfort items that make camp just a little bit nicer.
No matter if you’re getting started or looking to refine your setup, I hope this guide helps make packing feel a little less overwhelming. I’ve also included a bikepacking checklist so you don’t forget anything at home.

Bikepacking Trip Prep Sheets
Heading out on a bikepacking trip? Grab these prep sheets to help you plan and pack so you can enjoy the adventure. You’ll get a day-by-day planner, packing list, and pre-trip checklist.
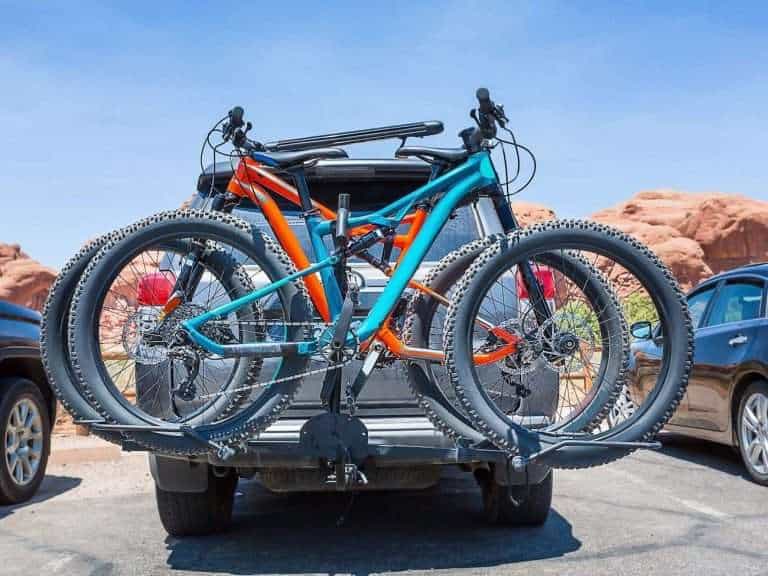
Start with the basics: your bike & bags
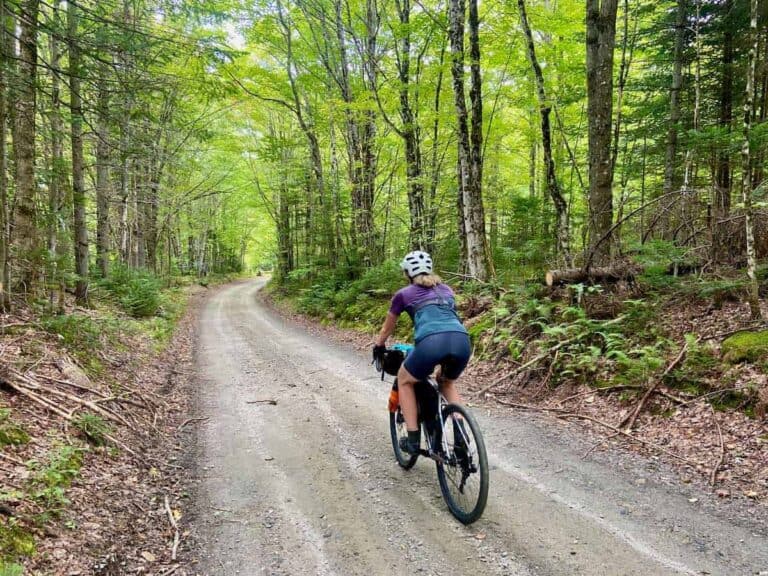
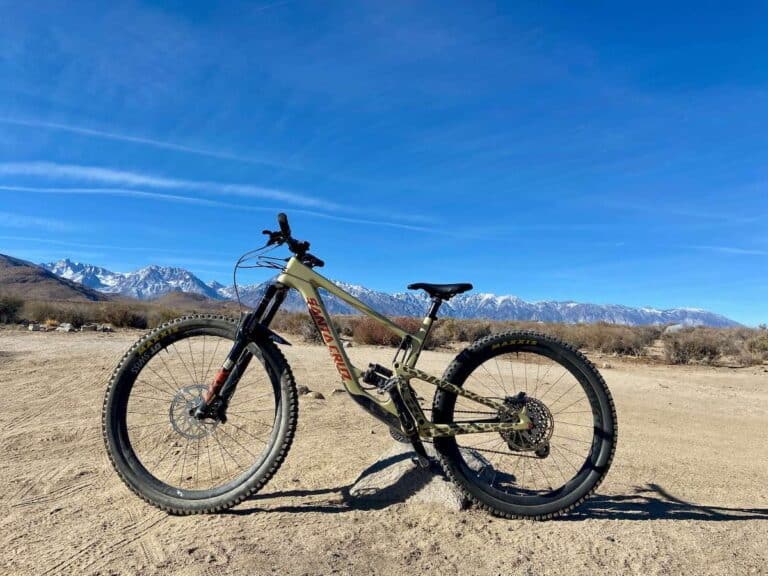
Before diving into gear, let’s talk about your setup. You don’t need a fancy, custom-built bike to go bikepacking, but it does need to be comfortable, reliable, and suited for the terrain you’ll be riding. That might be a gravel bike, hardtail mountain bike, or even a full suspension mountain bike. Make sure it’s in good working order and can carry the gear you need.
Quick guide to bikepacking bags
There are a few different ways to carry your gear:
If you’re just starting out, you don’t need to buy a full matching set of bikepacking bags. I used dry bags and Voilé straps for my first few trips and they worked just fine. You can also mix in a small rear rack and panniers if your bike supports them, especially for longer or more gear-heavy rides. (Although I don’t recommend panniers for singletrack-heavy trips)
The key is to keep your load secure and balanced so your bike still handles well on the trail or road. Try to pack low and centered, and avoid overloading your handlebars or seat post.
Check out more tips on bikepacking bags and dialing in your setup
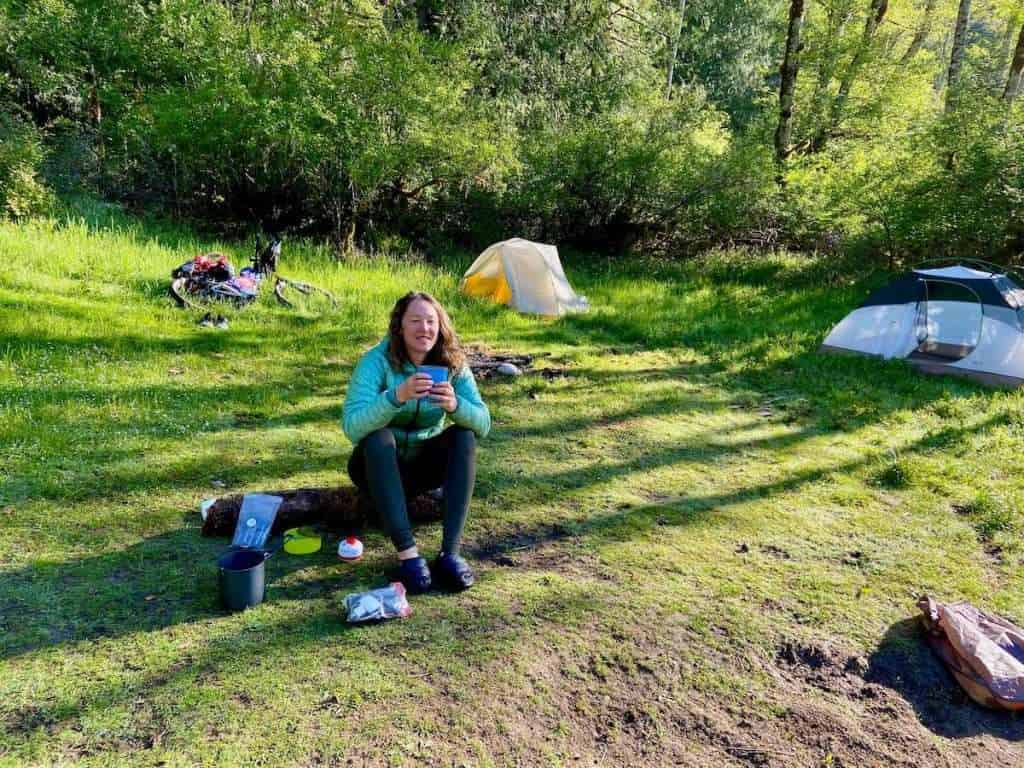
😴 Shelter and sleep
I don’t typically sleep well in a tent (although I got much better at it after three months of camping on the South American Epic). Because of this, one thing I’ve learned from my bikepacking endeavors is that I don’t want to skimp on my sleep set up. That means choosing a roomy tent, a comfy sleeping pad, an actual pillow, and clean clothes to sleep in after a long day in the saddle.
Here are a few pointers and recommendations for choosing your shelter and sleep set up:
Shelter options

Sleeping bag
Choose a sleeping bag that matches the climate and season you’ll be riding in the most. For most three-season trips, a lightweight down or synthetic bag rated around 20–30°F (-6 to -1°C) works well (this is what I have). Synthetic bags handle moisture better but tend to weigh a bit more.
If you’re going ultralight, consider a quilt instead of a full sleeping bag. They are lighter and more versatile but can take some getting used to.
💤 My sleeping bag pick: NEMO Disco 30 (also comes in a 15-degree model)
Sleeping pad
Don’t skimp on your sleeping pad, especially if you’re a light sleeper or, like me, just don’t sleep that well in a tent. Of all the bikepacking gear I bring, this is the one item I’m willing to carry a few extra ounces for if it means staying warm and getting a decent night’s sleep.
I recommend going with an inflatable pad. They tend to be more comfortable and offer better insulation, which really makes a difference on chilly nights. That said, if you’re not too concerned about warmth or comfort (what?), a closed-cell foam pad can work too. Just keep in mind that while they’re often lighter and more durable, they’re also a lot bulkier to pack.
🛏️ My sleeping pad pick: Sea to Summit Ether Light

Extras
Depending on how long your trip is or how much comfort you want to pack for, here are some ‘extras’ to consider for your sleep setup:
🍜 Cooking & eating
Having a reliable cooking setup can make your trip a lot more enjoyable regardless of whether you’re planning to cook simple meals or just boil water for dehydrated dinners (or coffee!). What you need really depends on how much you want to cook — or if you want to cook at all.
Stove options
I typically like to keep my meals pretty simple on bikepacking trips: dehydrated dinners, oatmeal, mac & cheese, instant coffee (mixed with hot chocolate!). It’s quick, easy, and there’s minimal cleanup. Check out my post on bikepacking meals for some ideas on how to fuel your trip.

Cookware + utensils
Go as minimal and light as you can here.
Food storage
Use a small dry bags or plastic bags to keep all your food in one place. I keep my food in my frame bag. In bear country, be sure to follow local regulations for food storage whether that’s a bear canister or hanging system.

👚 Bike clothes & gear
When it comes to bikepacking clothes, less is more. You’re out there to ride, not do a fashion show and every extra piece adds bulk and weight. I typically don’t bring more than two of anything: two pairs of chamois, two jerseys or riding tops, two pairs of socks, and maybe a second pair of riding shorts if I have room.
The system is simple: wear one set while the other airs out or gets rinsed and dries. Even a quick rinse in a creek or under a water spigot can make a huge difference in comfort (and smell 😬).
Here’s what I usually pack for riding:
You really don’t need much. Prioritize comfort and versatility and go for fabrics that dry quickly and can handle a little sweat and grime.

🔧 Tools & repair kit
A good repair kit can be the difference between a smooth bikepacking trip and a long walk to civilization. You don’t need to carry a full bike shop with you, but you do want to be prepared for the most common mechanical issues like flats, a broken chain, or loose bolts.
Here’s what I typically bring:

🗺️ Navigation & electronics
Getting lost can be part of the adventure… but it’s way more fun when it’s on purpose. Having a reliable navigation setup helps you stay on track, find water sources, and avoid the dreaded ‘bonus miles’.
Navigation Tools I Use:

Electronics + charging:
Pro tip: Keep your electronics organized and dry in a small waterproof pouch or zippered bag. There’s nothing worse than a dead phone and a wet backup battery.
🧻 Toiletries & hygiene
You don’t need to bring your whole bathroom cabinet, but having a few key items can go a long way toward staying clean, comfortable, and not totally gross by the end of your trip.
Here’s what I usually pack:
A note on Leave No Trace: Always follow Leave No Trace practices, especially when it comes to hygiene. That means packing out all used toilet paper and hygiene products, never washing dishes directly in streams or lakes (carry water 200 feet away), and using a small trowel to bury waste at least 6–8 inches deep. These little things help keep wild places wild and open to future riders.
😌 Comfort & extras
These are the little things that aren’t essential for survival or a successful trip, but can make your adventure so much more enjoyable. I try to keep my setup minimal, but I always leave a little room for a few comfort items that make life at camp feel less like “roughing it” and more like a reward after a long day in the saddle.
That’s my go-to bikepacking gear list—simple, functional, and tested over lots of dusty miles and remote campsites. Everyone’s setup looks a little different and you’ll figure out what works best for you as you go. Start with the basics, add what makes you feel comfortable, and don’t stress too much about getting it perfect the first time. If you haven’t already, be sure to grab the printable checklist I put together to help make packing easier. And happy trails out there!
What are your go-to bikepacking gear favorites? Anything I missed on this list? Leave a comment below!
Read next
Want help organizing your bikepacking trip? Download my bikepacking trip prep sheets!


I love hearing from you and appreciate your comments! However, if you leave a rude, unconstructive, or spammy comment, it will be deleted. It’s cool to be kind. Have an awesome day!