Mountain Biking Alone: 9 Tips for Staying Safe on the Trail
Mountain biking alone? This blog post offers essential safety tips and expert advice to ensure an adventurous, yet safe solo ride in the wild.
I really enjoy mountain biking alone. Sure, I like to ride with other people and with groups, but I also really enjoy having the trail to myself.
It’s a good time to think, daydream, stop and take photos without feeling rushed, and set my own pace whether that’s a hammer-it-out ride or a slow and steady pedal. I’m a fan of both.
But riding alone can come with its own set of risks and it may require a bit more planning and precaution-taking to stay safe. This is especially true if you’re heading out on a remote backcountry ride, which I recently did and it prompted me to write this post.
The best thing you can do when riding alone is to be prepared. Here’s how.
1. Tell someone where you’re going
No matter whether you’re heading out for a short ride or a longer adventure, it’s a good idea to tell someone where you’re going.
I’m guilty of not doing this, but after listening to the Out Alive podcast episode “Alone and Injured in the Wild” I realized how important it is to tell someone where you’re going.
Text, call, leave a message, whatever – just let someone know where you’re heading, especially if it’s not a super popular trail or network.
2. Carry all the essentials
If you’re mountain biking alone, then it is essential that you have all the necessary tools and spares you need to get yourself out of a situation.
Here is my list of the essentials for every ride as well as longer backcountry adventures.
Every ride:
- Multi-tool with a chainbreaker
- Tire plugs + inserter tool
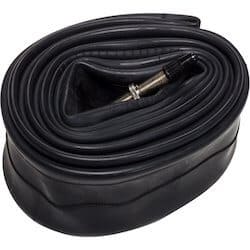
- Spare tube
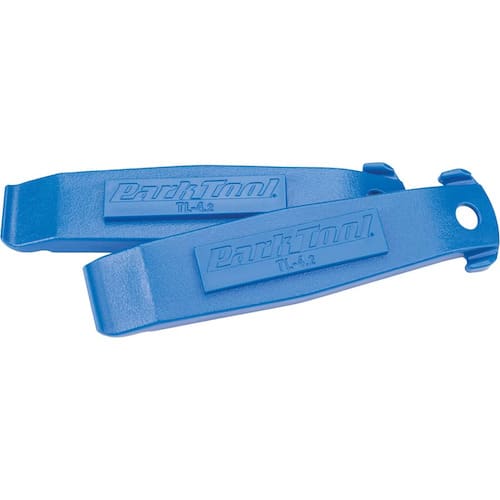
- 1-2 tire levers
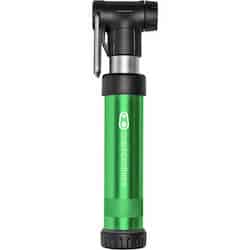
- Hand pump
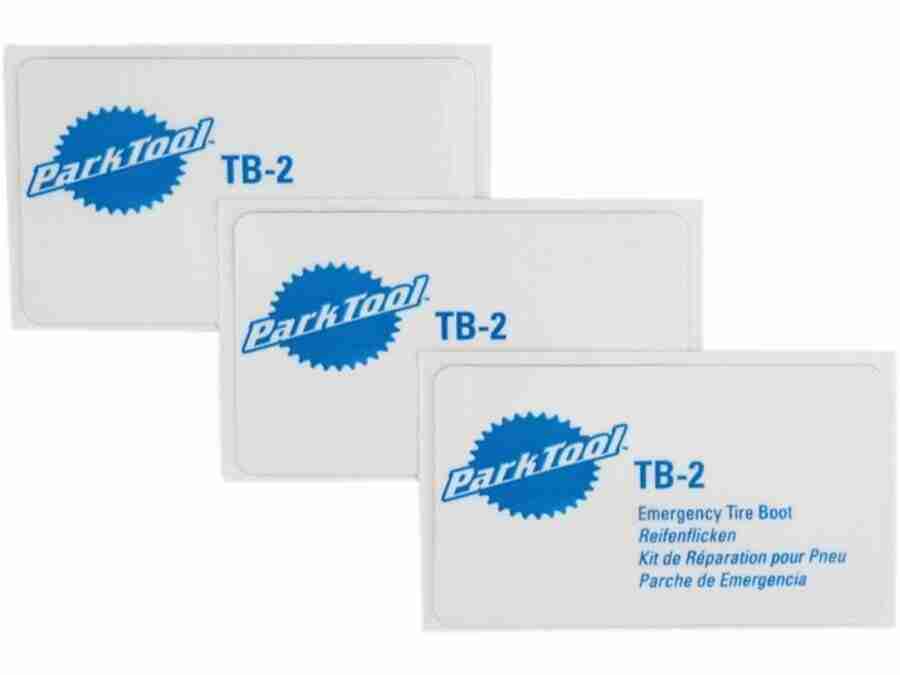
- Tire boot
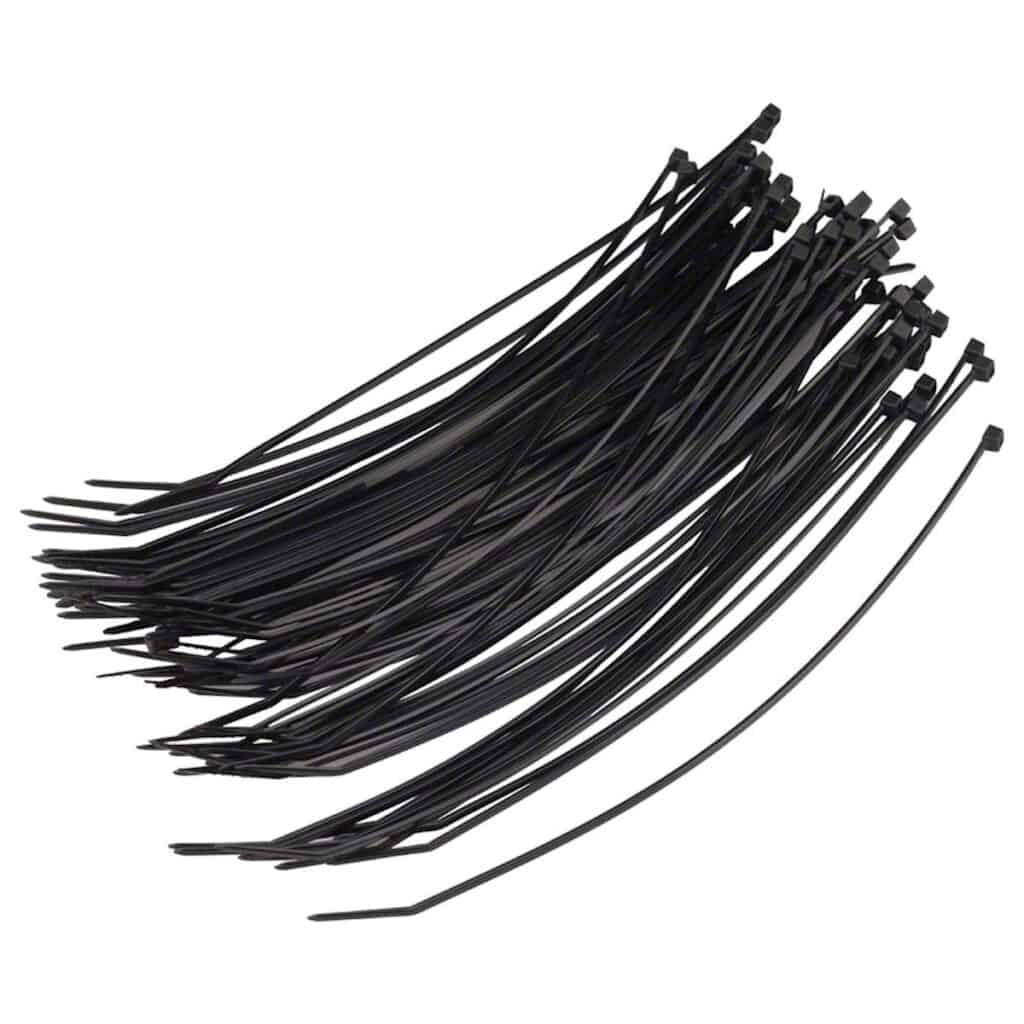
- Zip ties
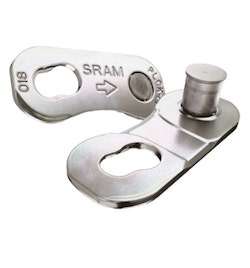
- Master chain link (specific to drivetrain ex. 11 sp, 12 sp, SRAM, Shimano, etc…)
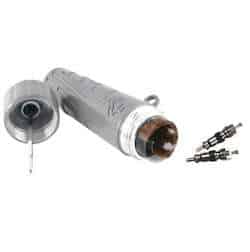
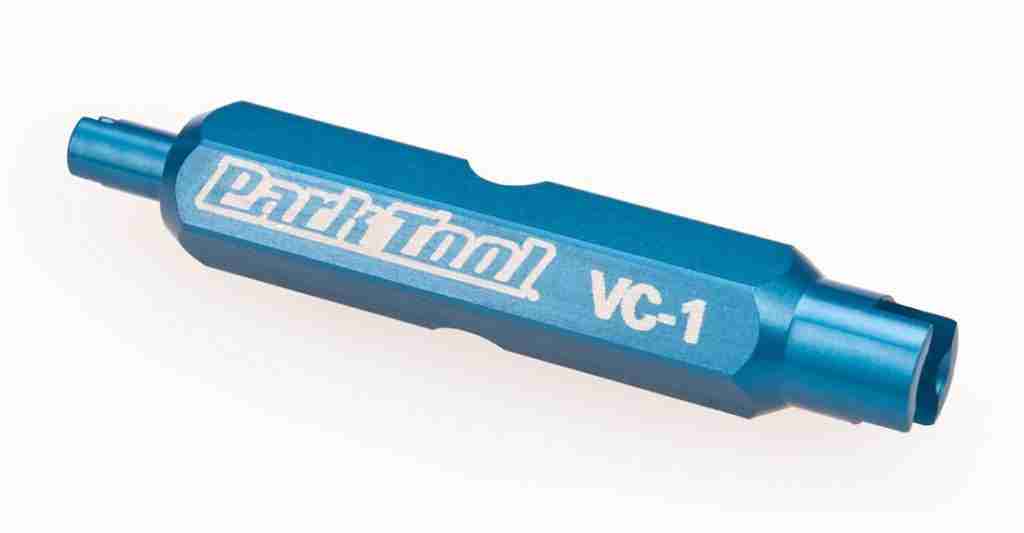
- Valve cores + removal tool (the Genuine Innovations tubeless tire kit above has one built into the bottom)
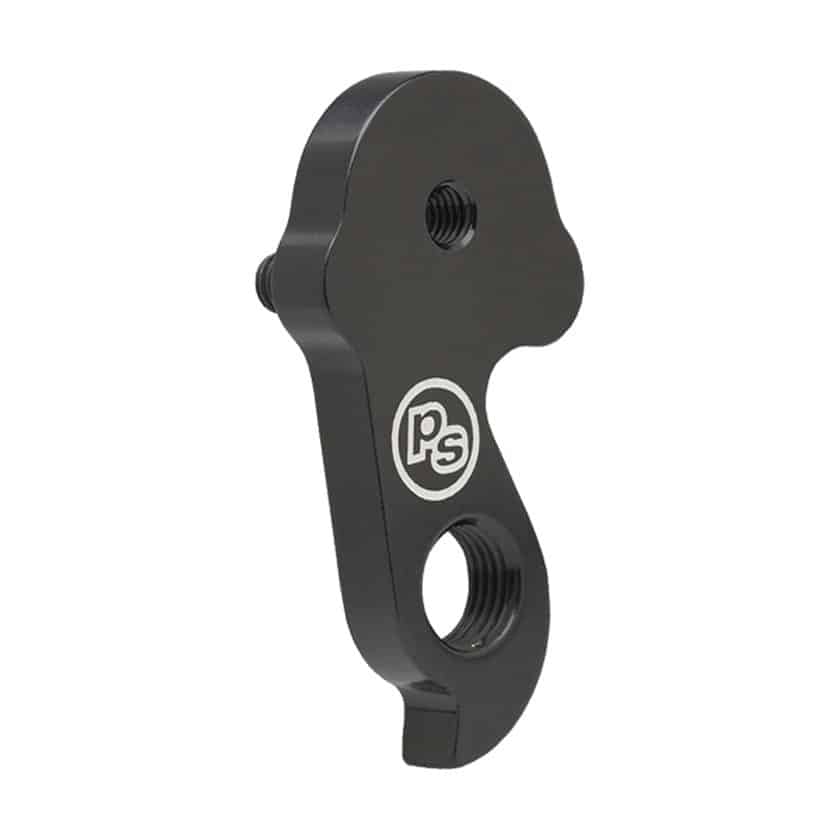
- Spare derailleur hanger (this a universal one. Others are specific to bike model/brand)
Shop ‘every ride’ essentials
Longer rides:
- Small bottle chain lube (0.5 oz)
- Small bottle sealant (use the type/brand of sealant already in your tires – don’t mix. Pour some into an empty bottle)
- SaltStick tabs
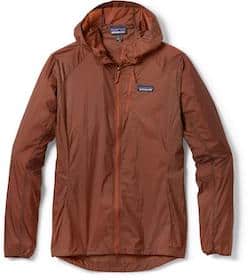
- Lightweight layer (men’s)
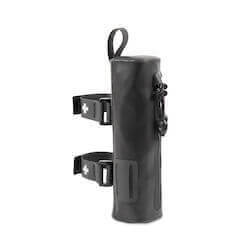
- First aid kit (the Cycle Medic Pro is a great choice)
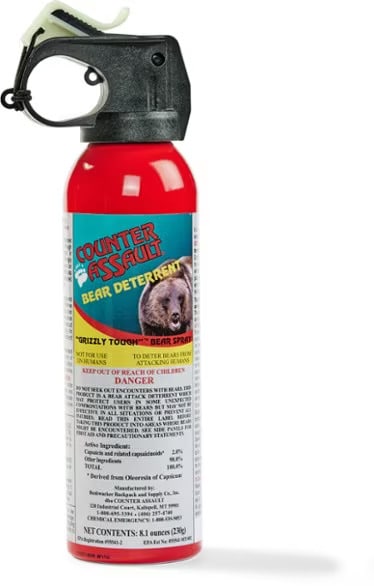
- Bear spray in an easy-to-reach place
Shop ‘longer ride’ essentials
3. Plan your route & Know the stats
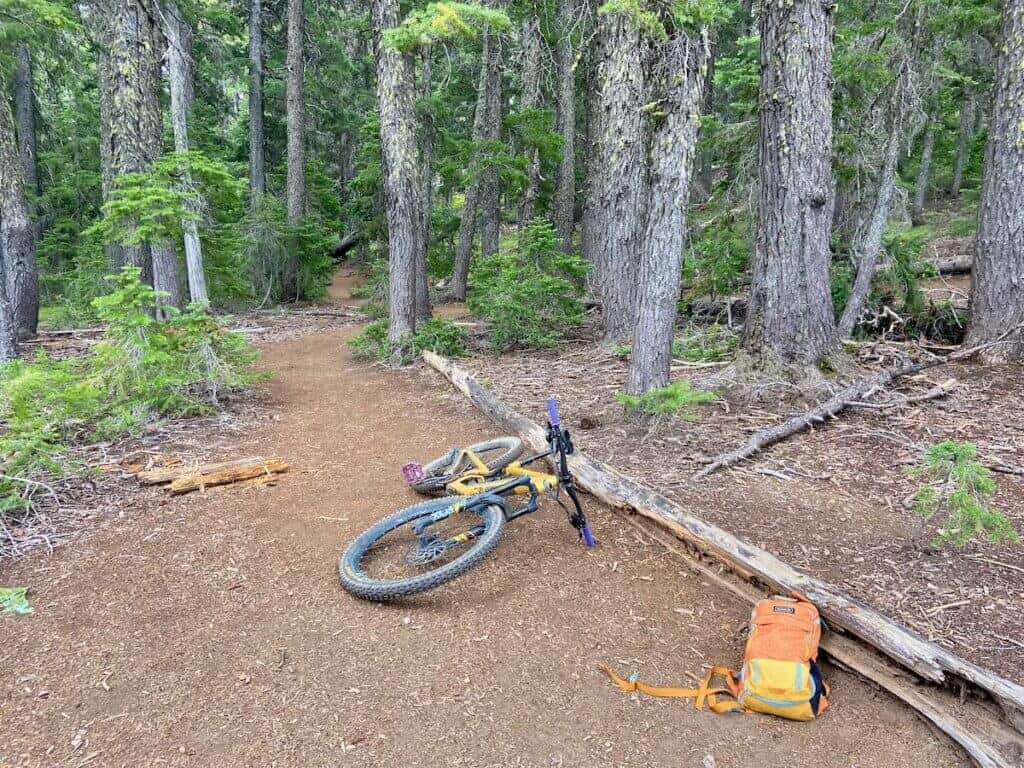
Before setting off, have a route planned and know the rough stats of the ride.
- How many miles is it?
- What is the elevation gain?
- What’s the max elevation? (a ride a sea level is going to feel a lot different than a ride at 8,000ft)
- Are there easy-to-miss turns?
- Are there options to bail or cut the ride shorter?
The more research you do ahead of time, the less likely you’ll run into a sticky or dangerous situation.
4. Have some Way to Navigate
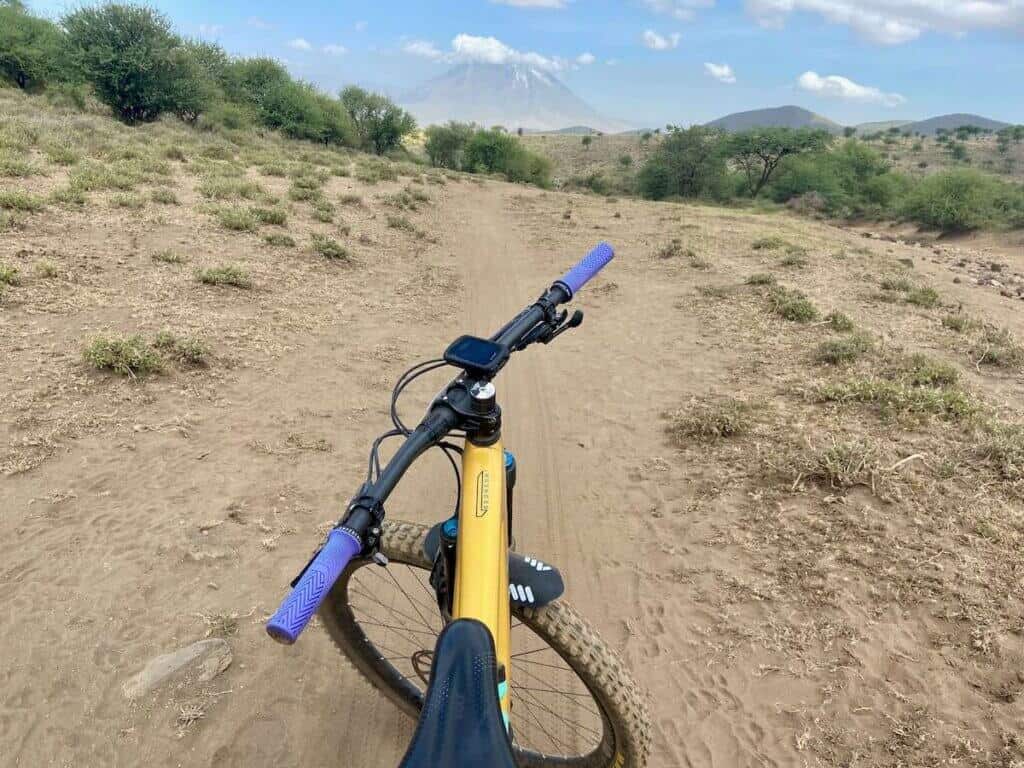
You may have done the research to pick a great ride, but if you don’t have a way to navigate then all your planning will go flying out the window.
I always carry my phone with TrailForks downloaded to keep me on track and allow me to see where I am at all times.
MTB Project is another good app, although they don’t include ‘unsanctioned’ or illegal trails so their database isn’t as comprehensive.
Read next: New to mountain biking? Check out my top picks for mountain biking apps.
Paper maps are ok, but it’s really a good idea to have a GPS app or device that shows you exactly where you are.
For really big rides or overnight bikepacking trips, I use my Garmin Edge 830 bike computer to navigate.
5. Check how popular a trail is
If I’m going out on a backcountry ride, I’ll use TrailForks to check how popular a trail is by viewing who recently rode it. That way, I have a rough idea of whether I’ll be waiting minutes, hours, or days before seeing another mountain biker if I have a bad crash.
To do this, head over to TrailForks (the desktop version is free) and search for the trail you’ll be riding (if you’re doing a link-up of trails, check the longest, most remote trails).
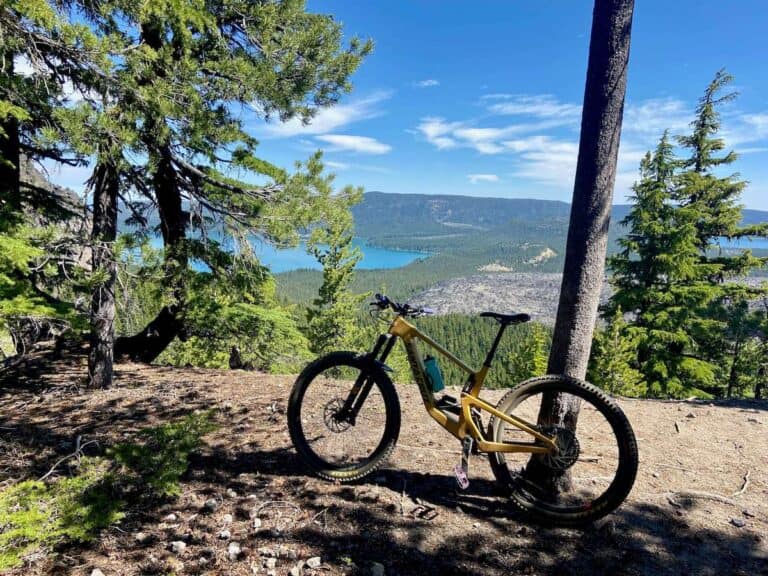
For example, I recently rode the Newberry Crater Rim route in Oregon, and the trail is called Crater Rim #57. You’ll see “ride log” as one of the tabs and when you click on it, you’ll see a list of people who recently rode it.
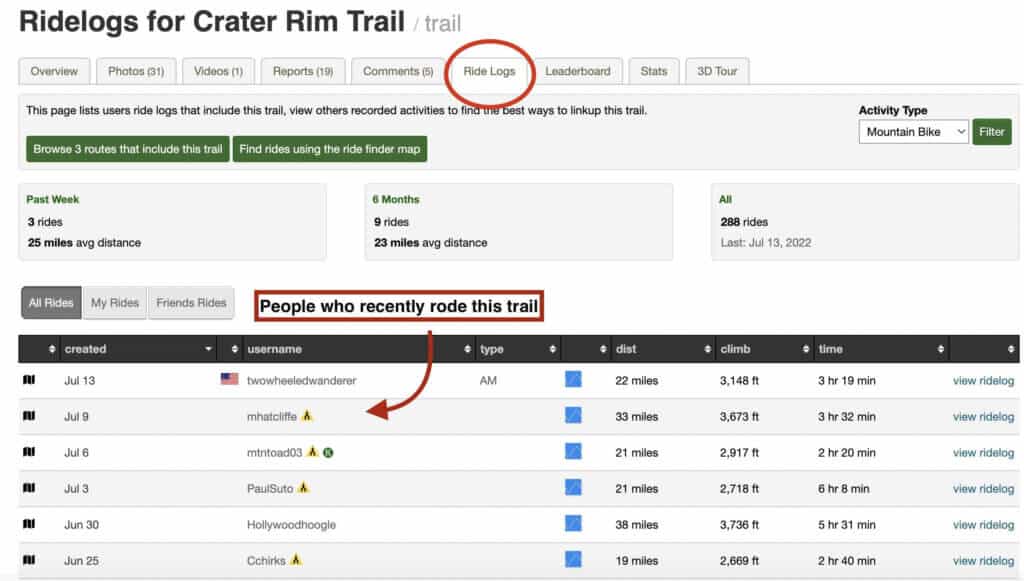
Now keep in mind that this is a very rough indicator of who has recently ridden a trail. If riders don’t upload their rides to Strava either manually or automatically or navigate via TrailForks, they won’t show up.
For example, I saw three other mountain bikers on my ride, but none of them showed up on the ride log with me.
Also, mountain bikers aren’t the only ones who use trails. I also saw hikers and equestrians.
Checking ride logs is just a way to get a general idea of how frequently mountain bikers ride a trail.
6. Know & respect your limits
When I mountain bike alone, I don’t push the limits or try bigger features I haven’t ridden. It’s better to be safe than sorry.
If there’s a trail or feature you want to try that would push your skill or endurance limits, bring some friends back next time to session it.
It’s much better to have other people around to help you out if you get yourself into a pickle.
7. Set a comfortable pace
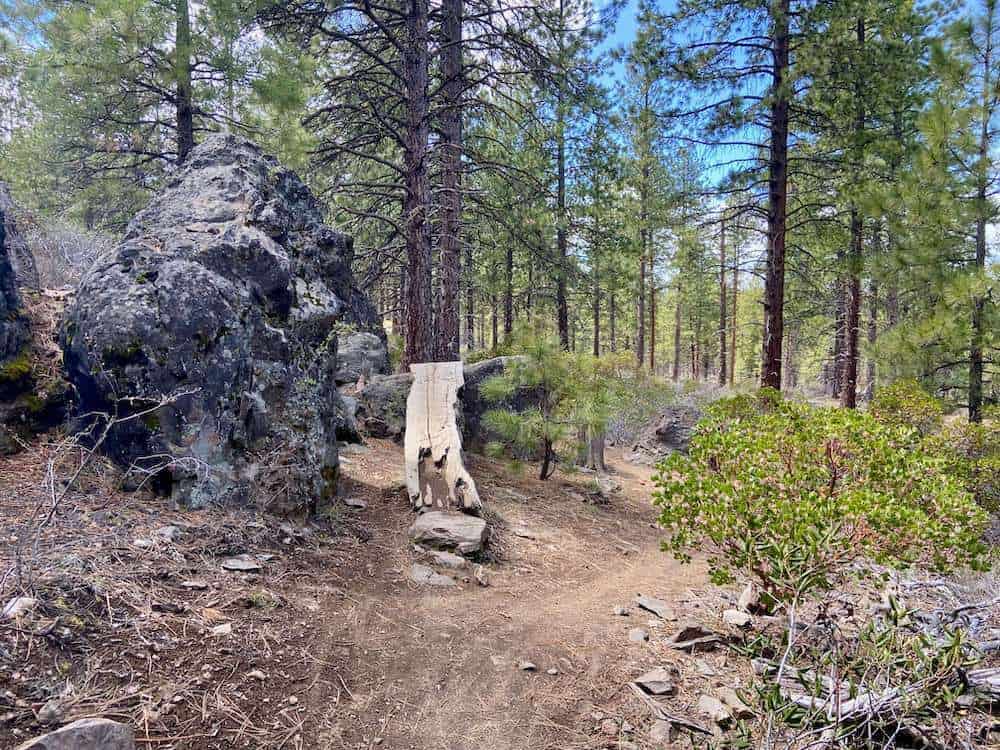
For some reason, I always feel like I need to pedal hard and get the ride done when I’m mountain biking alone. I have to tell myself to slow down and enjoy the ride.
Set a comfortable pace (which may change based on your mood) and enjoy being out in nature by yourself.
8. Track your ride
If you use Strava, the app has a “beacon” feature that shares real-time tracking with selected family or friends. It’s a good way to let them know where you are if you’re heading out on a remote ride by yourself.
To use this feature, you need to record your ride on your phone and you also need cell service, which is kind of annoying (it doesn’t work out of cell range).
Garmin also has a LiveTrack feature that alerts selected contacts when you start and finish a ride. You do need a Garmin device like the Garmin Fēnix, which is the watch I use, to utilize LiveTrack.
Unfortunately, there are some drawbacks to the Strava Beacon and LiveTrack, though. You need to keep the Garmin app or Strava app open for the duration of your ride and there needs to be decent cell service. This also means that neither will work if you put your phone in airplane mode to save battery.
If you’re heading out on a remote backcountry ride, it’s best to carry a GPS satellite communicator like the Garmin inReach Mini below.
9. Carry a GPS satellite communicator
For higher-risk rides where you know you won’t have cell service, carrying a GPS satellite communication device like the Garmin inReach Mini can literally be lifesaving.
This device has two-way communication and with the press of a button, you can send for help. The Garmin inReach does require a monthly subscription to be used.
Final thoughts
Going on solo mountain bike adventures can be a great way to get alone time, enjoy some peace and quiet, and immerse yourself in nature.
Whether you’re looking for a fast-paced hammer-it-out ride or a mellow pedal to bring some calmness into your life, solitary rides can be rejuvenating and confident-building.
But heading out alone does mean taking extra precautions to stay safe and hopefully, these tips will help you gear up and be equipped for solo missions. It’s better to be overprepared than under!
Stay safe and keep the rubber side down.
RELATED POSTS
Looking for more mountain biking tips to help you get out on the trails? Check out these related blog posts:
Do you enjoy mountain biking alone? What are your tips for staying safe on the trail? Leave a comment below!





I try to carry a small pistol depending on the remoteness of trail.