10 Helpful Mountain Biking Tips For Beginners
Learn the best mountain biking tips for beginners so you can improve your confidence, hone your skills, and have more fun out on the trails!
If you’re looking to build confidence, learn new skills, and take your riding to the next level, you’ve come to the right place. These 10 mountain biking tips for beginners will give you a good foundation on how to start building your bike handling skills and help you feel more comfortable in the saddle.
But like with any sport, mountain biking is built on progression. The more you ride, the better you get!
1. Get your bike set up correctly
When you get a new (or new-to-you) mountain bike, there are a few things you need to do to set it up correctly for your weight and height. Many new mountain bikers don’t do this, but it can make a huge difference when it comes to comfort and confidence out on the trail. Here are two settings you should dial in before you ride:
Suspension
Both the front fork and rear shock on most mountain bikes work via air pressure (unless you have a coil shock) and the right amount of air pressure is determined by your weight. This is called sag. In order to set sag, you’ll need a shock pump to add air into your shocks and you’ll also need to do a bit of research to find out how much psi is right for your body weight. Some shocks will have a chart sticker on them for easy reference, but most do not. If yours doesn’t, you’ll need to set your sag by a bit of trial and error and this is a great video that will walk you through the process.
He also talks about two other suspension settings in the video: compression and rebound. All this can be quite confusing at first, so I would recommend starting with sag – the most important setting – and then slowing starting to learn about and dial-in compression and rebound.
Seat Height
If you’re wondering why your lower back or knees hurt when pedaling or why it feels like you’re climbing Everest, it’s probably because your seat height is off. Too high and your lower back gets strained; too low and it’s a killer for the knees and makes pedaling SO MUCH harder.
A proper seat height means that your knee is slightly bent when the pedal is closest to the ground. This may mean that you can’t reach both feet to the ground when you’re sitting on the seat, but that’s normal.
2. Keep your body loose & springy
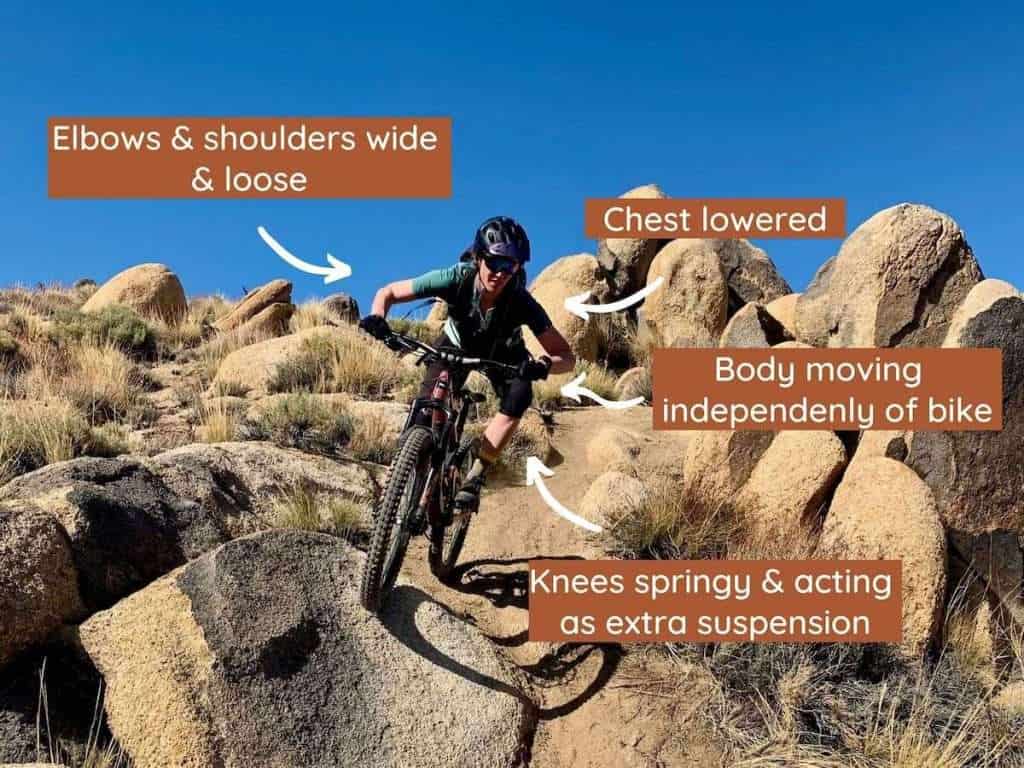
Easier said than done. But truly, if you keep your body loose – particularly your arms, shoulders, and knees – your bike becomes easier to handle and your riding will feel much smoother when going downhill and over trail obstacles.
To get started, keep these two things in mind:
- Keep elbows and shoulders loose by lowering your chest to the handlebars. This makes steering easier and drops your center of gravity.
- Keep your knees springy and wide to allow your body to move independently of the bike. You’ve probably seen photos of mountain bikers careening around a turn with their hips way off to the side of their saddle. This is something you want to strive for. It’s called body-bike separation.
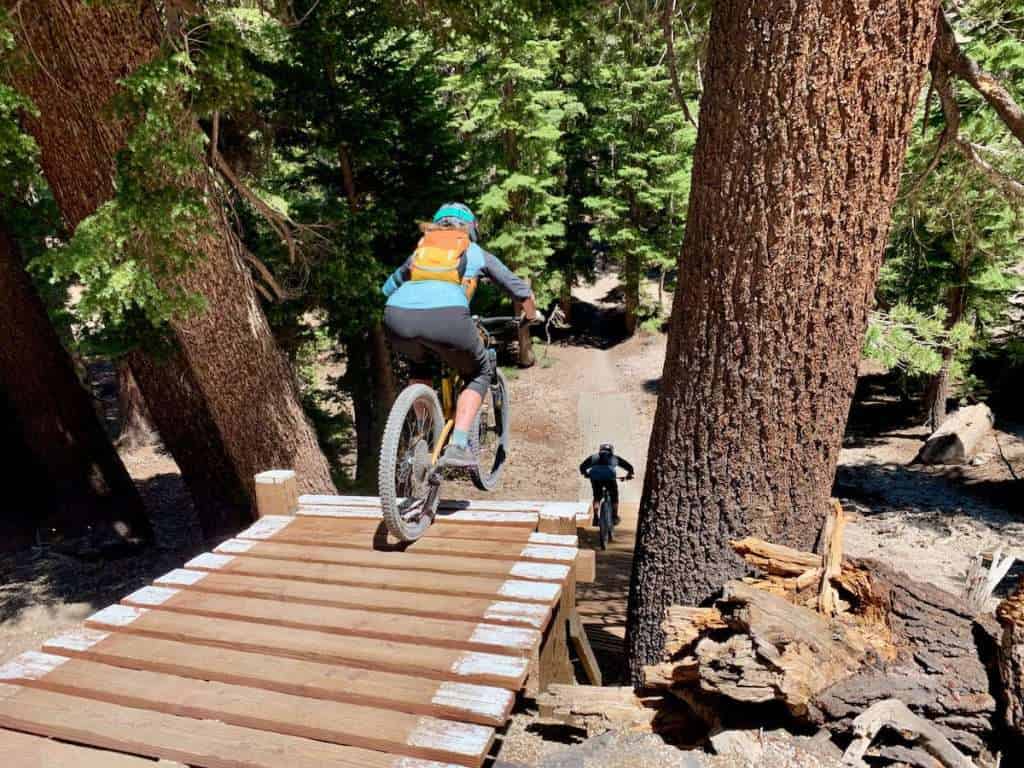
Your hands and feet will always (hopefully) be attached to the handlebars and pedals, but your hips and knees should move independently of the bike. This will allow you to maneuver around turns, increase your speed, and hit larger features with greater confidence.
3. Remember that momentum is your friend
Many riders new to mountain biking will rely on their brakes more than they need to. I get it, going faster than you’re comfortable with can be scary, but the truth is that momentum is your friend when it comes to mountain biking.
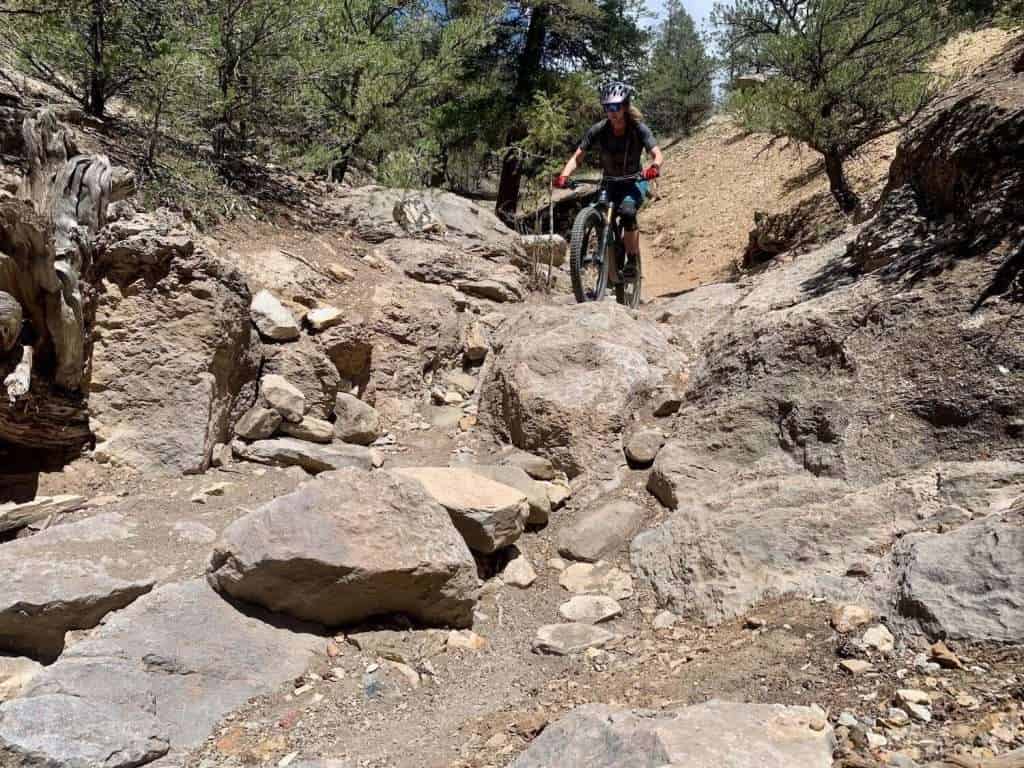
Speed will help you get through tricky rock sections with ease, float around corners with confidence, and even cruise through drops and jumps once you build the skills and confidence to do so.
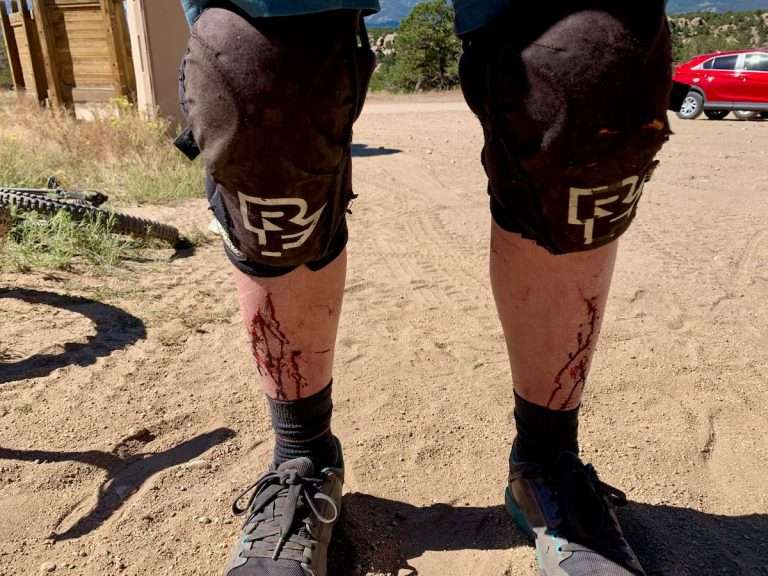
In fact, most crashes for beginner mountain bikers happen because they don’t have enough speed. You’ve probably seen videos of riders going over the handlebars or toppling over onto their side through a rock garden. This happens (usually) because momentum is lost and the rider can’t maintain balance.
So keep working on easing off the brakes as you come into more technical sections on the trail and you’ll be surprised at what momentum can help you get through.
4. Shift early & shift often
It always pains me when I see riders try to power through a climb in too hard of a gear, so one of the biggest mountain biking tips for beginners is to shift early and shift often.
If you see a climb coming up, downshift just before the incline starts. You don’t want to shift during the climb because that can crunch the drivetrain and maybe even result in a dropped chain, or worse, a broken derailleur. If you shift just before the climb starts, you’ll have a much easier and more pleasant pedal to the top.
The same is true on descents. Shift into a harder gear so that your legs aren’t spinning a mile a minute when you get to the bottom of the hill.
PRO TIP
Most shifters are set-up to allow you to ‘punch down’ on gears and drop three gears in one go. This is great for quick punchy climbs when you don’t have time to downshift one gear at a time.
5. Look where you want to go
This mountain biking tip for beginners may seem like a no-brainer, but it’s worth mentioning because it’s so important. Keep your eyes looking ahead and look to where you want your bike to go. If you’re in a big berm, look to the exit. If you’re hitting a small drop, look at the landing. If you’re in a straightaway, look straight ahead.
By looking to where you want to go, you’re setting your body position up to steer your bike in that direction.
It’s also important to keep mountain biking tip #2 in mind here – keep the body loose so that you’re not fighting against yourself. Stiff arms aren’t going to make it easy to turn the bike in the direction that you’re aiming for.
6. Ride with people who are better than you
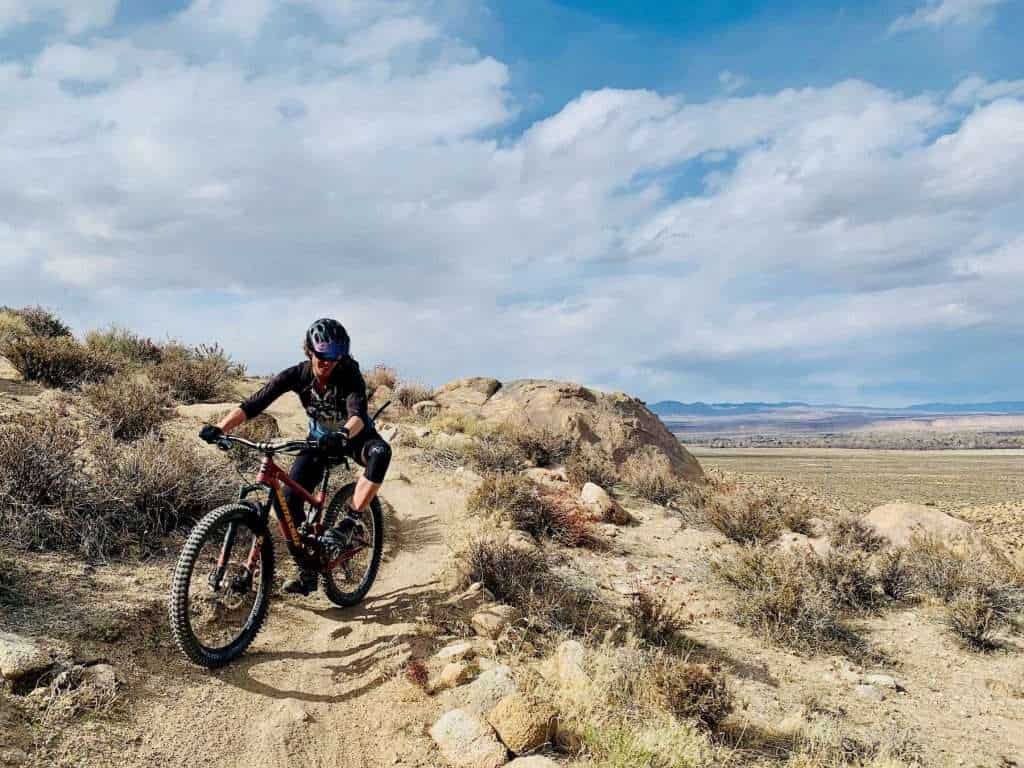
This may sound scarier than sending your first drop, but riding with people that are better than you is going to make you a better rider.
Don’t worry about ‘holding them up’ and don’t worry about walking the technical sections. Most mountain bikers are just stoked to get out and ride some trails with a fun group of people – including you!
Riding with people who are better than you also gives you the opportunity to watch skilled riders to see how they move their body and their bikes. You can learn a lot by just observing.
And please stop apologizing for being slow. No one cares 🙂
7. Learn how to track stand
If there’s one skill to learn that will instantly boost your confidence and mountain biking abilities, it’s the track stand.
A track stand is basically being able to stand up on your bike at a standstill.
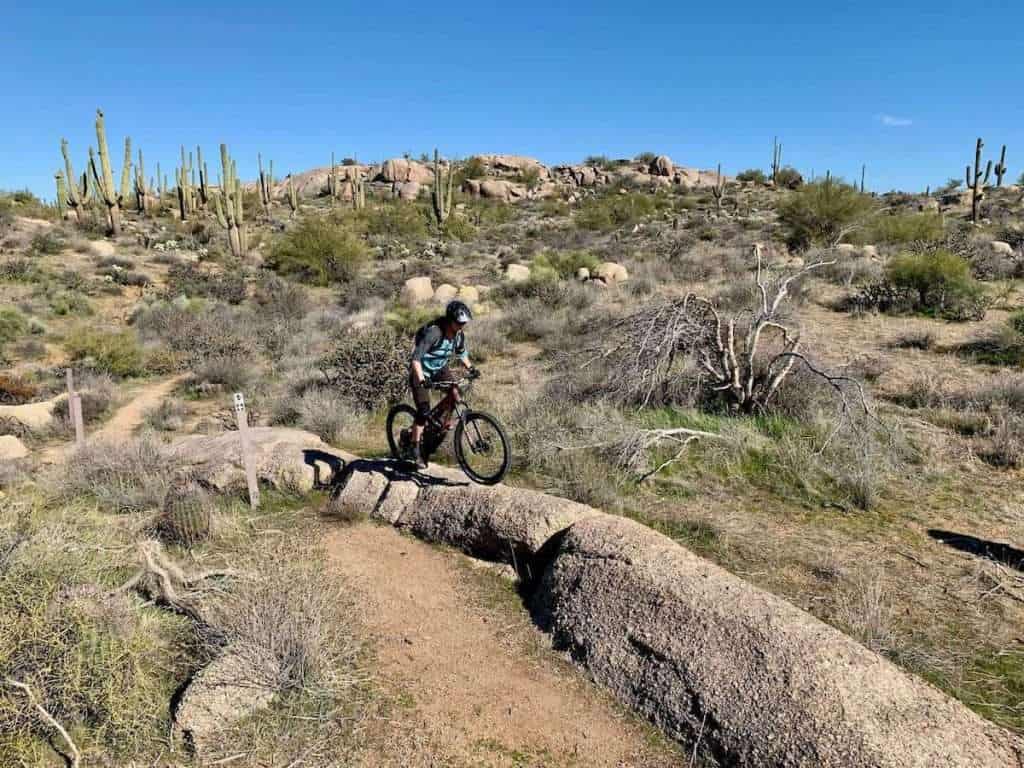
Why is this important? For control and balance. Many features on the trail like steep roll downs, tight switchbacks, and technical climbs require control and balance. If you can’t balance on your bike at slow speed, you might topple over or need to put a foot down.
Track stands are pretty easy to learn with a bit of practice. Try spending 5 minutes before each ride working on your balance!
Watch: How To Track Stand Like A Pro
8. Take control of your bike
There are two ways to ride a bike. You can be an active rider or you can be a passive rider. Passive riders let the bike carry them along the trail and they more or less sit back and enjoy the ride as a passenger. On the other hand, active riders take control of the bike and actively steer and maneuver it around corners and through features. If you watch professional mountain bikers handle their bikes, it’s clear that they are the driver and the bike is completely in their control. There are no signs of passivity on their part.
But as a new mountain biker, how can you take control of the bike? One way is to start to use your suspension actively.
As you’re cruising down the trail, your suspension will absorb trail chatter to make your ride smoother, which is what the shocks are designed to do. The front and rear shocks are reacting to the contours of the trail without you doing anything.
But you can also use your suspension actively by compressing or pumping into your suspension. This can help you maintain momentum, hop over rocks and roots, corner more smoothly and efficiently, lift your front wheel over obstacles, and more.
It takes a bit of practice to get the hang of pumping into your suspension and taking control of your bike, but the more you practice the smoother your riding will become. If you have access to a pump track, those are the best places to practice, but you can also easily practice this on the trail.
Watch: Be A Better Rider With These 6 Pump Track Skills
9. Choose different lines
One way to improve your skills as a mountain biker is to choose different lines on the trail, especially if it’s a trail you’ve ridden a lot. The obvious line is typically the ‘easiest’ line, so if you want to get better and more confident as a rider, it’s helpful look for different lines. Take a few minutes to scope out a new line and give it a try!
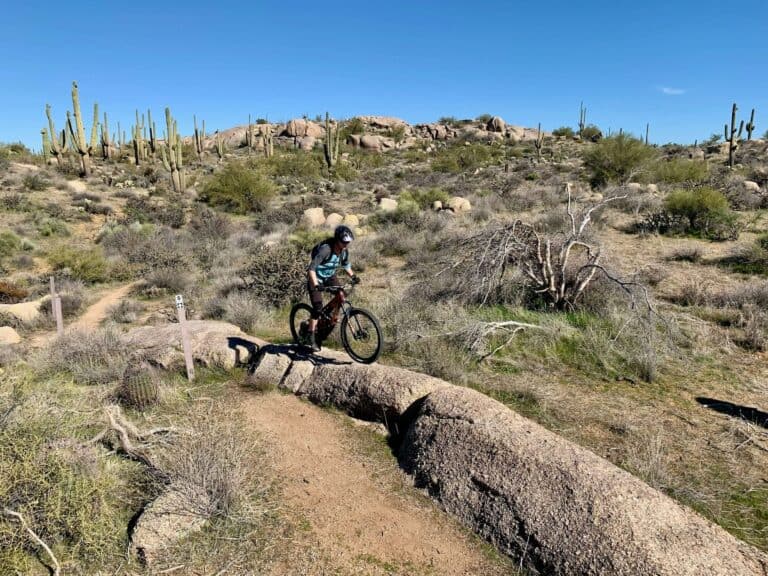
For example, a great place to start is riding over rocks and obstacles instead of around them. The more you switch things up on the trail, the more adept of a rider you will become.
10. Watch mountain bike videos
If you’re like me, you learn by watching. That’s why I love watching mountain bike videos, especially of professional riders. Seeing a visual of how a skill or maneuver is done makes it easier to replicate on the trail, with practice of course! Here are a few of my favorite mountain bike video series:
- Friday Fails (for what not to do)
- GMBN Skills Videos (great for learning almost any mountain bike skill)
- World Cup Race Replays (watching that way professionals ride can be eye-opening)
Bonus tip: Breathe!
Whenever I’m feeling unsure, scared, or nervous when mountain biking, I remind myself to take a deep breath and just breathe. It helps calm the nerves, overcome anxiety, and build the confidence to try something new or intimidating. There are definitely features I’ve hit that I wouldn’t have if I hadn’t stopped to take a deep breath!
Additional resources for beginner mountain bikers
If you’re just starting out, here are a few more blog posts you might find helpful:
- How To Start Mountain Biking: An ultimate guide
- What To Wear Mountain Biking
- Bike Parks 101
- Mountain Bike Essentials: Beginner recommendations
- Mountain Bike Pack Essentials: What to carry with you on the trail
I hope these beginner mountain biking tips help give you a boost of confidence to go out and experiment on the trails. Just like anything, the more you practice, the better you’ll get, so keep these tips in the back of your mind and just have fun!
What have been the best mountain biking tips for beginners you’ve received since you first started riding? What questions do you still have? Drop a comment below!

Hi,
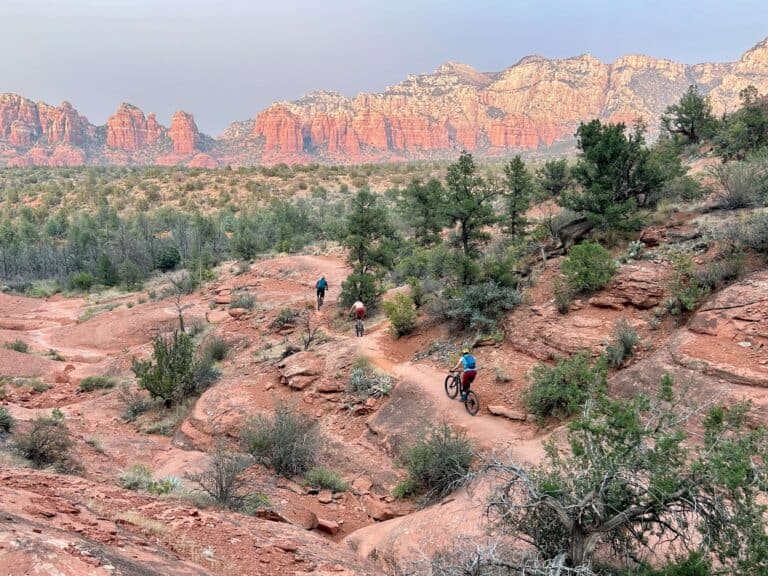
Honestly, these are the best mtb tips I’ve read. One off-topic question, which mtb park you are riding (in the main featured image)??
Thanks for reading! That feature photo is on the Brand Trails in Moab
Hi,
I can say, these are the mtb tips I’ve read.
One off-topic question, which mtb park you are riding (in the main featured image)??